8. In the ‘Gateway’ field, enter the IP address of the default gateway (if any).
9. Click Apply
10. Click
to save the new client.
OK
11. Physically reset the device using the hardware reset button (or power down and then
power up the device). This causes the device to use BootP; the device changes its
network parameters to the values provided by BootP.
; the ‘Client Configuration’ screen closes.
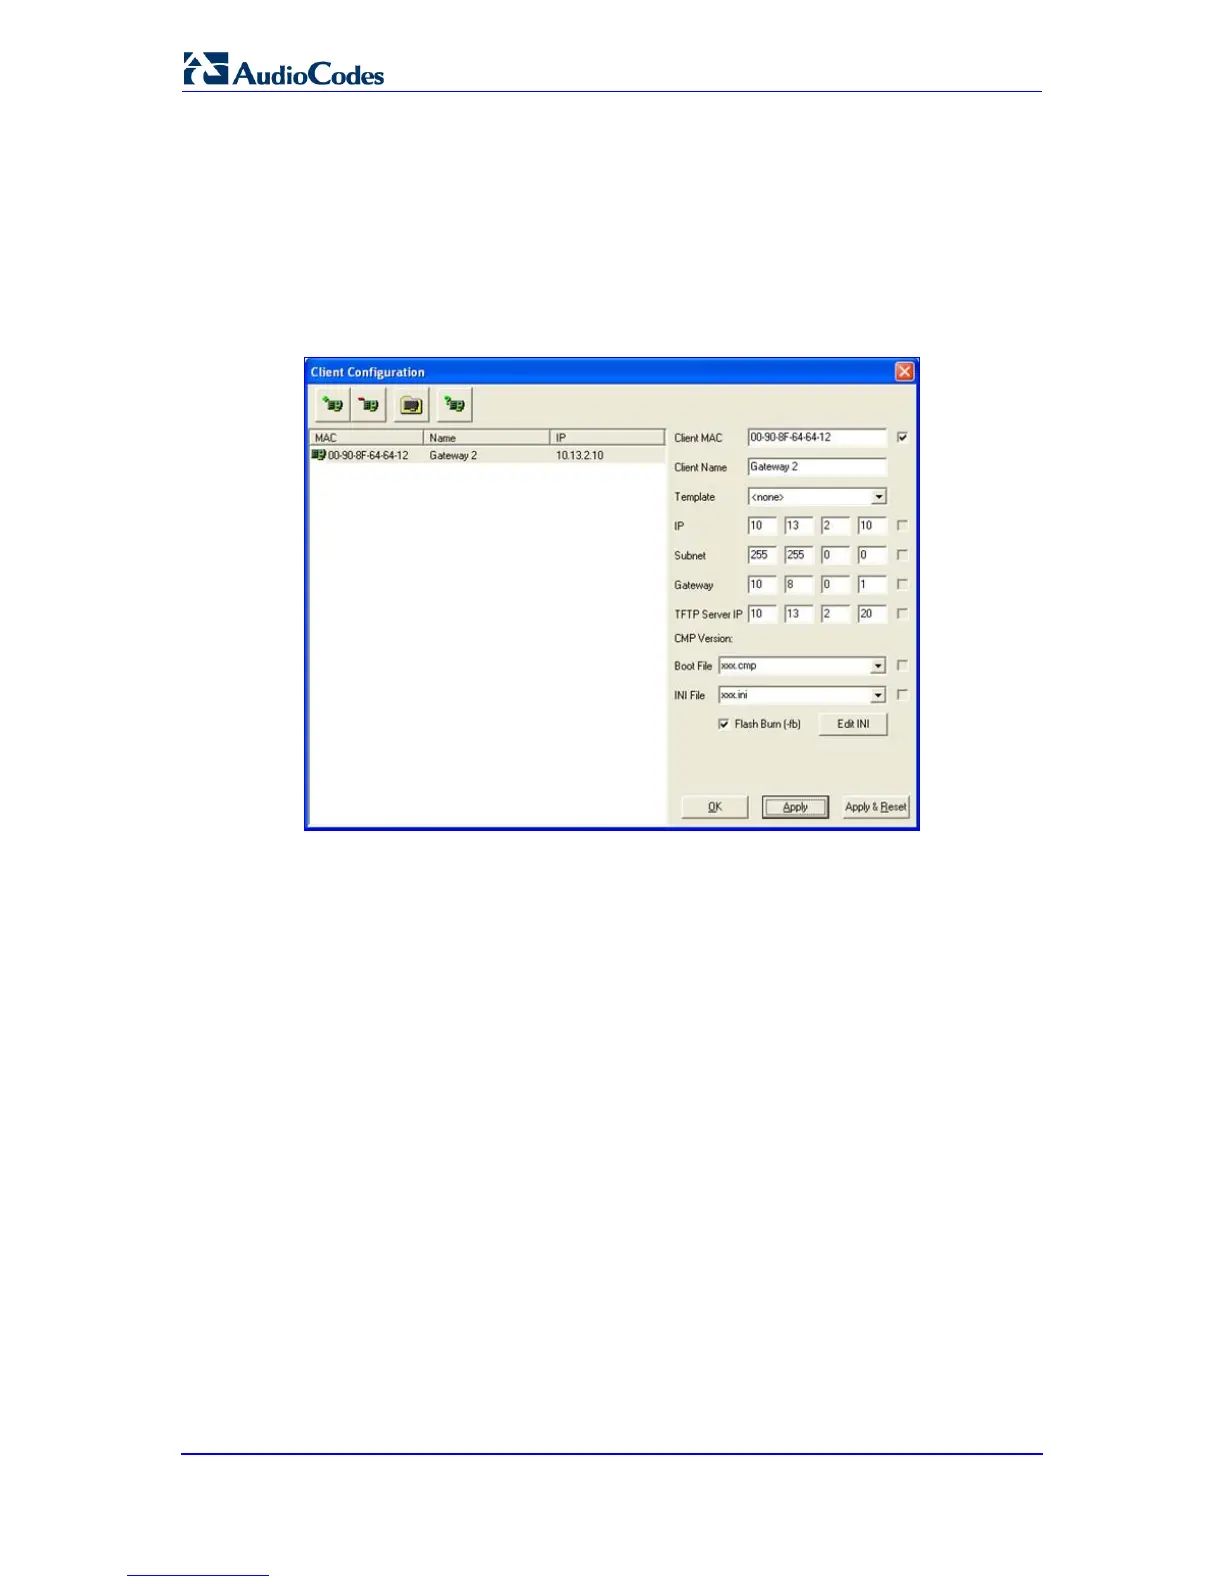
Figure 3-2: BootP Client Configuration Screen
3.1.3 Assigning an IP Address Using the Voice Menu Guidance
Initial configuration of the device can be performed using a standard touch-tone telephone
connected to one of the FXS ports. The voice menu can also be used to query and modify
basic configuration parameters.
To assign an IP address using the voice menu guidance:
1. Connect a telephone to one of the FXS ports.
2. Lift the handset and dial ***12345
3. Wait for the 'configuration menu' voice prompt to be played.
(three stars followed by the digits 1, 2, 3, 4, and 5).
4. To change the IP address:
a. Press 1 followed by the pound key (#
b. Press the
); The current IP address of the device is
played.
#
c. Dial the new IP address. Use the star (*) key instead of periods (.), e.g.,
192*168*0*4, and then press
key.
#
d. Review the new IP address, and then press
to finish.
1
5. To change the subnet mask:
to save.
a. Press 2 followed by the # key; The current subnet mask of the device is played.

 Loading...