33
CHAPTER 5: Troubleshooting
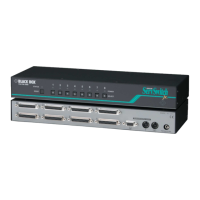
5. Troubleshooting
The first two sections of this chapter discuss some of the problems that can arise in
a ServSwitch Jr. system and suggest possible causes and solutions. If the trouble
you’re having with the Switch is something you haven’t seen before, or if the
trouble seems minor, try the procedure detailed in Section 5.1 before doing
anything else. If the trouble is chronic, see Section 5.2.
Sections 5.3 and 5.4 discuss what’s involved in calling Black Box and shipping
your Switch.
CAUTION!
We strongly recommend that you avoid opening the ServSwitch Jr.’s
cover. If for some reason you need to do this, be very careful to replace
each screw in the same hole you took it from, because there are three
different lengths of screws involved.
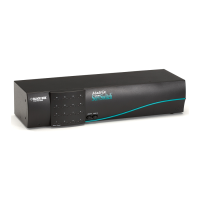
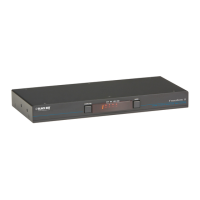
5.1 Restoring Factory-Default Settings
If you’re having difficulty with a ServSwitch Jr., something that often helps is
resetting the Switch to its factory defaults. Follow these steps carefully:
1. Make sure that at least one powered CPU is attached to the ServSwitch Jr. (it
doesn’t matter which port the CPU is connected to).
2. Press and hold the “1” (number one) button on the ServSwitch Jr.’s front
panel.
3. Press and release the RESET button, then release the “1” button. The
POWER LED should flash three times, and the unit should be restored to the
factory-default settings listed in Appendix A.
Now reconfigure the Switch to your desired settings. If you’re still having difficulty,
refer to Section 5.2. If it doesn’t help you to solve your problem, call Black Box for
technical support.
 Loading...