English | 45
Bosch Power Tools 1 609 92A 274 | (13.10.16)
–Wait until the measuring tool is levelled in.
–Use the laser receiver to find the centre line and transfer
the height “X1” of the centre line onto the wall.
–Turn the measuring tool 180° without adjusting the height
of the tripod.
–Wait until the out-of-level indicator 37 stops flashing and
the measuring tool is levelled in.
–Use the laser receiver to find the centre line and transfer
the new height “X2” of the centre line onto the wall.
–Determine the exact centre between the centre lines “X1”
and “X2” and position the laser receiver on it using the cen-
tre mark 16.
– In order to rule out faulty calibration after completion
of the calibration, you must check the levelling accuracy
(see “Checking the Levelling Accuracy in the Horizontal Po-
sition”. page 44).
If the deviation is still outside of the maximum permitted
limit of ±1.5 mm, have the measuring tool checked by a
Bosch customer service agent.
Y-Axis Calibration
–Mount the measuring tool in the horizontal position on a tri-
pod 63 (accessory).
–Place the tripod 30 m in front of the wall. The Y-axis indica-
tor imprinted on the measuring tool must be pointing per-
pendicular to the wall.
–Switch the measuring tool on.
–Wait until the measuring tool is levelled in.
–Use the laser receiver to find the centre line and transfer
the height “Y1” of the centre line onto the wall.
–Turn the measuring tool 180° without adjusting the height
of the tripod.
–Wait until the out-of-level indicator 37 stops flashing and
the measuring tool is levelled in.
–Use the laser receiver to find the centre line and transfer
the new height “Y2” of the centre line onto the wall.
–Determine the exact centre between the centre lines “Y1”
and “Y2” and position the laser receiver on it using the cen-
tre mark 16.
– In order to rule out faulty calibration after completion
of the calibration, you must check the levelling accuracy
(see “Checking the Levelling Accuracy in the Horizontal Po-
sition”. page 44).
If the deviation is still outside of the maximum permitted
limit of ±1.5 mm, have the measuring tool checked by a
Bosch customer service agent.
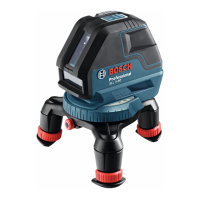
Z-Axis Calibration (GRL 500 HV)
–Mark a vertical line on the wall using a plumb line.
–Mount the measuring tool in the vertical position on a tri-
pod 63 (accessory).
–Place the tripod 5–10 m in front of the wall.
–Switch the measuring tool on.
–Align the tripod so that the laser beam crosses the vertical
line on the wall.
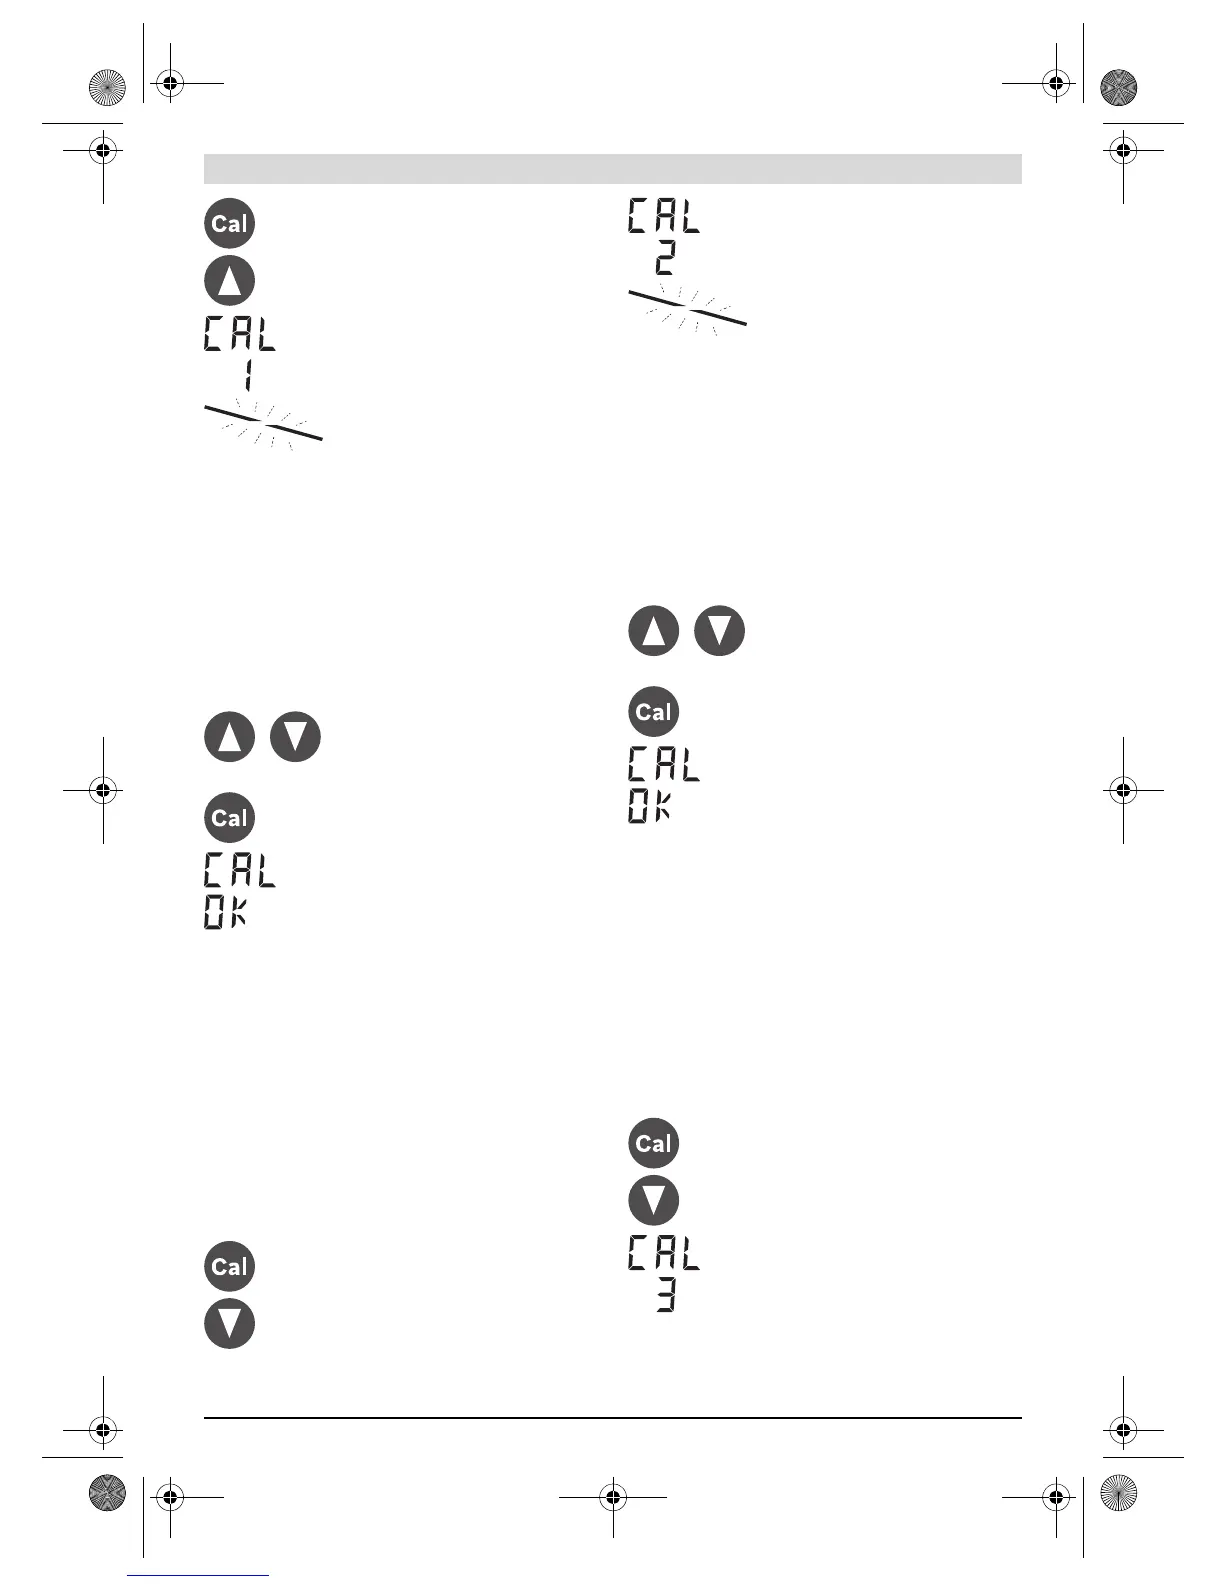
–Simultaneously press the calibration
button 25 and the slope button 18 for
approx. 2 s.
The symbol for calibrating the X-axis is
shown on the display.
The out-of-level indicator 37 flashes dur-
ing automatic levelling.
/
–Press the slope button 18 or
20 until
the centre line indicator 43 lights up
continuously. If the audio signal is
switched on, a continuous tone sounds.
–Press the calibration button 25 to save
the calibration.
The symbol for completing calibration is
shown on the display.
–Simultaneously press the calibration
button 25 and the slope button 20 for
approx. 2 s.
The symbol for calibrating the Y-axis is
shown on the display.
The out-of-level indicator 37 flashes dur-
ing automatic levelling.
/
–Press the slope button 18 or 20 until
the centre line indicator 43 lights up
continuously. If the audio signal is
switched on, a continuous tone sounds.
–Press the calibration button 25 to save
the calibration.
The symbol for completing calibration is
shown on the display.
–Simultaneously press the calibration
button 25 and the slope button 18 for
approx. 2 s.
The symbol for calibrating the Z-axis is
shown on the display.
OBJ_BUCH-1960-004.book Page 45 Thursday, October 13, 2016 12:38 PM
 Loading...