Specifing the Scanning Area
4-8
4
Scanning
Specifing the Scanning Area
When scanning from the platen glass, you can display the scan image in the Preview Area,
and then select the scanning area.
Follow the procedure below to specify the scanning area.
1
Click the Preview button to display the image in the Preview Area.
2
Click the Crop button on the toolbar.
The pointer changes to a cross-hair in the Preview Area, allowing you to select the scanning
area.
3
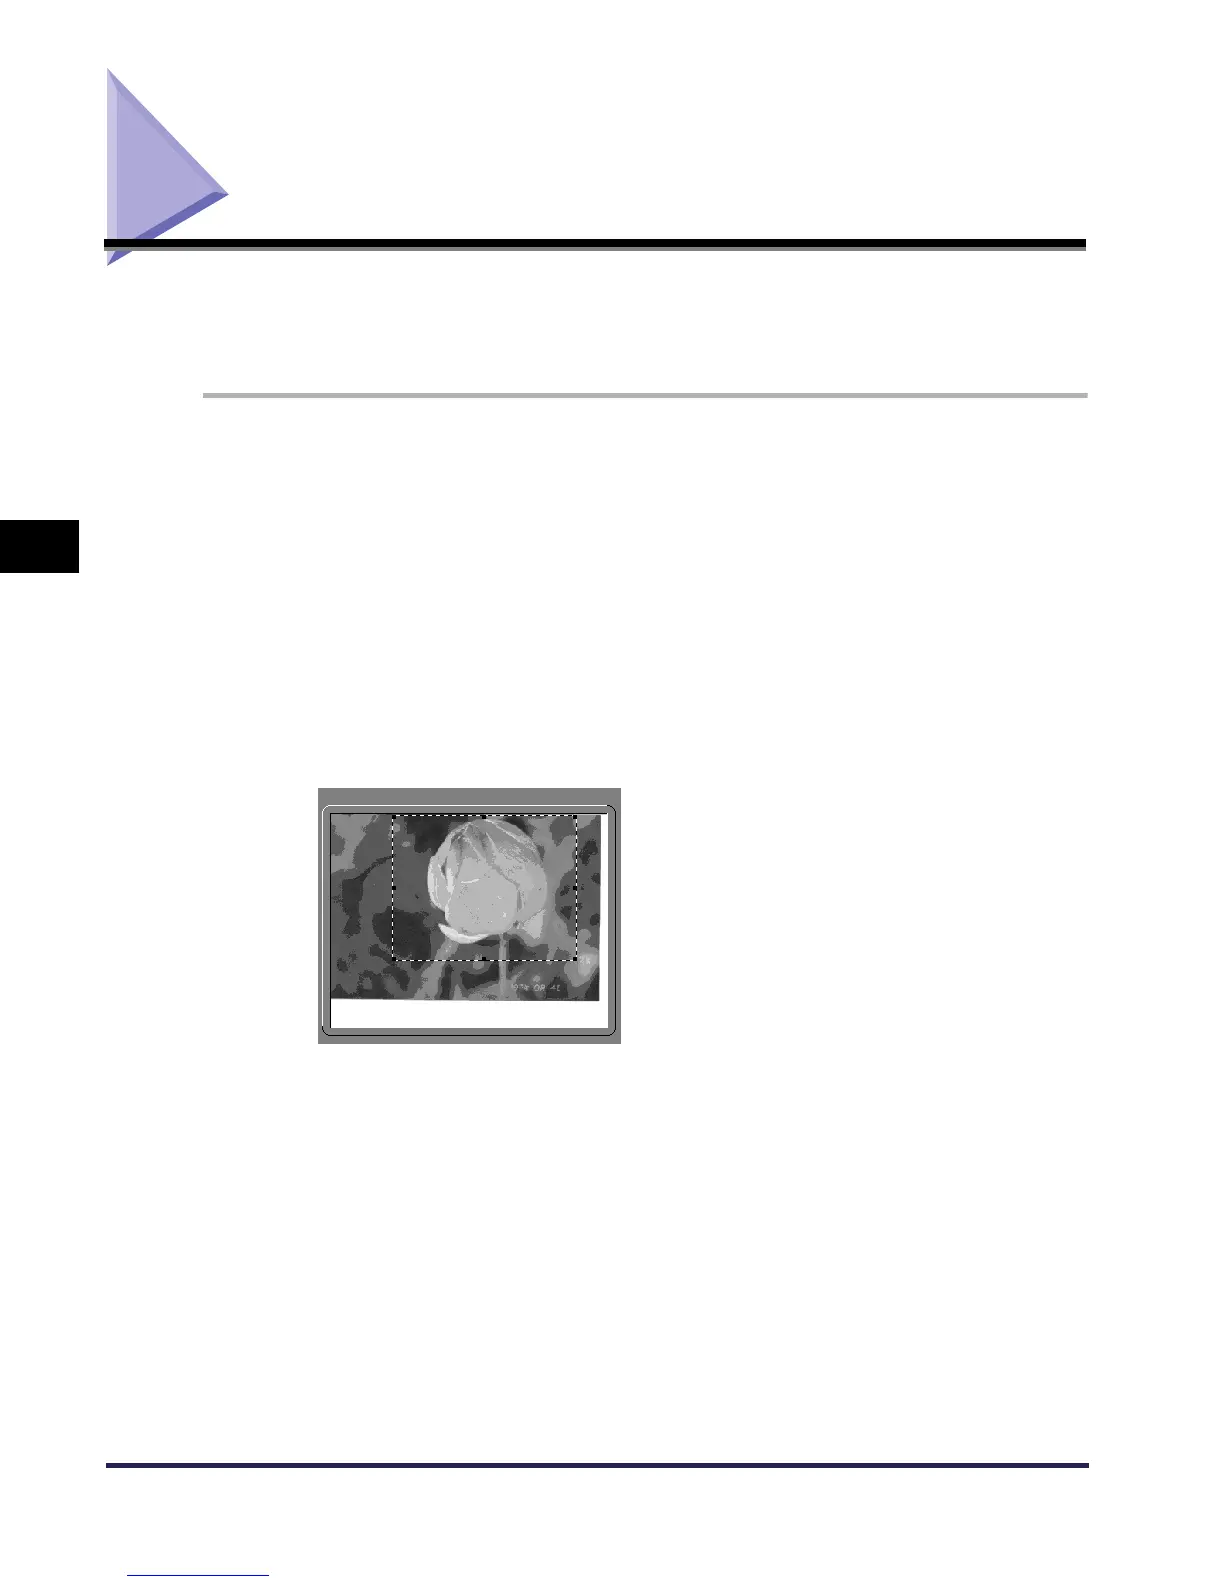
Drag the mouse from one corner of the rectangular area you want to
specify to the diagonally opposite corner.
The specified area is indicated by a broken line.
Once an area is specified, you can change it as follows.
- You can drag the area to a different position, or drag the frame handles (the square
blocks) to change the size of the area.
- To cancel the scanning area setting, click outside the area.
 Loading...