20
+050003290 - 1.4 - 29.09.2006
PRELIMINARY NOTES FOR THE INSTALLER: COMPARISON BETWEEN pCO
3
AND pCO
2
• the pCO
3
family controllers do not have the connector using the programming key code PCO201KEY0. To program the controller,
use the new Smart Key (PCOS00AKY0) available from September 2005. Otherwise use WinLoad ver. 3.35 and higher:
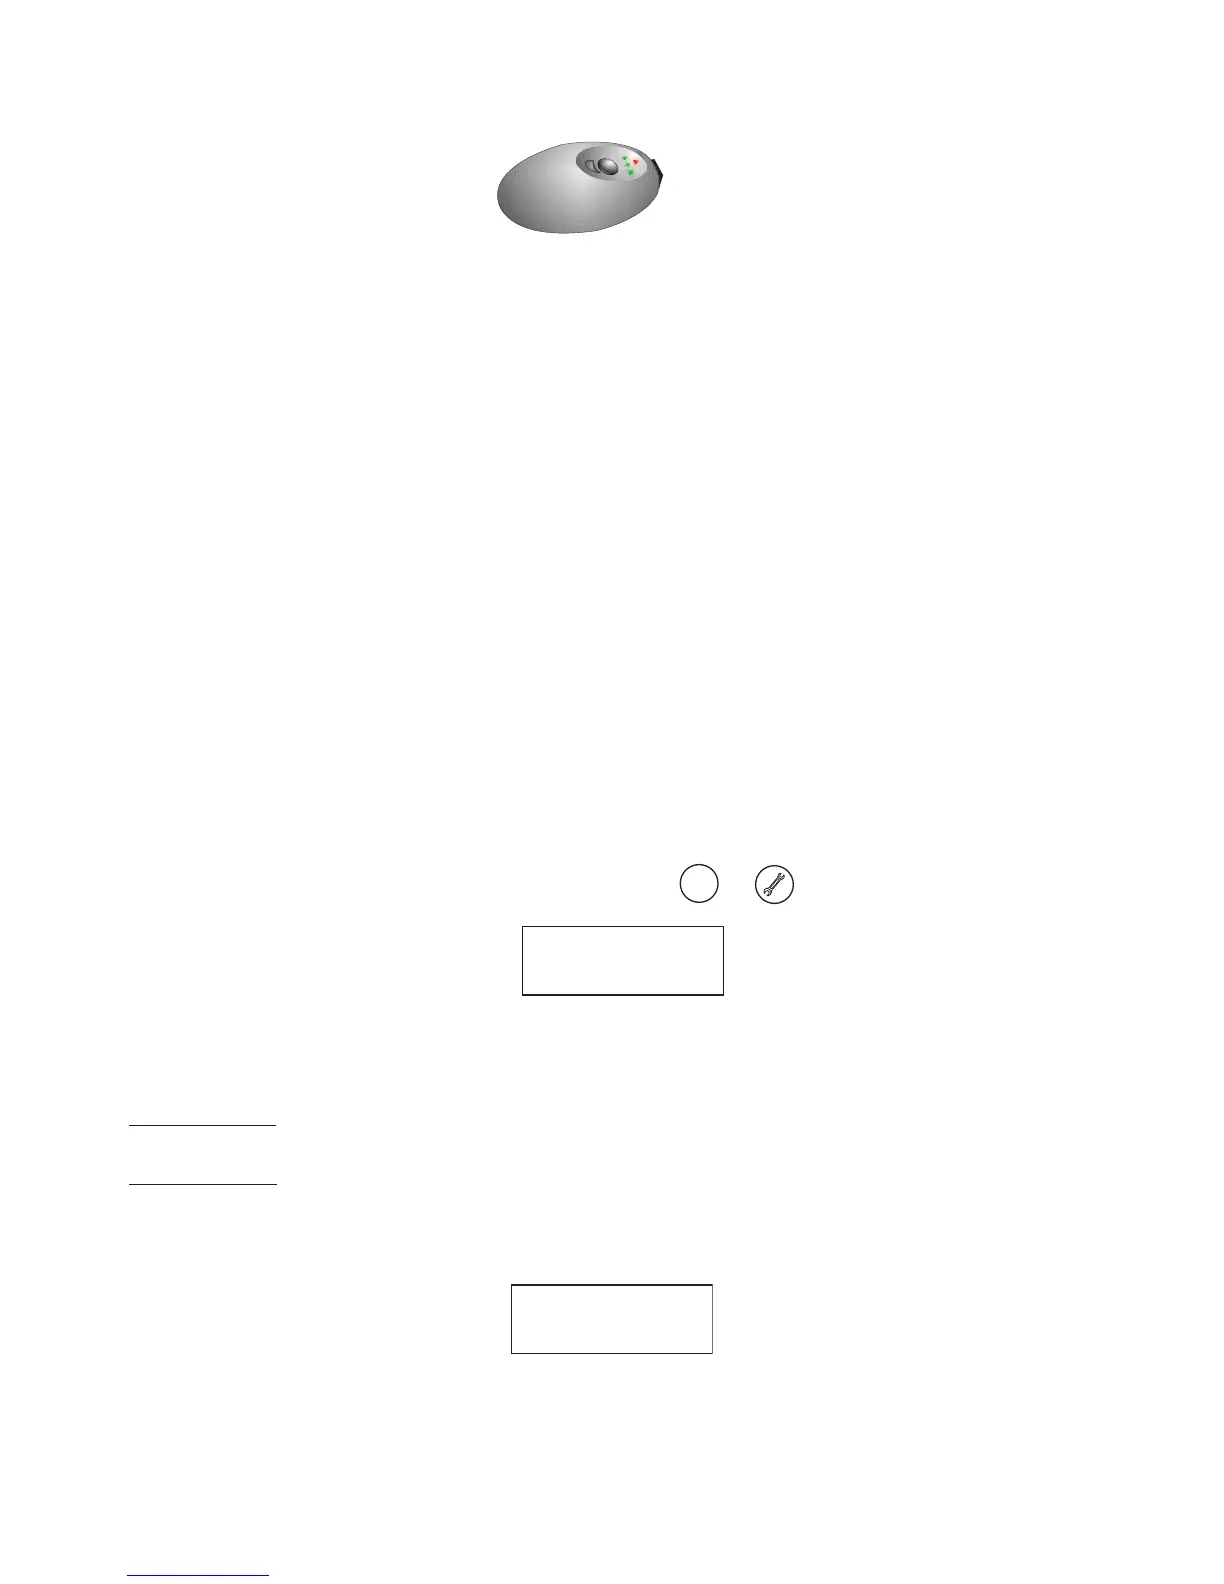
Fig. 6
An application cannot be run from the Smart Key;
• unlike the pCO
2
, there is no fuse between J1 and J2. All pCO
3
family controllers have an internal thermal protector on the power
supply. No external fuse is required;
• a further terminal J24 (in place of the fuse) is provided for the power supply to the ratiometric probes (+5 VREF), as well as 20 Vdc
to supply a secondary terminal, such as the aria terminal (TAT***), in alternative to the standard one;
• the terminal J11 (connection to the pLAN network) in the fi rst prototypes of the pCO
3
only has a pitch of 3.81, rather than the 5.08
on the pCO
2
;
• the LEDs near the dipswitches for setting the pLAN address have been moved between connectors J3 and J4;
• the red probe power supply overload LED has been removed.
pCO
3
simulator:
If testing the pCO
3
with a simulator, note that the pCO
2
simulator cannot be used in place of the pCO
3
simulator. Contact CAREL for the
availability of the latter.
Procedure for setting the address of the controller and terminal
Setting the address of the controller
The pCO
3
controller does NOT have dipswitches for setting the pLAN address. The address must be set by software, as for the pCO
1/XS
.
The procedure is as follows:
1. switch the pCO
3
off;
2. prepare a standard Carel terminal with the address set to 0 (not necessary if the pCO
3
Built-In terminal is used). For this operation,
see the following paragraph;
3. connect the terminal to the pCO
3
;
4. disconnect any other devices connected in the pLAN from the pCO
3
(terminal J11);
5. switch the pCO
3
on, pressing the UP + ALARM buttons at the same time. This combination of buttons is the same on the built in
terminal. Alternatively, on the PCOT terminals, use the combination of the
menu
and buttons.
6. after a few seconds, the following screen will be displayed:
PLAN ADDRESS: 0
UP: INCREASE
DOWN: DECREASE
ENTER: SAVE & EXIT
7. to modify the address simply use the UP and DOWN buttons and then press ENTER to confi rm.
8. now set the pLAN address of the terminal and confi gure the pLAN network.
Setting the address of the terminal
pCOI/pCOT terminal
The address of the terminal is set using the DIPSWITCHES on the rear of the terminal.
pGD0/1/2/3 terminal
The default value of the address is 32.
The address of the terminal can only be set after having connected the power supply via the telephone connector.
To enter confi guration mode, press the ↓↑↵ buttons at the same time (even when the terminal is already on), in all the versions, for at
least 5 seconds; the following screen will be displayed, with the cursor fl ashing in the top left corner:
Display address
setting.........:nn
I/O Board address:xx
• to modify the address of the terminal (display address setting) press the ↵ button once: the cursor will move to the address fi eld
(nn).
 Loading...