SUMMARY STEPS
1. With a wrist strap on, loosen the two captive screws on the faceplate of the Cisco ASR 1002-X Router
module.
2. Using the handles on both sides of the module, with two hands gently slide the module out of the chassis
slot.
3. Place the module on an antistatic mat or pad and ensure that you are wearing an antistatic device, such as
a wrist strap.
4. Position the module so that the faceplate is toward you and the edge connector is away from you.
5. Locate the DIMMs on the module. See xref Figure 14-16, callout 2.
6. For the DIMM you want to remove, pull down the lever on the DIMM socket to release the DIMM from
the socket. See the following figure.
7. When one end of the DIMM is released from the socket, grasp each end of the DIMM with your thumb
and forefinger and pull the DIMM completely out of the socket. Handle the edges of the DIMM only;
avoid touching the memory module or pins and the metal traces (the metal fingers along the connector
edge of the DIMM) along the socket edge.
8. Place the DIMM in an antistatic bag to protect it from ESD damage.
9. Repeat Step 5 through Step 8 for the remaining DIMMs if required for your upgrade.
DETAILED STEPS
Step 1 With a wrist strap on, loosen the two captive screws on the faceplate of the Cisco ASR 1002-X Router module.
Step 2 Using the handles on both sides of the module, with two hands gently slide the module out of the chassis slot.
Step 3 Place the module on an antistatic mat or pad and ensure that you are wearing an antistatic device, such as a wrist strap.
Step 4 Position the module so that the faceplate is toward you and the edge connector is away from you.
Step 5 Locate the DIMMs on the module. See xref Figure 14-16, callout 2.
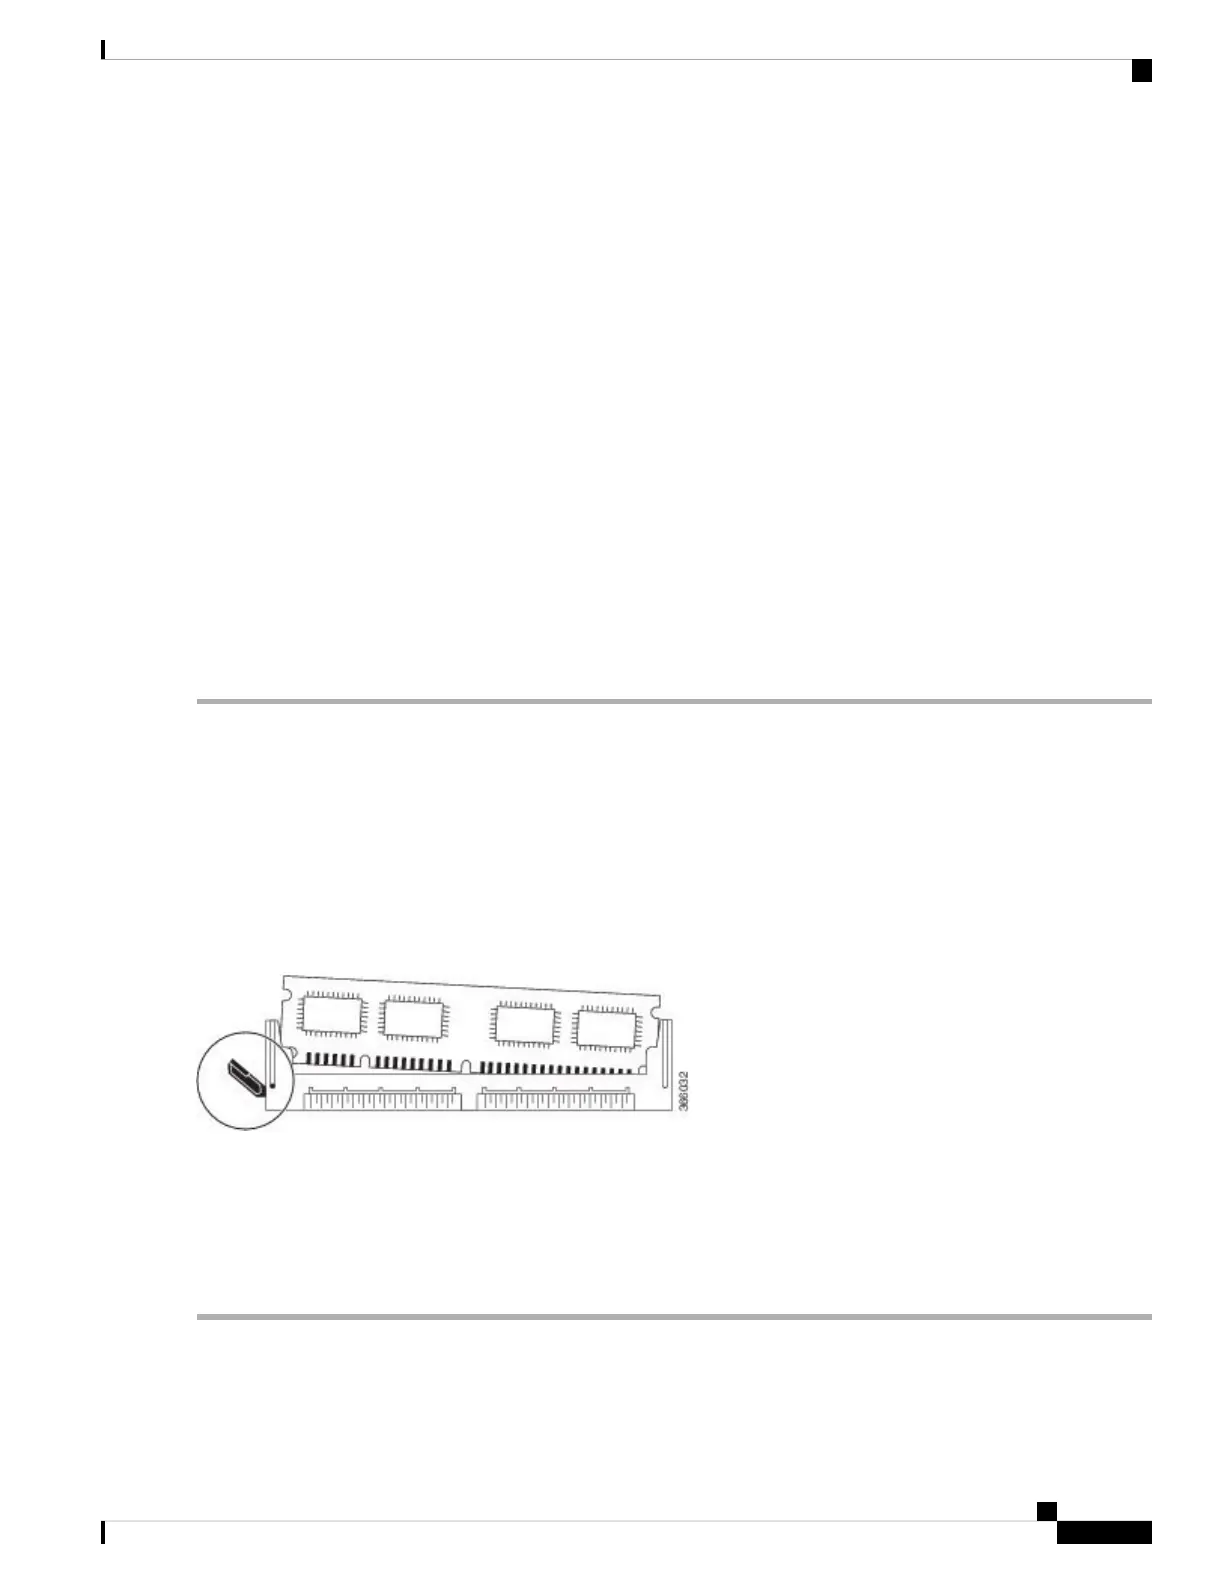
Step 6 For the DIMM you want to remove, pull down the lever on the DIMM socket to release the DIMM from the socket. See
the following figure.
Figure 26: DIMM Socket Release Lever to Remove the DIMM
Step 7 When one end of the DIMM is released from the socket, grasp each end of the DIMM with your thumb and forefinger
and pull the DIMM completely out of the socket. Handle the edges of the DIMM only; avoid touching the memory module
or pins and the metal traces (the metal fingers along the connector edge of the DIMM) along the socket edge.
Step 8 Place the DIMM in an antistatic bag to protect it from ESD damage.
Step 9 Repeat Step 5 through Step 8 for the remaining DIMMs if required for your upgrade.
Removing and Replacing FRUs from the Cisco ASR 1000 Series Routers
37
Removing and Replacing FRUs from the Cisco ASR 1000 Series Routers
Removing the Cisco ASR1002-X Router DIMMs

 Loading...