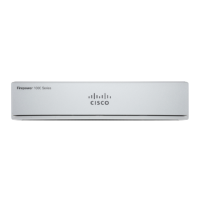
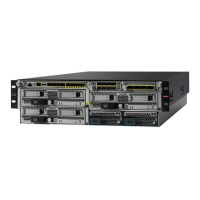
These interfaces form a hardware bypass pair.
• Connect GigabitEthernet 1/3 to a redundant outside router, and GigabitEthernet 1/4 to a redundant inside
router.
These interfaces form a hardware bypass pair if your model has copper ports; fiber does not support
hardware bypass. These interfaces provide a redundant network path if the other pair fails. All 4 of these
data interfaces are on the same network of your choice. You will need to configure the BVI 1 IP address
to be on the same network as the inside and outside routers.
• Connect Management 1/1 to your management computer (or network).
If you need to change the Management 1/1 IP address from the default, you must also cable your
management computer to the console port. See (Optional) Change Management Network Settings at the
CLI, on page 21.
(Optional) Change Management Network Settings at the CLI
If you cannot use the default management IP address, then you can connect to the console port and perform
initial setup at the CLI, including setting the Management IP address, gateway, and other basic networking
settings. You can only configure the Management interface settings; you cannot configure inside or outside
interfaces, which you can later configure in the GUI.
You do not need to use this procedure for the Firepower 4100/9300, because you set the IP address manually
when you deployed.
Note
You cannot repeat the CLI setup script unless you clear the configuration; for example, by reimaging. However,
all of these settings can be changed later at the CLI using configure network commands. See Cisco Secure
Firewall Threat Defense Command Reference.
Note
Procedure
Step 1 Connect to the FTD console port. See Logging Into the Command Line Interface (CLI), on page 9 for more
information.
Step 2 Log in with the username admin.
The default admin password is Admin123. On AWS, the default admin password for the FTDv is the AWS
Instance ID, unless you define a default password with user data (Advanced Details > User Data) during the
initial deployment.
Step 3 The first time you log into the FTD, you are prompted to accept the End User License Agreement (EULA)
and to change the admin password. You are then presented with the CLI setup script.
Defaults or previously-entered values appear in brackets. To accept previously entered values, press Enter.
See the following guidelines:
Getting Started
21
Getting Started
(Optional) Change Management Network Settings at the CLI

 Loading...

