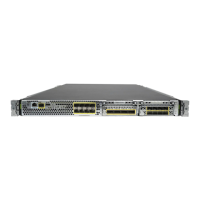
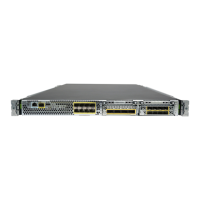
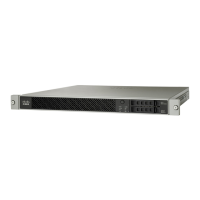
Figure 43: Remove the SSD
Step 4 To replace the SSD, make sure the power switch is still in the OFF position, and then hold the SSD in front of slot 1 and
push it in gently until it is seated.
Step 5 To install the MSP SSD, make sure the power switch is still in the OFF position and then remove the blank faceplate in
slot 2 by loosening the captive screws on either side of the faceplate.
Step 6 Hold the MSP SSD in front of slot 2 and push it in gently until it is seated.
Do not switch the two SSDs. Only the optional MSP SSD can be installed in slot 2. If you remove it and install
it in slot 1, all stored file capture data is lost.
Caution
Step 7 Tighten the captive screws on either side of the SSD.
Step 8 Verify that the SSD is operational by checking the SSD LED. See Front Panel LEDs, on page 9 for a description of the
fan LEDs.
Remove and Replace the Power Supply Module
You can remove and replace power supply modules while the system is running.
Safety Warnings
Take note of the following warnings:
Cisco Firepower 4110, 4120, 4140, and 4150 Hardware Installation Guide
62
Installation, Maintenance, and Upgrade
Remove and Replace the Power Supply Module
 Loading...
