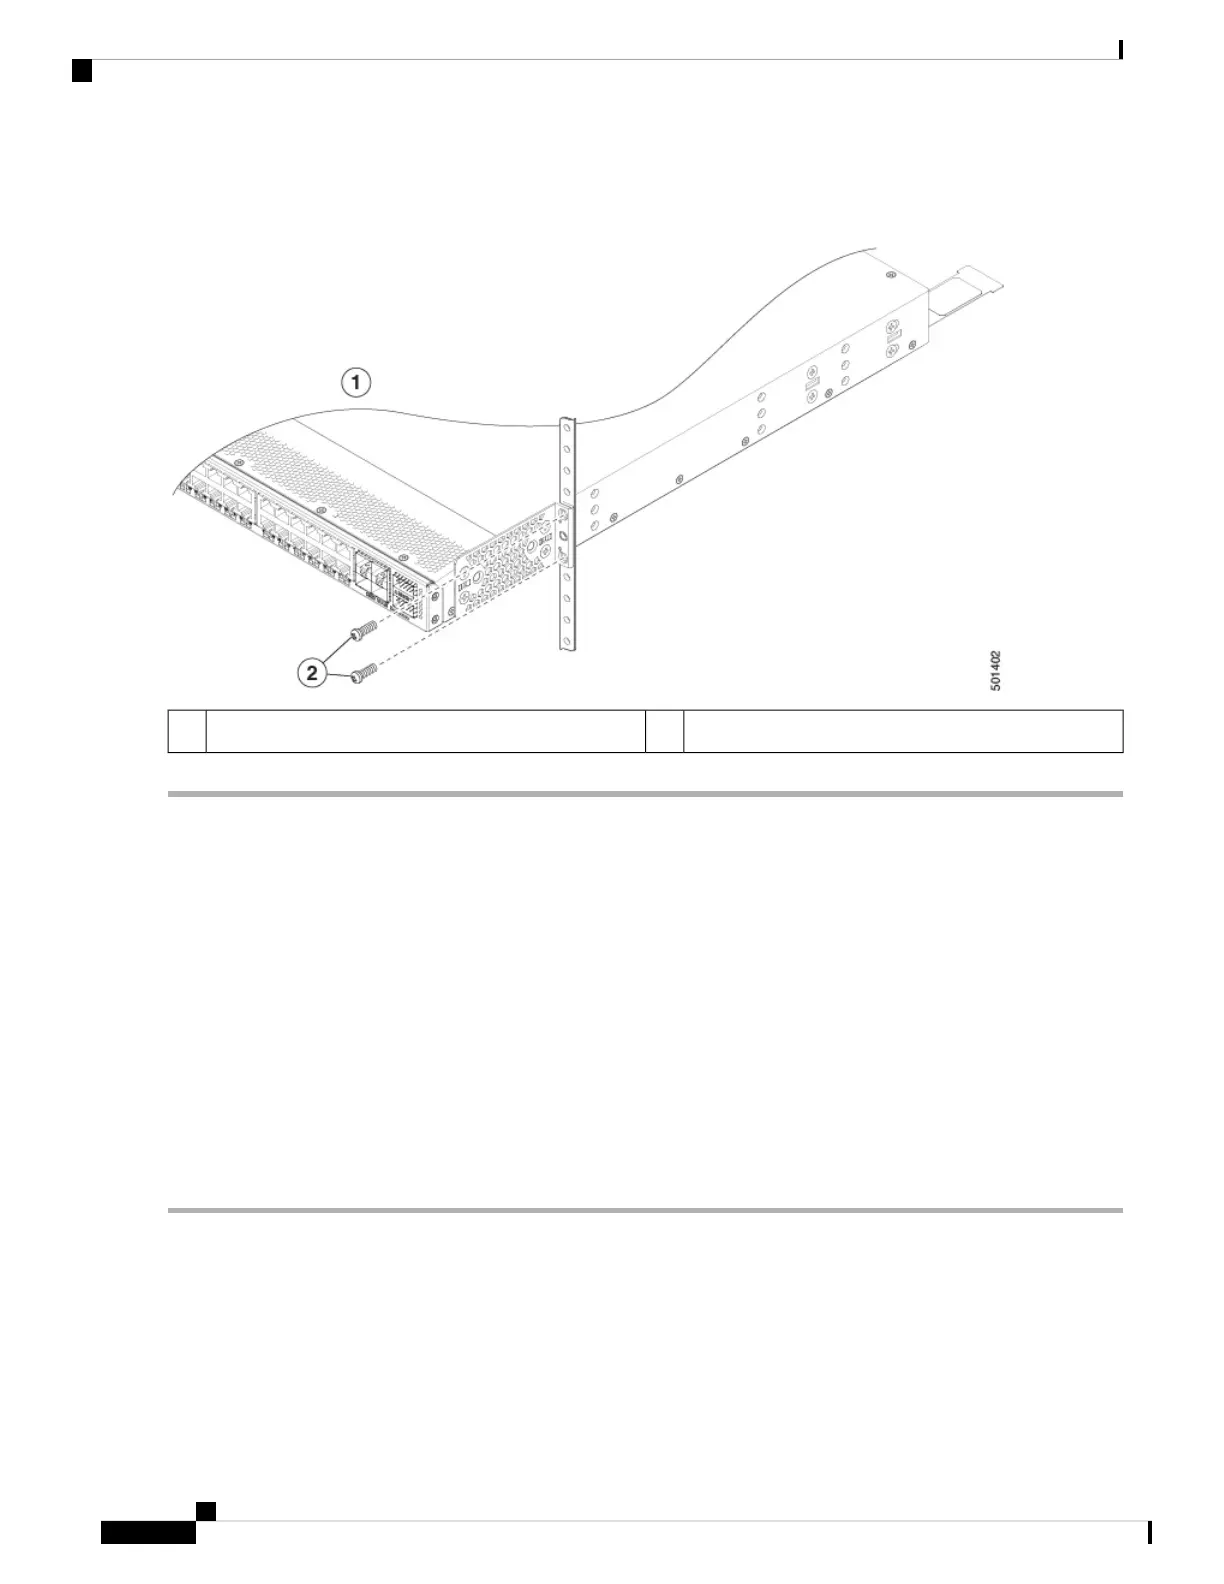
Step 2 Install the chassis into the rack.
a) Use two M4 screws to attach the brackets to the rack.
M4 screws (2 each side)2Front-mounting position1
Installing a 2 (RU) Chassis in a Four-Post Rack
This section describes the rack installation for the Cisco Nexus 3000 series switch into a four-post rack.
Before moving or lifting the chassis, follow these guidelines:
• Ensure that all cables are disconnected from the switch.
• Ensure that there is adequate space around the switch for servicing and airflow.
• Ensure that you have solid footing and that the weight of the switch is evenly distributed between your
feet.
• Lift the switch slowly, keeping your back straight. Lift with your legs, not with your back. Bend at the
knees, not at the waist.
Step 1 Attach the bottom-support rails on the rack as follows:
a) Position an expanding set of bottom-support brackets on the rack with each end touching a vertical mounting rail on
the front and rear of the rack. Ensure that the chassis stop is on the side of the chassis where you plan to position the
power supply and fan modules when you install the chassis (see the following figure).
Cisco Nexus 3000 Series Hardware Installation Guide
42
Installing the Chassis
Installing a 2 (RU) Chassis in a Four-Post Rack
 Loading...