13
Configuration Summary
Review the following details of your conguration.
MANAGEMENT
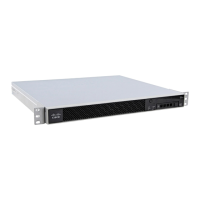
You can manage your Blocker from the management port (Data 1)
by entering http://192.168.42.42, or via the IP address assigned to
your Data 2 interface after you have completed the System
Setup Wizard. If you reset your conguration to factory default
settings (for example, by re-running the System Setup Wizard),
you can only access the Management interface from the Data 1
port (http://192.168.42.42), so ensure you have a connection to
the Data 1 port.
Also, verify that you open rewall Ports 80 and 443 on your
management interface.
INCOMING EMAIL
After running the System Setup Wizard, your Data 2 port is
congured for inbound email and management settings are enabled
on this interface.
OUTBOUND EMAIL
After running the System Setup Wizard, your Blocker is congured
to accept inbound email. You can also congure it to relay outbound
email. For instructions on conguring outbound email, see the
Cisco Spam & Virus Blocker User Guide.
COMPUTER IP ADDRESS
Remember to change your computer IP address back to the original
settings that you noted in Step 3.
warning
You must shut down your Blocker from the
System Administration > Shutdown/Reboot
page to prevent corruption of your queue
and conguration les.
 Loading...
