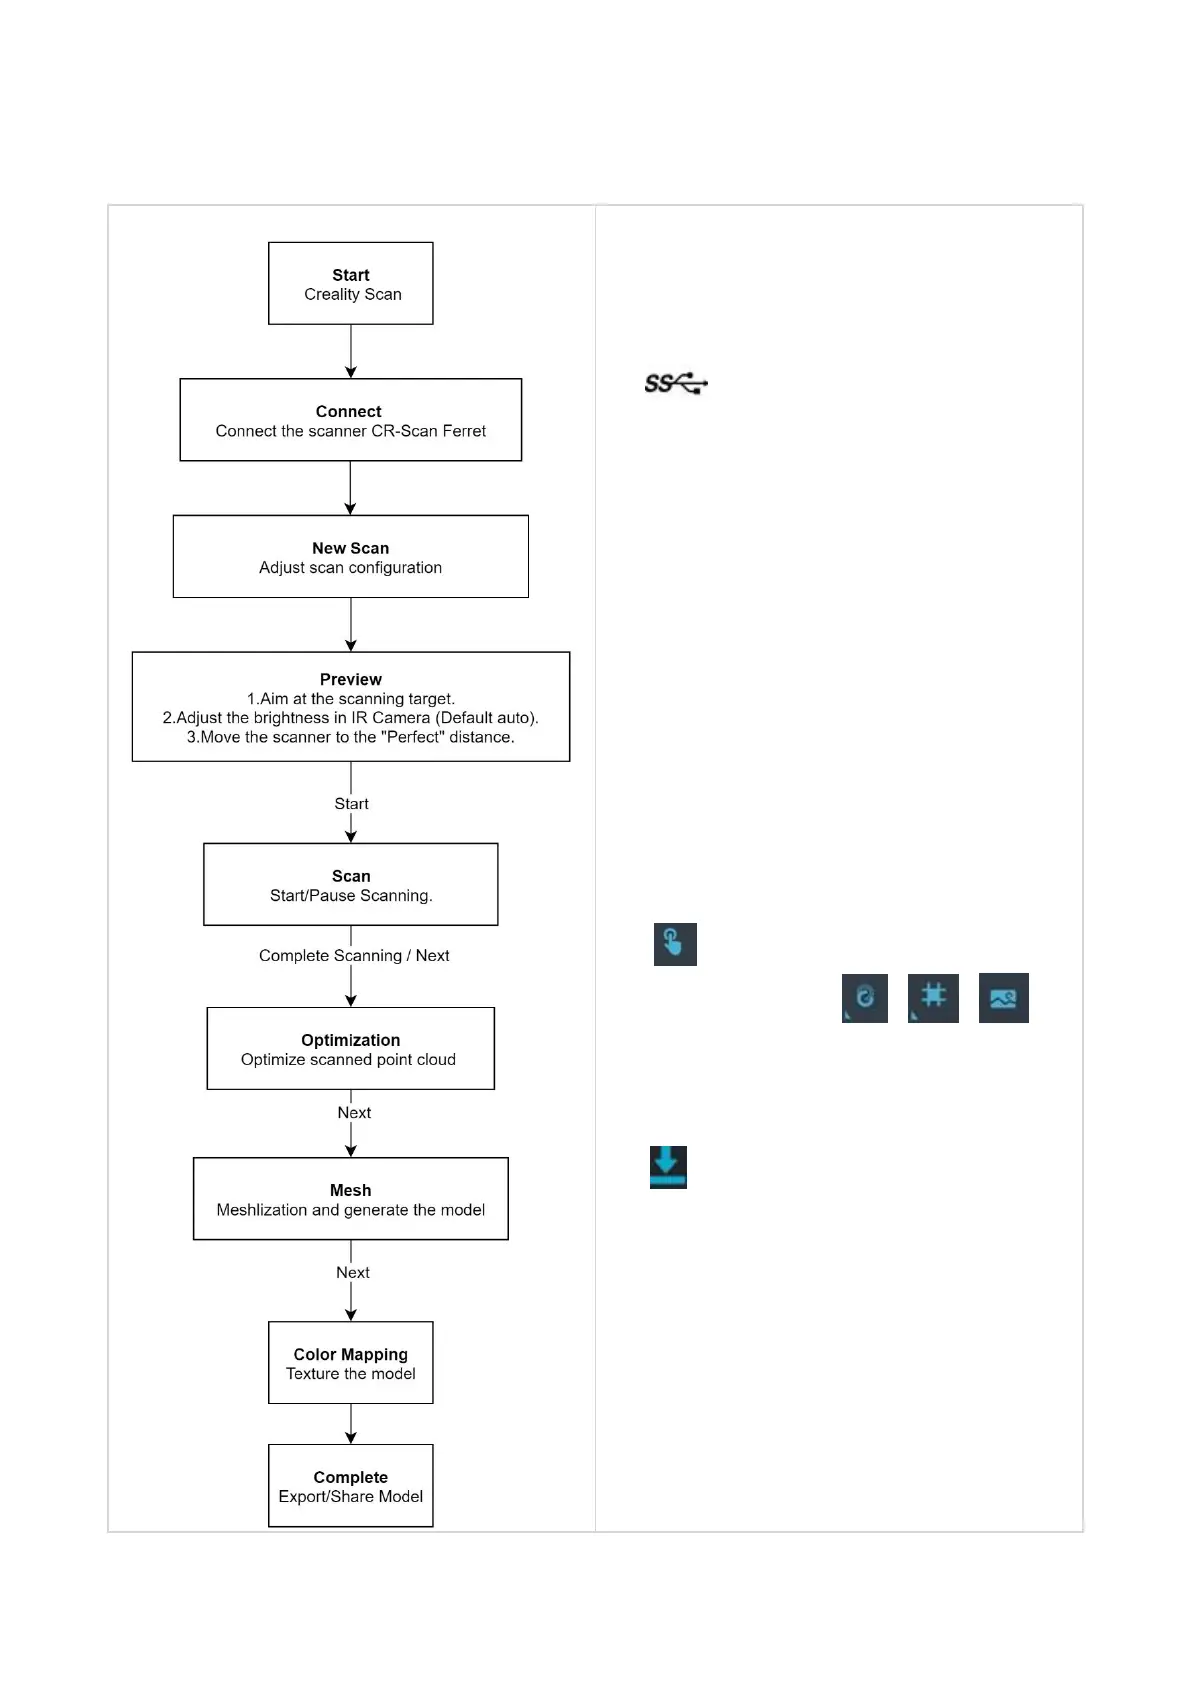
6. Workflows
4 steps to get a vivid mode (for PC):
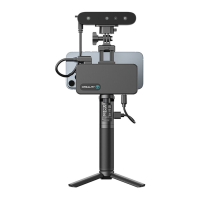
Step1: Device
Connect the USB cable to the computer and then to
the scanner. Connecting the scanner to a USB 3.0
port is highly recommended for faster data
transfer. A USB port without sufficient power may lead
device not showing any images. It is recommended to
try other USB 3.0 ports if that happens. Please note
that you need to plug in quickly otherwise it would be
detected as USB 2.0.
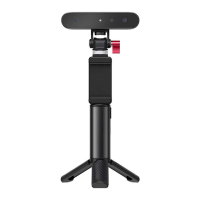
Step2: Scan
Select proper settings (geometry or texture) according
to the object; adjust the distance between object and
scanner to ‘Optimal distance’. Scan your model until
majority of the model turns green for better quality
model. For finer details, please select ‘Hi-Quality’.
Step3: Process
Click to process the result automatically with
default settings or click on to
process result manually with customized settings.
Step4: Export
Click to export the 3D model. Select a file
name and. a file format(PLY, OBJ & STL, are
supported).
 Loading...