8 • CCS-UC-1: Crestron Mercury with Skype for Business Configuration Guide – DOC. 8256A
7. Configure the SIP Address: Enter the SIP URI of the Skype for Business user.
8. Click Save Changes.
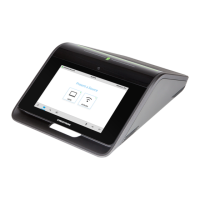
When SfB is enabled, the Crestron Mercury device displays a Skype logo on its Make a Call
screen. The logo is greyed out until the device registers with SfB.
Add Certificates
For a successful TLS handshake between the Crestron Mercury device and SfB, a root
certificate needs to be added to the Crestron Mercury device. This can be downloaded from
the certificate authority that serves SfB.
To upload certificates to the Crestron Mercury device, follow this procedure:
1. Navigate to Device > Skype for Business.
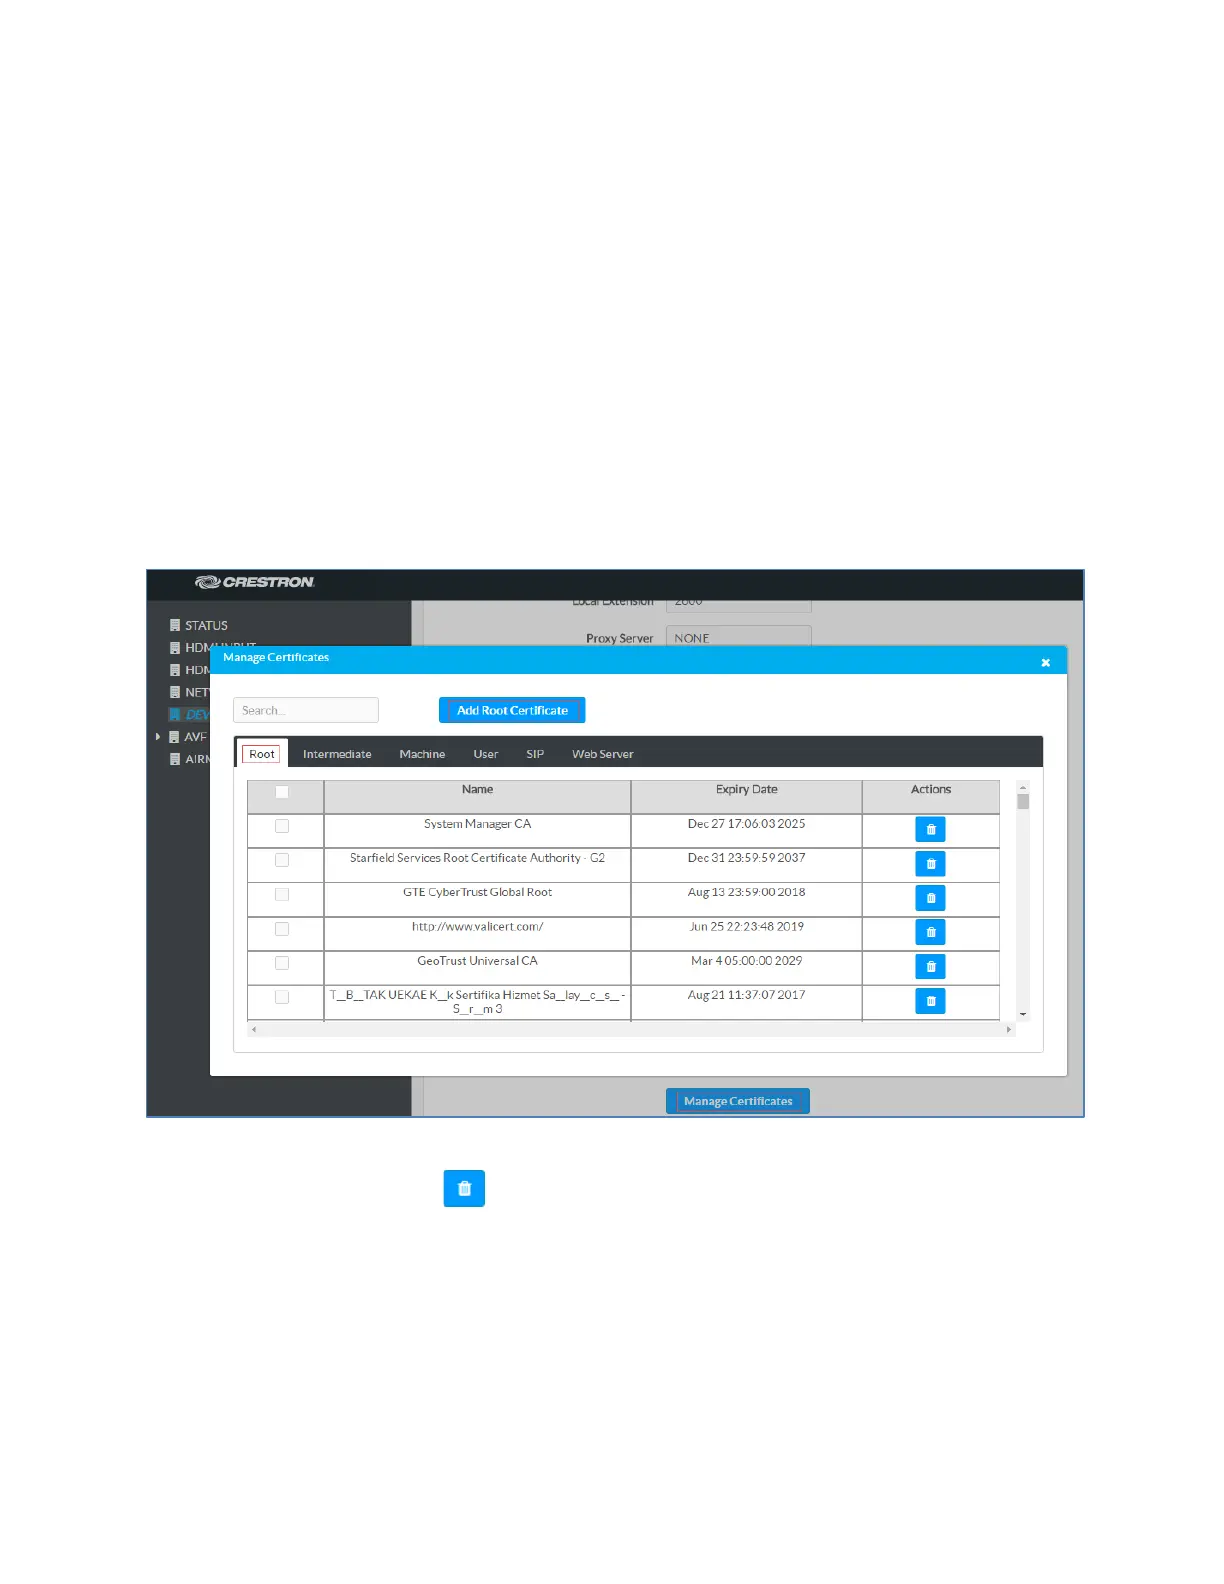
2. Click Manage Certificates.
Mercury: UI: Manage Certificates Screen: Add Root Certificate
3. Click Add Root Certificate. The Add Certificate screen is displayed.
a. Click to delete a certificate from the list of certificates.
b. Click Add Root Certificate. The Add Certificate screen is displayed.
 Loading...