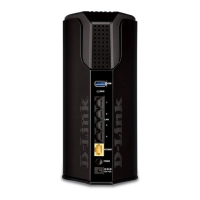
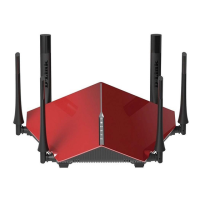
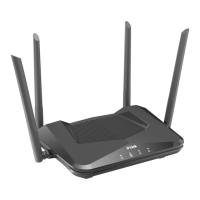
DIR-842V2 AC1200 Wi-Fi Gigabit Router
User Manual
Configuring via Web-based Interface
In the Basic Settings section, the following parameters are available:
Parameter Description
Enable Wireless
To enable Wi-Fi connection, move the switch to the right.
To disable Wi-Fi connection, move the switch to the left.
To enable/disable Wi-Fi connection on a schedule, click the Set
schedule button (
). In the opened window, you can create a
new schedule (see the Schedule section, page 225) or use the
existing one. Existing schedules are displayed in the Interval of
execution drop-down list in the simplified mode.
To enable Wi-Fi connection at the time specified in the schedule
and disable it at the other time, select the
connection value from the Action drop-
SAVE button.
To disable Wi-Fi connection at the time specified in the schedule
and enable it at the other time, select the Disable wireless
connection value from the Action drop-
SAVE button.
To change or delete the schedule, click the Edit schedule
button ( ). In the opened window, change the parameters and
click the SAVE button or click the DELETE FROM
SCHEDULE button.
Wireless mode
Operating mode of the wireless network of the router. This
parameter defines standards of the devices that will be able to use
your wireless network. Select a value from the drop-down list.
Select channel
automatically
Move the switch to the right to let the router itself choose the
channel with the least interference.
Enable additional
channels
If the switch is moved to the left, the device automatically selects
one of available standard channels. To use additional channels
(the 12th and 13th – in the 2.4 GHz band, the 100th and higher –
in the 5 GHz band), move the switch to the right.
Channel
The wireless channel number. Left-click to open the window for
selecting a channel (the action is available, when the
channel automatically switch is moved to the left).
Enable periodic
scanning
Move the switch to the right to let the router search for a free
channel in certain periods of time. When the switch is moved to
the right, the Scanning period field is available for editing.
 Loading...
