xStack® DGS-3420 Series Layer 2+ Managed Stackable Gigabit Switch Hardware Installation Reference Guide
15
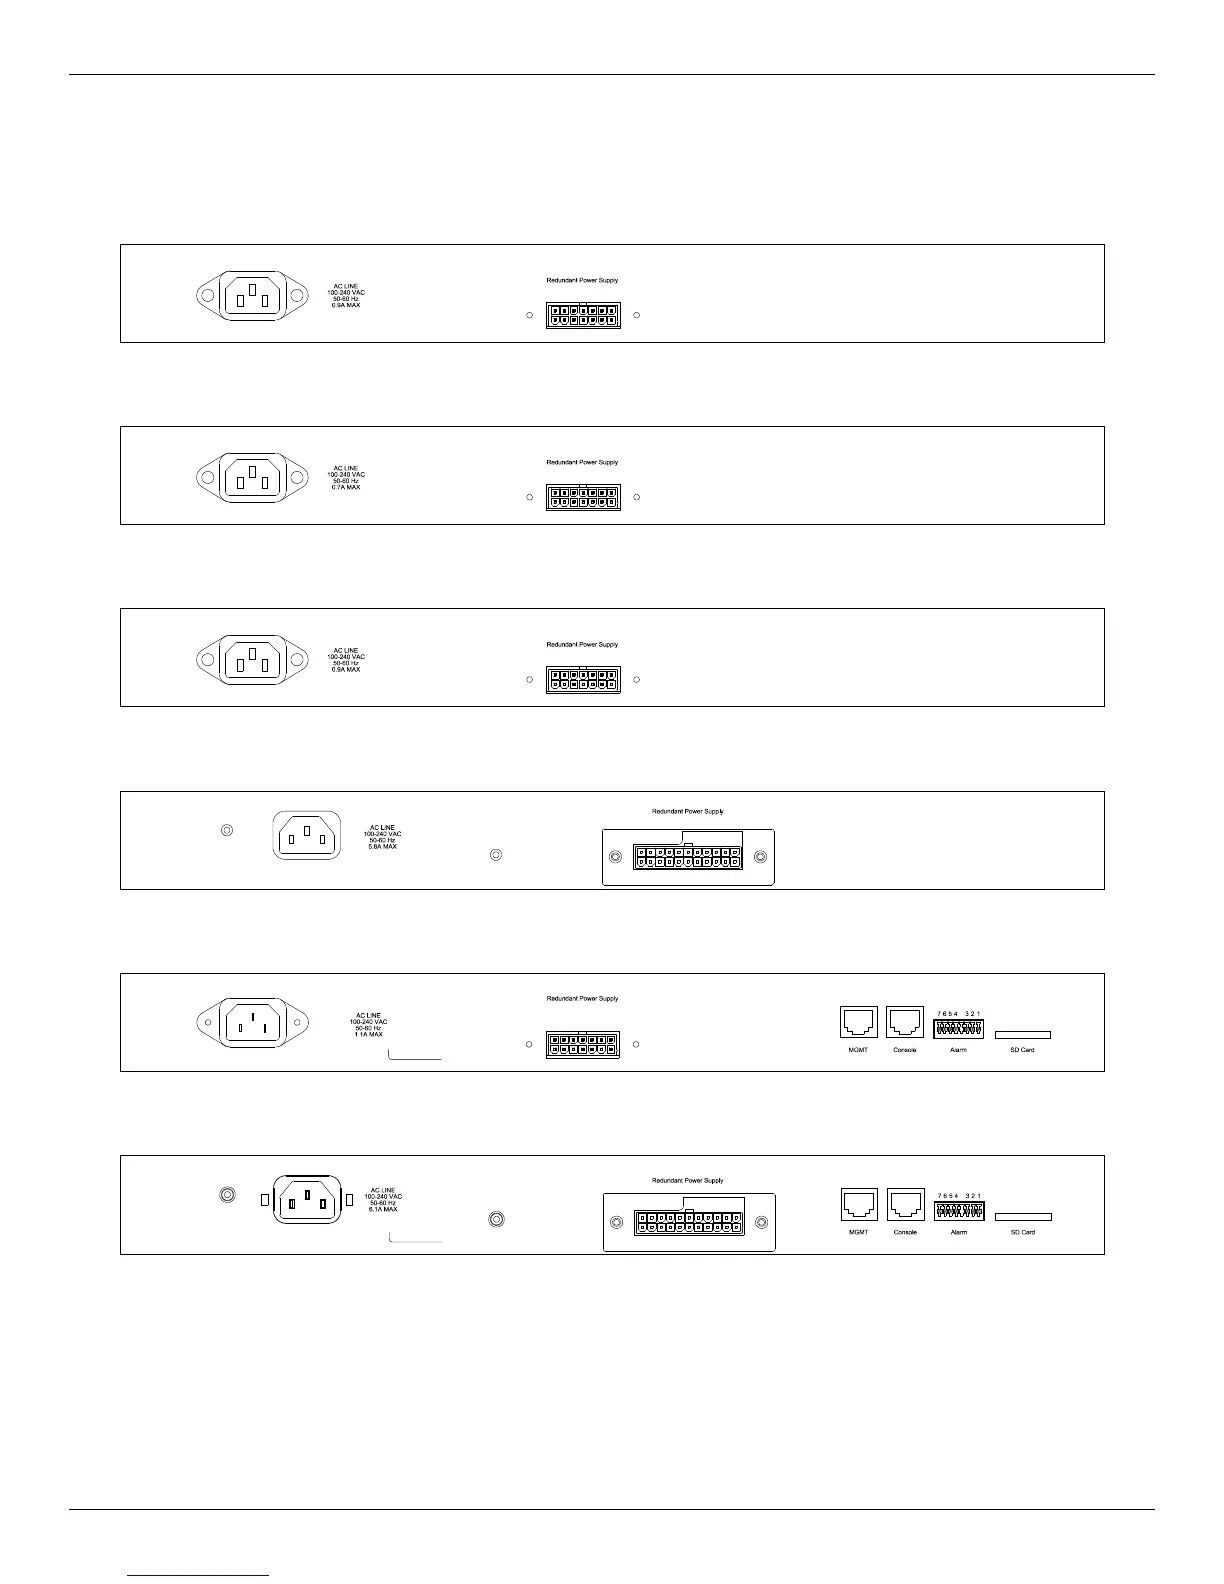
Rear Panel Components
The rear panel contains an AC/DC power connector and an outlet for an external redundant power supply.
Figure 1- 13. Rear panel view of a DGS-3420-28SC Switch
Figure 1- 14. Rear panel view of a DGS-3420-28TC Switch
Figure 1- 15. Rear panel view of a DGS-3420-26SC Switch
Figure 1- 16. Rear panel view of a DGS-3420-28PC Switch
Figure 1- 17. Rear panel view of a DGS-3420-52T Switch
Figure 1- 18. Rear panel view of a DGS-3420-52P Switch
The AC power connector is a standard three-pronged connector that supports the power cord. Plug-in the female
connector of the provided power cord into this socket, and the male side of the cord into a power outlet. The Switch
automatically adjusts the power setting to any supply voltage in the range from 100~240 VAC at 50~60 Hz. An optional
external Redundant Power Supply (DPS-500 for DGS-3420-28TC/28SC/26SC/52T, DPS-700 for DGS-3420-28PC/52P)
can be plugged into the RPS outlet displayed above. When the internal power fails, this optional external RPS will take
over all the power immediately and automatically.
 Loading...