17. Adjust refrigerant charge to obtain pressures indicated
in the temperature/pressure Charging Charts starting on
page 21.
18. Note weight of refrigerant tank.
19. When system has stabilized, check superheat at the
suction line service valve. The actual line temperature
should be 8° to 20°F higher than the saturation
temperature corresponding to the vapor pressure.
If superheat is measured at evaporator, the actual
line temperature should be 6° to 10° higher than the
saturation temperature corresponding to the vapor
pressure.
20. Close service ports on vapor and liquid valves. Remove
service gauges.
21. Replace service port caps and valve stem caps. These
caps must be replaced to prevent leaks.
22. Record total charge quantity on rating plate.
Final Leak Testing
After the unit has been properly evacuated and charged, a
halogen leak detector should be used to detect leaks in the
system. All piping within the condensing unit, evaporator, and
interconnecting tubing should be checked for leaks. If a leak is
detected, the refrigerant should be recovered before repairing
a the leak. The Clean Air Act prohibits releasing refrigerant into
the atmosphere.
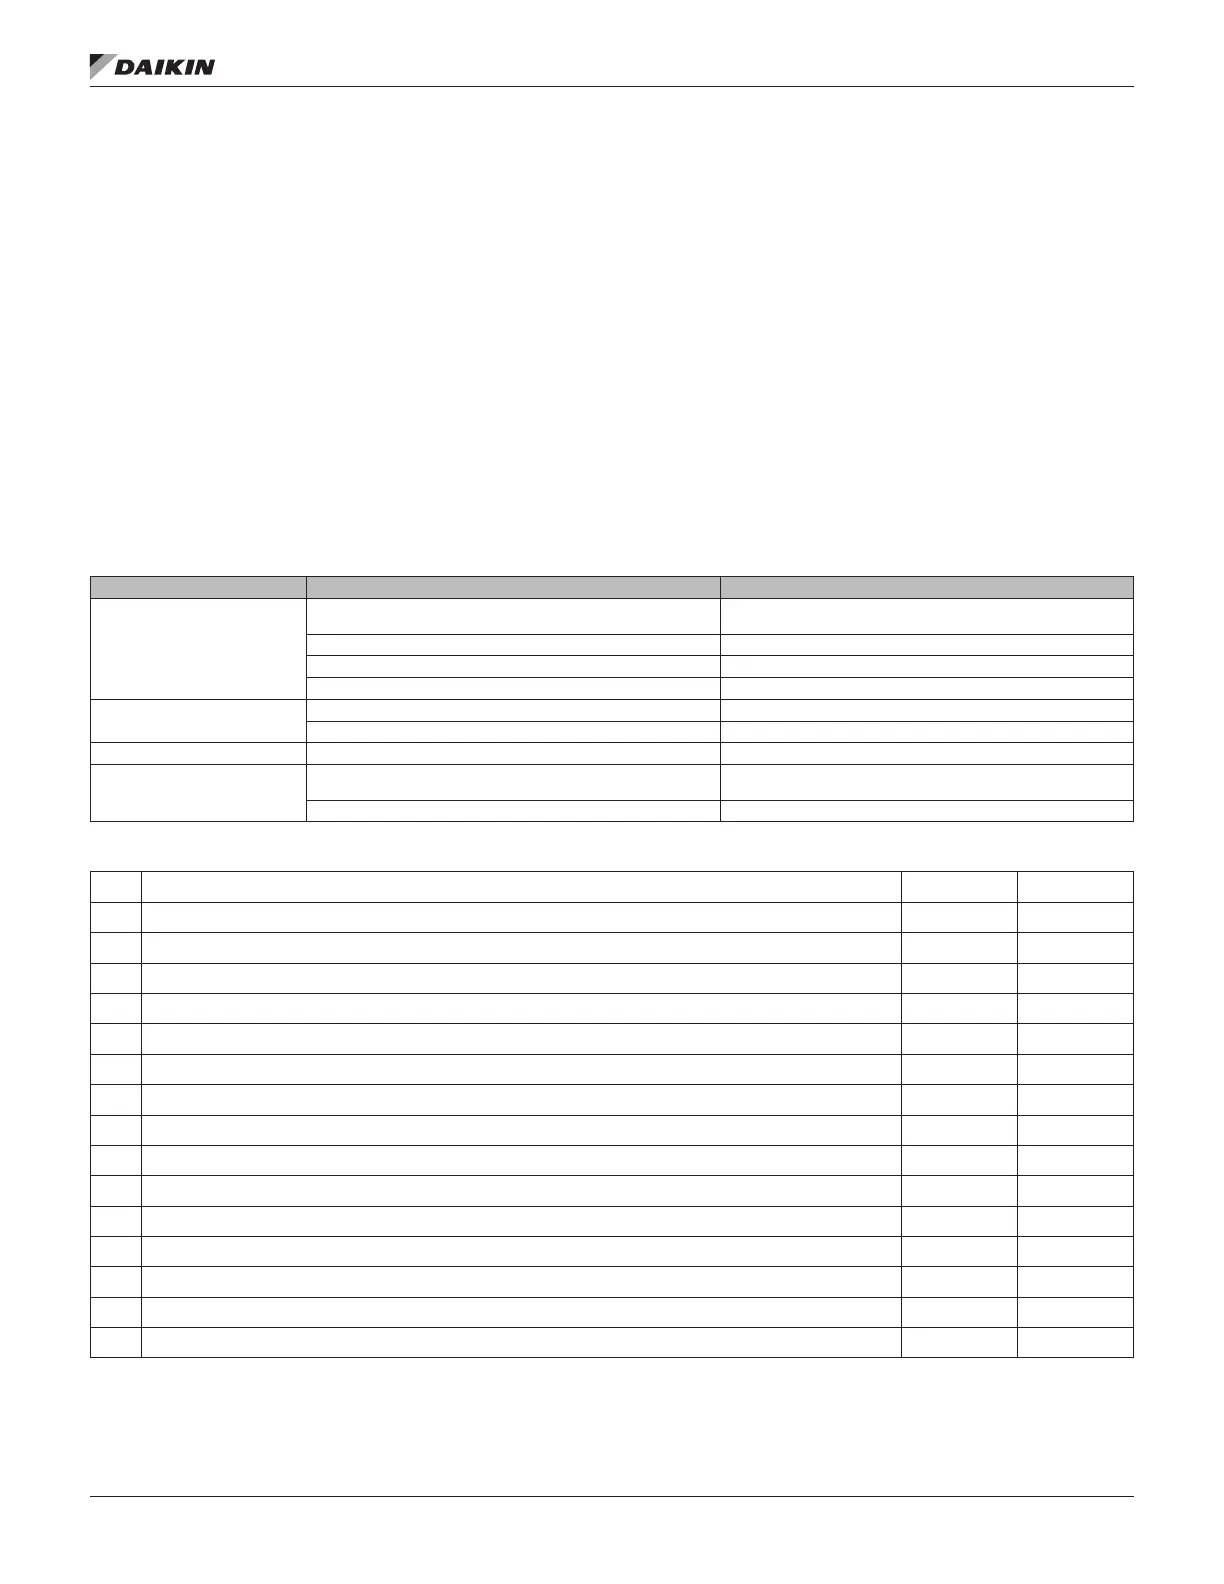
Table 14: Charging Hints
Symptom Possible Cause Remedy
High head pressure
Air ow to/from condenser restricted or dirty condenser
Remove obstruction, relocate condensing unit,
if necessary clean condenser
Faulty condenser fan or motor Replace
Overcharge of refrigerant Reduce charge
Air in system Evacuate and recharge
Low head pressure
Short of refrigerant Check for leak, add charge
Low evaporator air ow Increase blower speed, check lters
Low vapor & hot compressor Short of refrigerant Check for leak—add refrigerant
Excessive sweating
Low indoor airow
Increase speed of air handler blower or reduce restriction,
replace air lter
Excess refrigerant Slowly reduce charge
Table 15: Pre-Start Check
1 Is the condensing unit properly located and level?
Yes No
2 Is there free air movement to and from the condensing unit?
Yes No
3 Is the wiring connected according to the unit wiring diagram?
Yes No
4 Are the wiring connections tight (including those in the unit and compressor electrical box)?
Yes No
5 Is the unit properly grounded?
Yes No
6 Is the circulating air blower correctly wired?
Yes No
7 Is the condensing unit properly fused?
Yes No
8 Is the thermostat level, correctly wired and in a good location?
Yes No
9 Is the ductwork correctly sized, run, taped and insulated?
Yes No
10 Is the refrigerant tubing neatly run and the vapor line thoroughly insulated?
Yes No
11 Is the condensate drain properly sized, run, trapped and pitched?
Yes No
12 Are the refrigerant connections tight and leak tested?
Yes No
13 Are the lters clean and in place?
Yes No
14 Does the condenser fan turn freely without rubbing?
Yes No
15 Is the fan blade tight on the fan shaft?
Yes No
16 Areall covers and access panels in place to prevent air loss?
Yes No
IM 962-4 • AIR-COOLED SPLIT SYSTEM CONDENSERS 18 www.DaikinApplied.com
 Loading...