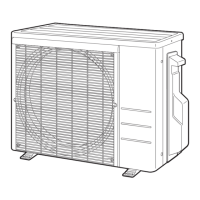
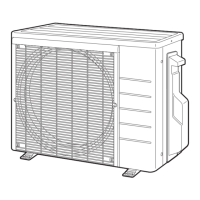
(R26246)
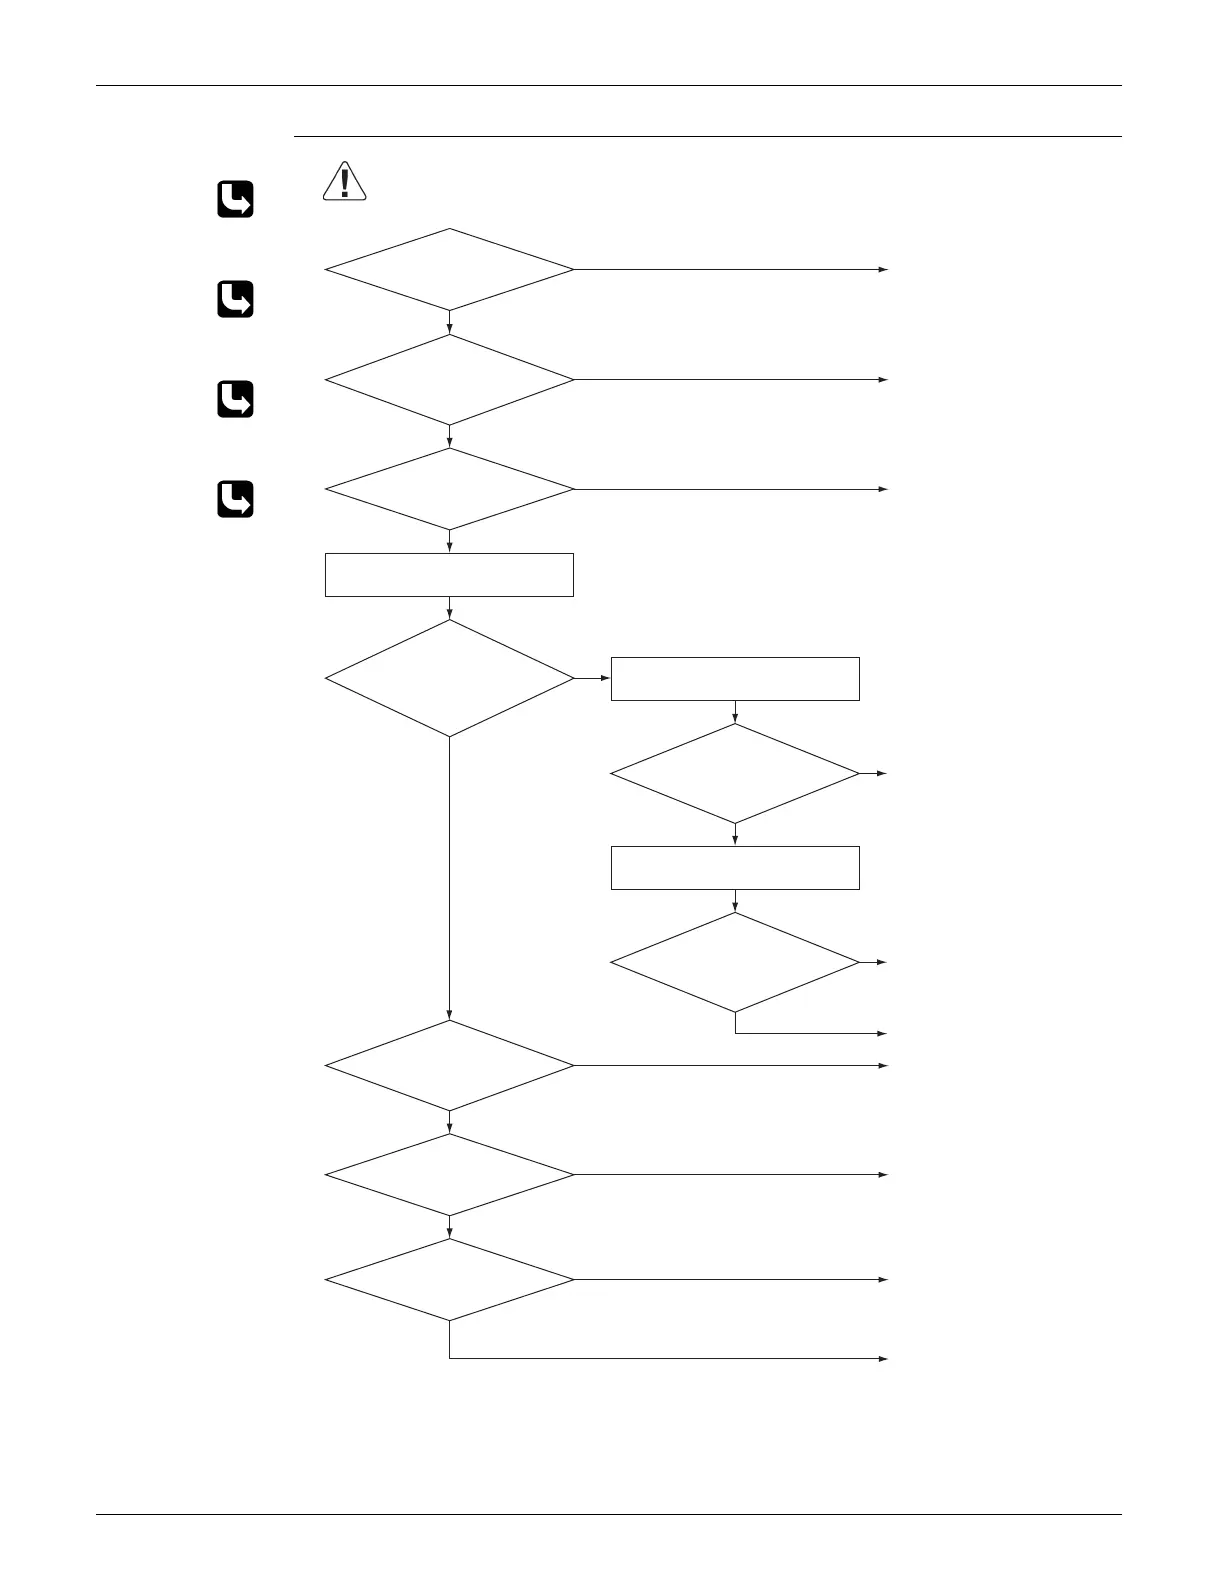
Caution
YES
NO
OK
NG
NG
OK
NG
OK
∗ Refrigerant shortage
∗ Refrigerant overfill
∗ Water mixed
∗ Stop valve
Disconnect the connector S40
from the PCB.
Disconnect the 2 terminals of
the OL (Q1L).
Disconnect the 2 terminals of
the HPS (S1PH).
Resistance
∞
Resistance
∞
Resistance
∞
Nearly 0 Ω
Nearly 0 Ω
Nearly 0 Ω
Insert the thermistor in
position.
∗ Discharge pipe thermistor
∗ Indoor heat exchanger thermistor
∗ Outdoor heat exchanger thermistor
∗ Discharge pipe thermistor
∗ Indoor heat exchanger thermistor
∗ Outdoor heat exchanger thermistor
Replace the electronic
expansion valve or the coil.
Refer to the refrigerant line
check procedure.
Replace the outdoor unit
PCB (main PCB).
Replace the four way valve
or the coil.
Replace the outdoor unit
PCB (main PCB).
Thermistor
disconnected?
NG
OK
Replace the defective
thermistor(s).
Check No. 01
Check the thermistor
resistance value
Check No. 13
Check the four way valve.
Check No. 14
Check the refrigerant line.
Check No. 12
Check the electronic
expansion valve.
Replace the OL (Q1L).
Replace the harness.
YES
NO
Connect the connector S40
properly.
Is the connector S40
properly connected?
Check the
resistance between the 2
terminals on connector
S40.
Check the
resistance between the 2
terminals of the OL
(Q1L).
Replace the HPS (S1PH).
Check the
resistance between the 2
terminals of the of the
HPS (S1PH).
Be sure to turn off the power switch before connecting or disconnecting
connectors, or parts may be damaged.
 Loading...