EasyManua.ls Logo

Datamax A-Class A-4310 User Manual

Default Icon
166 pages
To Next Page IconTo Next Page
To Previous Page IconTo Previous Page
Page #53 background imageLoading...
Page #53 background image
A-Class 39
4.2.3 Printer Options
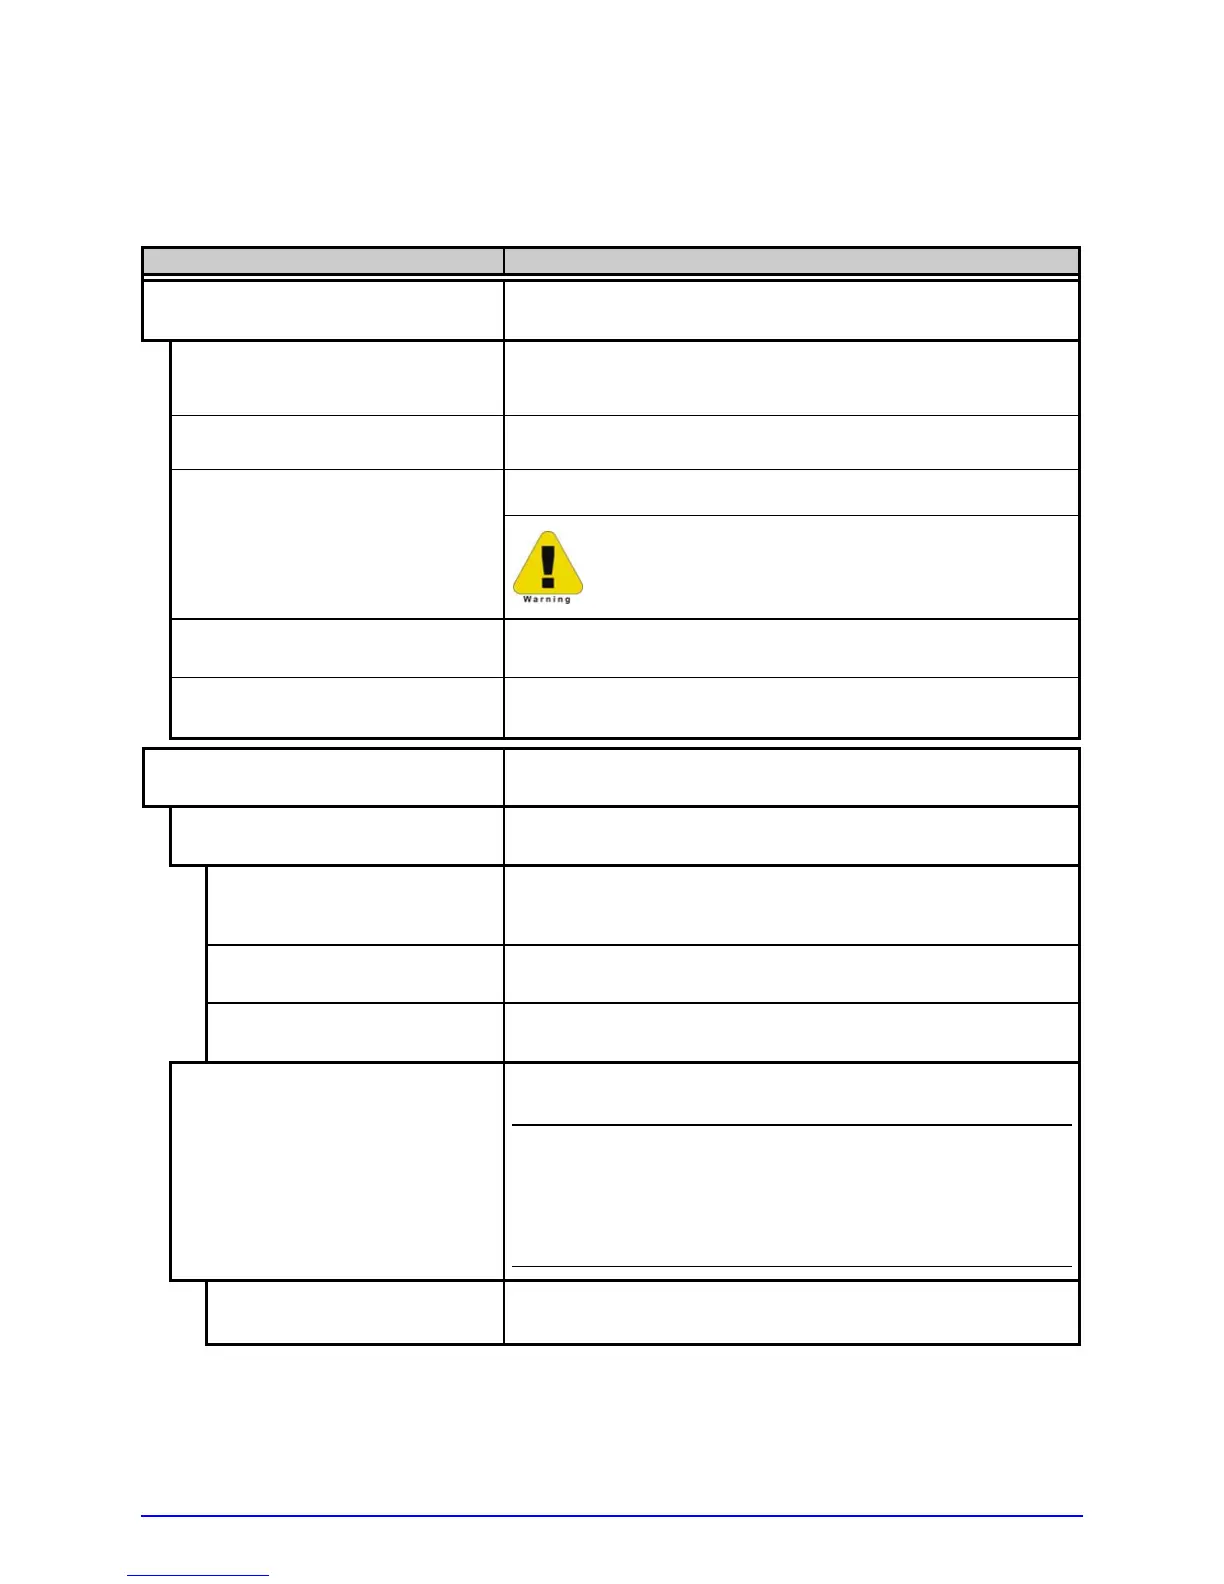
The Printer Options menu contains module, file handling, and option functions:
Menu Item Details
MODULES
Controls module functions (see Appendix A), where:
PRINT DIRECTORY Prints files present and available memory in a module.
(Selecting ALL will print the results from every
module.)
PRINT FILE Displays a list of stored files then prints the selected
file image or name.
Selects from a list of modules available for formatting.
FORMAT MODULE
All data in the selected module will be erased.
DELETE FILE
Deletes a file name, preventing further access.
(Protected modules will not appear.)
PACK MODULE
Reclaims all storage space associated with the deleted
files on the specified module.
CUTTER
Controls the Cutter and queuing functions, where:
MODE
Sets the detection method and printer response,
where:
AUTO
The presence of the cutter is automatically sensed. If
detected, the cutter is enabled; otherwise, it will be
ignored.
ENABLED
Enables the cutter. If the cutter is not detected, a fault
will be generated.
DISABLED
Disables the cutter.
CUT BEHIND
Allows a number of small labels to queue before a cut
is performed, increasing throughput, where:
;
(1) Can be used without a cutter to allow the
presentation of an extra label, as retraction will not
be performed until the next job or feed.
(2) After a fault, the leading edge will be cut to
ensure material length.
0 (0 – 2)
Is the number of labels queued before cutting; see
Appendix A for details.

Table of Contents

Questions and Answers:

Datamax A-Class A-4310 Specifications

General IconGeneral
Print Resolution203 dpi
ConnectivityUSB, Serial, Ethernet
Max. Print Length39 inches
Print TechnologyThermal Transfer
Label Length Range0.5" to 39"

Summary

2 Getting Started

2.2.2 Interfacing a Host

Explains how to connect the printer to a host system via parallel, serial, and USB ports.

3 Setting up the Printer

3.1 Loading Media

Step-by-step instructions for loading various types of media into the printer.

3.2 Adjusting the Media Sensor

Explains how to position and adjust the media sensor for accurate label detection.

3.3 Loading Ribbon

Provides instructions for loading thermal transfer ribbon based on printer model and ribbon orientation.

3.4 Quick Calibration

Guides the user through the quick calibration process for optimal media detection.

3.5 Print Quality Controls

Explains how to adjust settings like HEAT and PRINT SPEED for print quality.

4 Using the Control Panel

4.2 The System Menu

Details the structure and navigation of the printer's system menu for configuration.

4.2.1 Media Settings

Covers menu options for configuring media type, sensor type, label length, and ribbon settings.

4.2.2 Print Control

Explains settings for print quality, throughput, and formatting like HEAT, PRINT SPEED, and CONTRAST.

4.2.3 Printer Options

Details configuration options for modules, file handling, cutter, ribbon saver, scanner, and barcodes.

4.2.4 System Settings

Covers settings for configuration files, modules, fonts, symbols, time/date, and printer identification.

4.2.5 Communications

Explains settings for serial, parallel, USB, and network interface ports for data communication.

4.2.6 Diagnostics

Describes diagnostic functions for testing printer options like cutters, ribbon savers, and GPIO.

4.3 The Test Menu

Explains how to access and use the test menu for printing various test labels.

5 Operating, Adjusting and Maintaining the Printer

5.2 Calibration

Guides on performing printer calibration to ensure accurate media detection.

5.2.1 Standard Method

Step-by-step instructions for performing a standard calibration procedure for media.

5.2.2 Advanced Entry

Provides an alternate calibration method for special media types when standard calibration fails.

5.3 Printhead Adjustments

Explains how to adjust the printhead for consistent print quality.

5.4 Printhead Replacement

Step-by-step instructions for safely replacing the printer's printhead.

5.6 Reset Methods

Explains the three levels of printer reset: Soft, Level One, and Level Two.

5.7 Updating the Firmware

Guides on how to update the printer's application program (firmware).

5.8 Updating the Boot Loader

Provides instructions for updating the printer's boot loader program.

6 Troubleshooting

6.1 Problem Resolution

Offers solutions for common printer problems that may not display specific error messages.

7 Specifications

Appendix B

Appendix F

Appendix G

Related product manuals