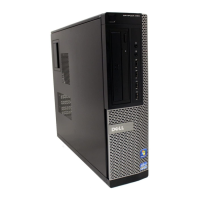
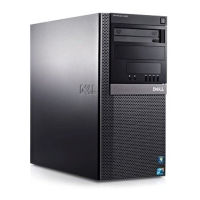
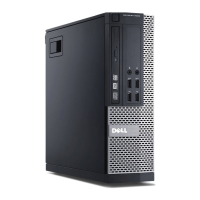
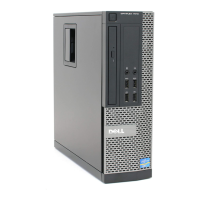
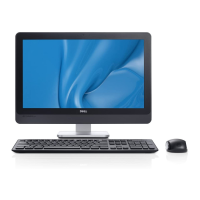
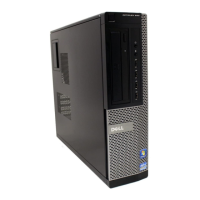
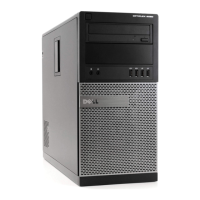
Figure 9. Removing the 3.5-inch hard drive
Steps
1. Disconnect the data and power cables from the hard drive.
2. Remove the two screws (#6-32) that secure the hard-drive assembly to the chassis.
3. Slide the hard-drive assembly away from the chassis and remove the hard-drive assembly out of the disk-drive cage.
4. Remove the two screws (#6-32) that secure the hard drive to the hard-drive carrier.
5. Slide and remove the hard drive from the hard-drive carrier.
Installing the 3.5-inch hard drive
Prerequisites
If you are replacing a component, remove the existing component before performing the installation procedure.
About this task
The following images indicate the location of the 3.5-inch hard drive and provide a visual representation of the installation
procedure.
46
Removing and installing Customer Replaceable Units (CRUs)
Restricted - Confidential

 Loading...
