
Do you have a question about the Dell Networking S3100 Series and is the answer not in the manual?
| Series | S3100 Series |
|---|---|
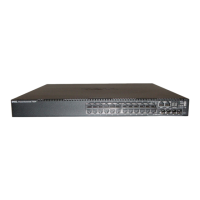
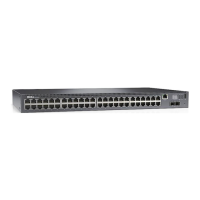
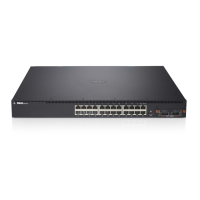
| Ports | 24 or 48 x 1GbE RJ45 ports |
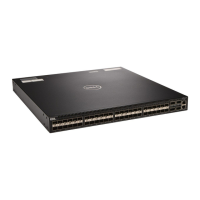
| Uplinks | 2 x 10GbE SFP+ ports |
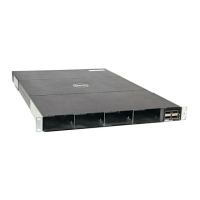
| Power Supply | Internal power supply |
| Stacking | Up to 6 units |
| Layer | Layer 2 |
| MAC Address Table Size | 16, 000 entries |
| VLANs Supported | 4094 |
| Operating Temperature | 0°C to 45°C (32°F to 113°F) |
| Humidity | non-condensing |
| Jumbo Frame Support | Yes |
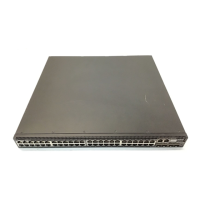
Provides a general description of the S3100 series and its various platform models.
Details the Input/Output (I/O) and Power Supply Unit (PSU) sides for S3124, S3124F, S3124P, and S3148P platforms.
Covers reset button, power supplies, fans, plug-in modules, and LED status information for the series.
Lists the components that can be ordered for the S3100 series switches.
Instructions for unpacking the S3100 series switch and preparing it for installation.
Guides for installing power supplies, fan trays, and plug-in modules into the switch.
Details on installing the switch in racks using ReadyRails, including various mounting configurations.
Procedures for connecting stacking ports and powering on the system.
Specifications related to the physical dimensions and weight of the S3100 series chassis.
Details on operating and storage temperature, humidity, and thermal output.
Information on power supply ratings, maximum current draw, and consumption.
Guidance on navigating the Command Line Interface (CLI) and accessing the system via console.
Steps for default configuration, Layer 2 setup, host naming, and remote access setup.
Instructions for configuring management IP addresses, routes, user credentials, and VLANs.
Final steps for connecting the configured system to the company network.