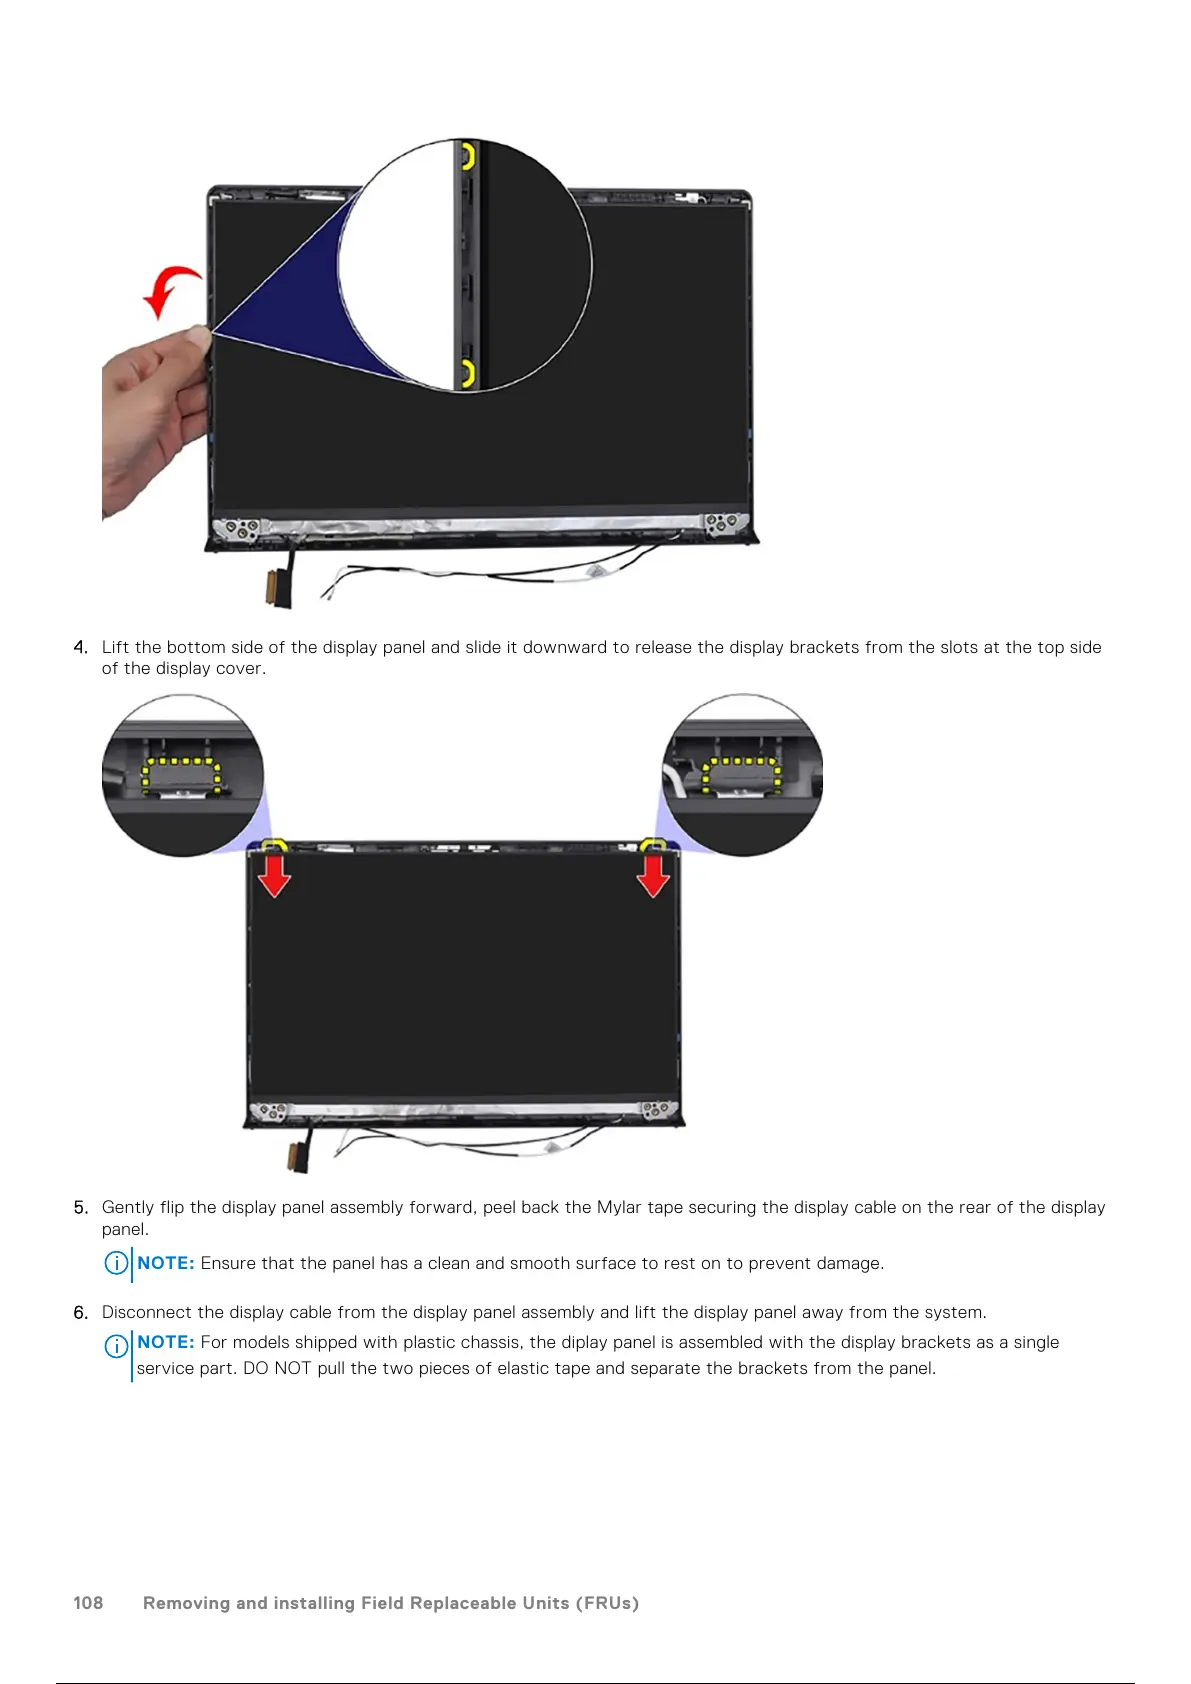
4. Lift the bottom side of the display panel and slide it downward to release the display brackets from the slots at the top side
of the display cover.
5. Gently flip the display panel assembly forward, peel back the Mylar tape securing the display cable on the rear of the display
panel.
NOTE: Ensure that the panel has a clean and smooth surface to rest on to prevent damage.
6. Disconnect the display cable from the display panel assembly and lift the display panel away from the system.
NOTE:
For models shipped with plastic chassis, the diplay panel is assembled with the display brackets as a single
service part. DO NOT pull the two pieces of elastic tape and separate the brackets from the panel.
108 Removing and installing Field Replaceable Units (FRUs)
109 / 156 108 / 154 109 / 156

 Loading...