50 Installing System Components
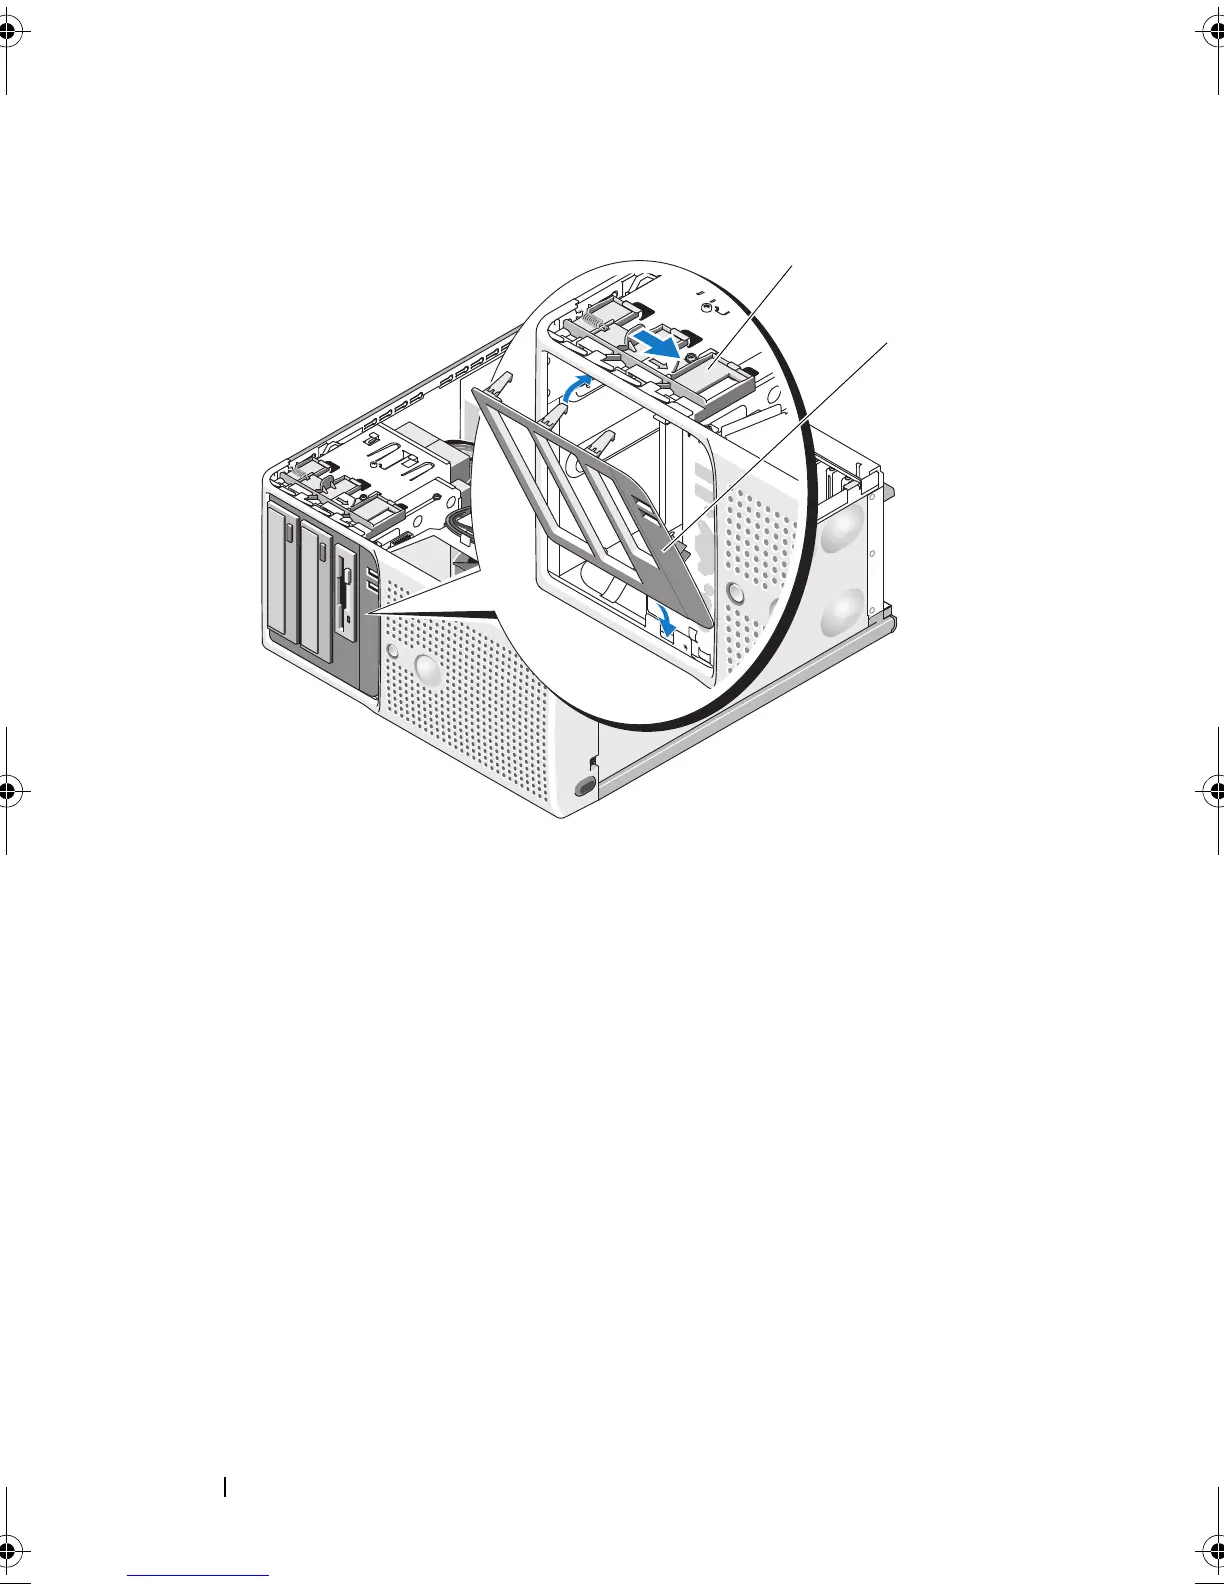
Figure 3-3. Removing and Replacing the Front Drive Bezel
Removing an Insert on the Front Drive Bezel
If you install a drive in the 3.5-inch or 5.25-inch drive bays, first remove the
corresponding insert on the front drive bezel. Push the insert gently from the
front of the bezel. Then from the back of the bezel, squeeze the tab upward
on the end of the insert and rotate the insert away from the bezel. See
Figure 3-4.
Replacing an Insert on the Front Drive Bezel
If you remove a drive in the 3.5-inch or 5.25-inch drive bays, replace the
corresponding insert on the front drive bezel. From the back of the bezel,
fit
the tab on the end of the insert into the notch on the bezel
and snap the other
end of the insert into place. See
Figure 3-4.
1 sliding plate 2 front drive bezel
book.book Page 50 Wednesday, June 24, 2009 8:21 AM
 Loading...