EasyManuals Logo

Dell Precision 5540 User Manual

Dell Precision 5540
54 pages
To Next Page IconTo Next Page
To Previous Page IconTo Previous Page
Page #38 background imageLoading...
Page #38 background image
Installing power button
Steps
1. Align the power button into the slot on the system chassis.
2. Replace the M1.6x3 (2) screws that secure the power button to the system board.
3. Install the:
a. Battery
b. Base cover
4. Follow the procedures in After Working Inside Your Computer.
Power button with fingerprint reader -optional
Removing power button with fingerprint reader
Steps
1. Follow the procedures in Before Working Inside Your Computer.
2. Remove the:
a. base cover
b. battery
3. Perform the following steps to remove the power button:
a. Remove the M1.6x3 (2) screws that secure the power button to the system board [1].
NOTE:
There are two power button options:
ā— Power button function with light indicator.
38 Disassembly and reassembly

Other manuals for Dell Precision 5540

Questions and Answers:

Question and Answer IconNeed help?

Do you have a question about the Dell Precision 5540 and is the answer not in the manual?
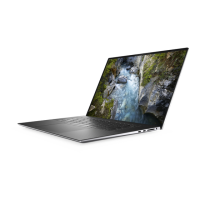
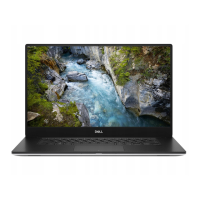
Dell Precision 5540 Specifications

General IconGeneral
GraphicsNVIDIA Quadro T1000 or T2000
ProcessorIntel Core i5, i7, i9, or Intel Xeon
Display15.6" FHD (1920x1080) or UHD (3840x2160)
MemoryUp to 64GB DDR4
StorageUp to 4TB PCIe SSD
Operating SystemWindows 10 Pro or Ubuntu
WeightStarting at 1.78 kg (3.9 lbs)
Battery97Whr or 56Whr
PortsHDMI 2.0, SD card reader
WirelessBluetooth 5.0
Camera720p HD camera
AudioStereo speakers with MaxxAudio Pro

Related product manuals