The manufacturer is not liable for damage deriving from
failure to observe this instruction for use�
Please note:
Keep this instruction�
If the appliance is passed to other persons, they must also be
provided with this instruction�
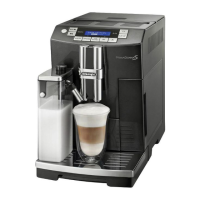
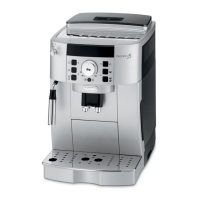
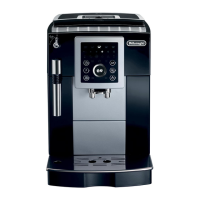
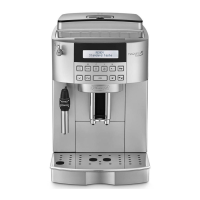
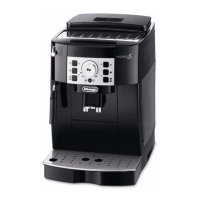
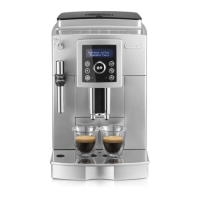
DESCRIPTION
Description of the appliance
(page 3 - A )
A1 Control panel
A2 Grind coarseness dial
A3 Cup shelf
A4 Beans container lid
A5 Pre-ground coee funnel lid
A6 Pre-ground coee funnel
A7 Beans container
A8 Main power switch
A9 Socket for power cable connector
A10 Water tank
A11 Infuser door
A12 Infuser
A13 Coee spout (adjustable height)
A14 Coee grounds container
A15 Condensate tray
A16 Cup rest
A17 Drip tray water level indicator
A18 Drip tray
A19 Cappuccino maker (milk frothing arm)
A20 Cappuccino/hot milk toggle
A21 Steam/hot water dial
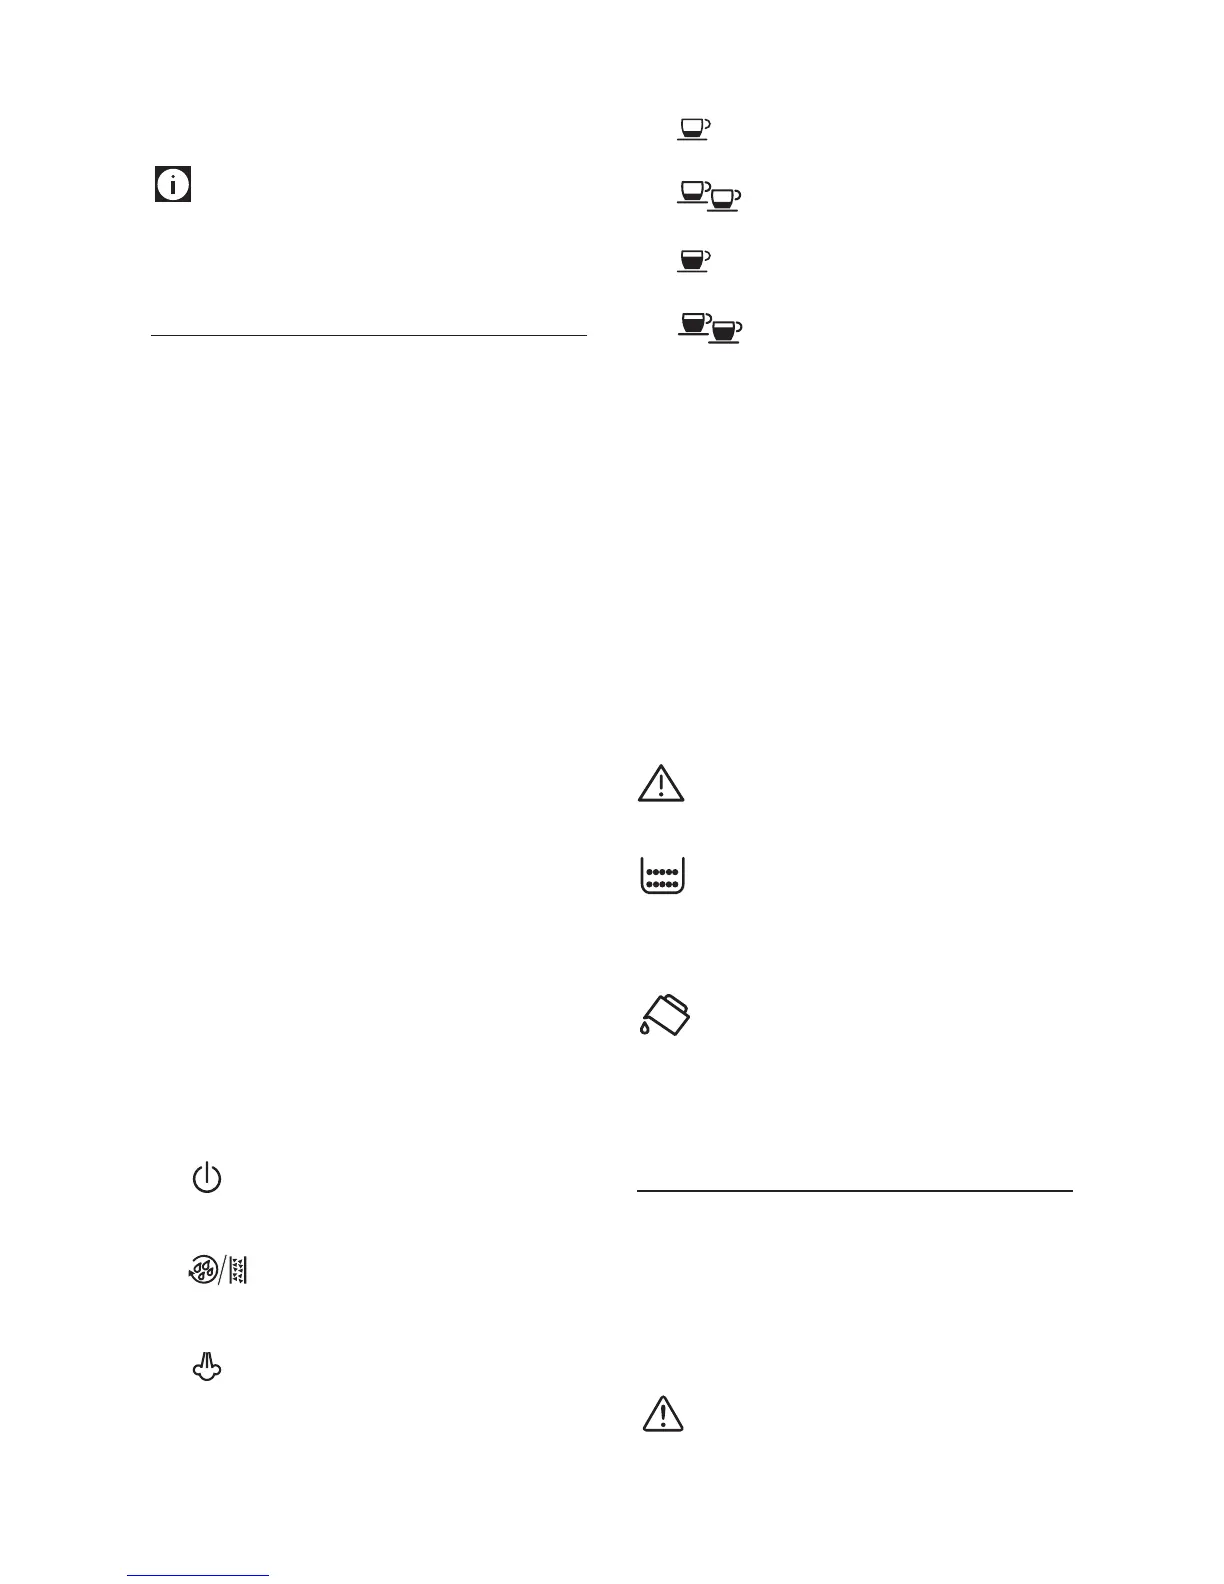
Description of the control panel
(page 2 - B )
The buttons have incorporated indicators which either light up or
ash as appropriate: the meanings are indicated in brackets in
the description.
B1� Indicator display (see “Description of indicators”)
B2� button: to turn the appliance on and o (indicator
ashing - the appliance is heating up; indicator on - the
appliance is ready for use.)
B3� button: to rinse or descale the appliance (white
indicator on - the appliance is rinsing; red and white
alternate ashing indicators - appliance needs descaling)
B4� button: to deliver steam to make cappuccino and
milk based coees (light on - the “steam” function has
been selected; light ashing - you must turn the steam dial;
indicator fading - the appliance is heating up)
B5� button: to make 1 cup of short espresso coee
(indicator on - this setting has been selected)
B6� button: to make 2 cups of short espresso coee
(indicator on - this setting has been selected)
B7� button: to make 1 cup of long espresso coee
(indicator on - this setting has been selected)
B8� button: to make 2 cups of long espresso coee
(indicator on - this setting has been selected)
B9� LONG button:tomake1cupofLONGcoee(indicator on
- this setting has been selected)
B6� Selection dial: turn to select coee strength or to use pre-
ground coee�
Description of the accessories
(page 2 - C )
C1 Pre-ground coee measure
C2� Descaler
C3 Water softener lter (certain models only)
C4 Total Hardness Test indicator paper
C5 Power cable
Description of indicators
A warning is displayed on the control panel
(see the section “Warning indicators” on page
17)�
Indicator on: that the coee grounds container
mustbeinserted;
Indicator ashing: the coee grounds container
is full and must be emptied�
Indicatoron:thewatertankmustbeinserted;
Indicator ashing: insucient water in the
tank�
ECO indicates that “Energy Saving” mode is active�
BEFORE USE
Checking the appliance
After removing the packaging, make sure the product is
complete and undamaged and that all accessories are present�
Do not use the appliance if it is visibly damaged�
Contact De’Longhi Customer Services�
Installing the appliance
Important!
When you install the appliance, you should observe the
following safety warnings:
 Loading...