58045
Installation
2
Installation
2
Showerhead and Tub Spout Installation
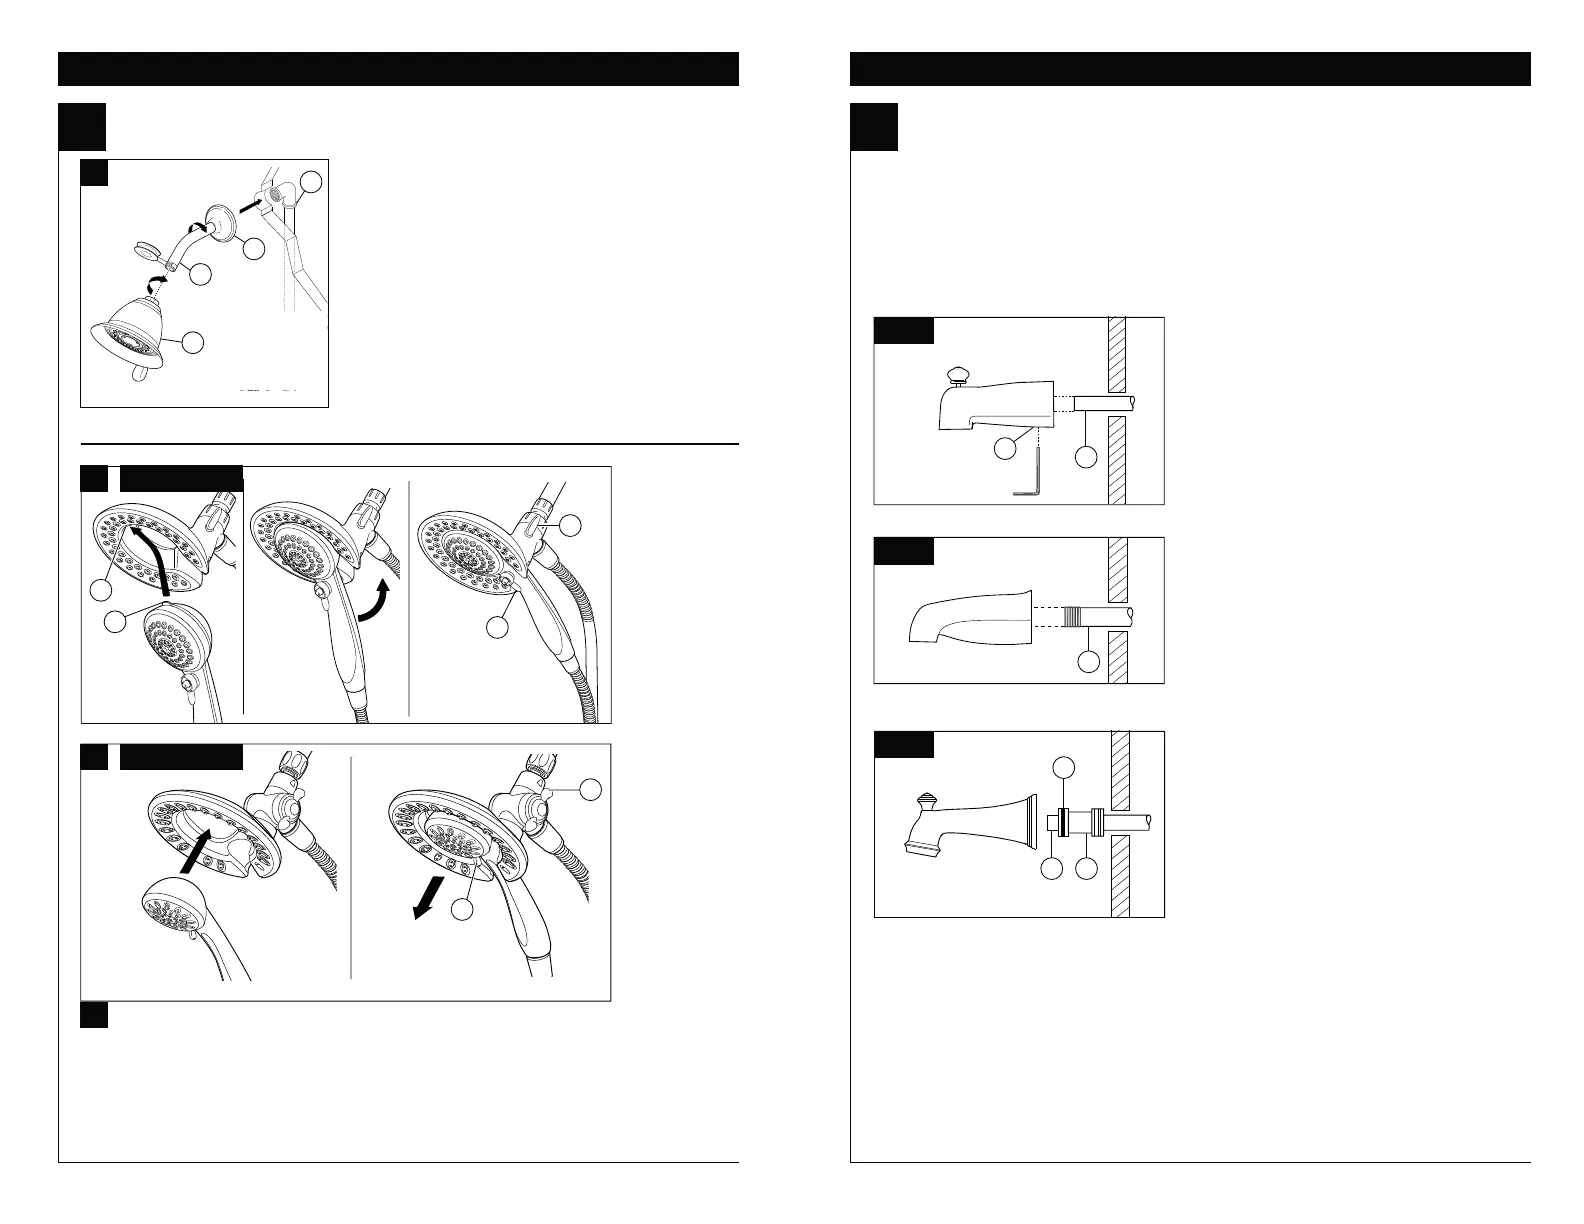
A.
FOR SHOWERHEAD INSTALLATION:
Connect top
RXWOHWWRVKRZHUDUPZLWKSURSHUÀWWLQJV7R
SUHYHQWGDPDJHWRÀQLVKRQVKRZHUDUPLQVHUWZDOOHQG
RIVKRZHUDUPLQWRVKRZHUÁDQJHEHIRUHVFUHZLQJ
arm into riser connection. Thread showerhead (4) onto
shower arm. Apply plumber tape to pipe threads on both
HQGV'RQRWRYHUWLJKWHQVKRZHUKHDG
B.
B.
58045:
To combine the two showers, insert the top tab (1) on the handshower into the slot (2) of
the showerhead. Push the handshower into the showerhead until the two parts snap together.
58065:
To combine the two showers, push the handshower into the showerhead, then pull down
on the handshower until locked with the showerhead.
If the showerhead moves when removing the handshower, hand tighten the connection between
the showerhead and the shower arm.
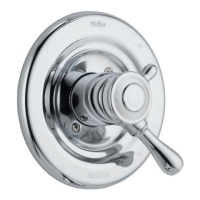
To change spray modes, turn the lever (3) left or right to the desired setting. Turn knob (4) to
change between showerhead only, showerhead and handshower or handshower only.
2
1
4
3
3
4
1
2
3
4 5
Showerhead and Tub Spout Installation
FOR TUB SPOUT INSTALLATION:
5HIHUWRWKHLQVWDOODWLRQLQVWUXFWLRQVVXSSOLHGZLWK\RXUVSRXW'RQRWFRQQHFWGHFNPRXQWVSRXWVWR
LQZDOOYDOYHV'RQRWXVHKDQGVKRZHUVFRQQHFWHGLQOLHXRIDWXEVSRXWWRDWXEVKRZHUYDOYH'RQRW
use PEX tubing for tub spout drop.
58045
B.
58065
Slip-On Installation
The copper tube (1) must be 1/2” nominal
copper. Important: If it is necessary to cut the
copper tube, the end must be chamfered free of
burrs to prevent cutting or nicking O-ring inside
WKHVSRXW6OLGHVSRXWRYHUFRSSHUWXEHÁXVK
ZLWKWKHÀQLVKHGWXERUZDOOVXUIDFH7LJKWHQVHW
screw (2), but do not overtighten.
Iron Pipe Installation
Install threaded pipe nipple (1) to extend past
ÀQLVKHGZDOO$SSO\SOXPEHUWDSHWRWKUHDGVRQ
pipe nipple and screw on tub spout.
Copper Sweat Installation
Remove O-ring (1) from adapter (2). Solder
adapter to tube taking care to keep solder away
IURP2ULQJJURRYH&$87,211262/'(5
3(50,77('212876,'(',$0(7(52)
$'$37(5$'-$&(177225,1**5229(
Cut off tube (3) and replace O-ring on groove of
brass adapter. Thread tub/spout onto adapter,
taking care not to damage O-ring, and hand
WLJKWHQXQWLOVSRXWLVÀUPO\DJDLQVWÀQLVKHGZDOO
and all slack is taken up behind wall.
1
2
1
23
1
C-3
C-2
C-1
4
 Loading...