Installation
3
Installation
4
IMPORTANT:
The Rotational Limit Stop is used to limit the
amount of hot water available such that, if set
properly, the user will not be scalded if the handle
accidentally is rotated all the way to “hot”
ZKHQDSHUVRQLVVKRZHULQJRUÀOOLQJDWXE7KH
ÀUVWSRVLWLRQDOORZVWKH
LEAST
amount of hot
water to mix with the cold water in the system.
,QWKHÀUVWSRVLWLRQWKHZDWHUZLOOEHWKHFROGHVW
possible when the handle is turned all the way
to hot. As you move the Rotational Limit Stop
counterclockwise, you progressively add more
and more hot water in the mix. The last position
to the left will result in the greatest amount of
hot water to the mix, and the greatest risk of
scald injury if someone accidentally turns the
valve handle all the way to the hot side while
VKRZHULQJRUÀOOLQJDWXE
WARNING: In some instances, setting the
Rotational Limit Stop in the hottest position
(full counterclockwise) could result in scald
injury. It is necessary to adjust the Rotational
Limit Stop so that the water coming out
of the valve will not scald the user when the
handle of the valve is rotated to the hot side.
$FFRUGLQJWRWKHPDMRULW\RILQGXVWU\VWDQGDUGV
the maximum allowable temperature of the water
H[LWLQJWKHYDOYHLV)<RXUORFDOSOXPELQJ
codes may require a water temperature less than
1)
7KH5RWDWLRQDO/LPLW6WRSPD\QHHGWREHUH
adjusted seasonally if the inlet water temperature
FKDQJHV)RUH[DPSOHGXULQJWKHZLQWHU
the cold water temperature is colder than it is
during the summer which could result in varying
outlet temperatures. A water temperature
for a comfortable bath or shower is typically
EHWZHHQ))
5XQWKHZDWHUVRWKDWWKHFROGZDWHULVDV
cold as it will get and hot water is as hot as
it will get. Place the handle on the stem (see
SDJHVWHS&DQGURWDWHWKHKDQGOHFRXQ
terclockwise until the handle stops.
3ODFHDWKHUPRPHWHULQDSODVWLFWXPEOHU
and hold in the water stream. If the water
WHPSHUDWXUHLVDERYH)WKH5RWDWLRQDO
Limit Stop must be repositioned clockwise to
decrease valve outlet water temperature to
EHOHVVWKDQ)RUWRPHHWWKH
requirements
of your local plumbing codes.
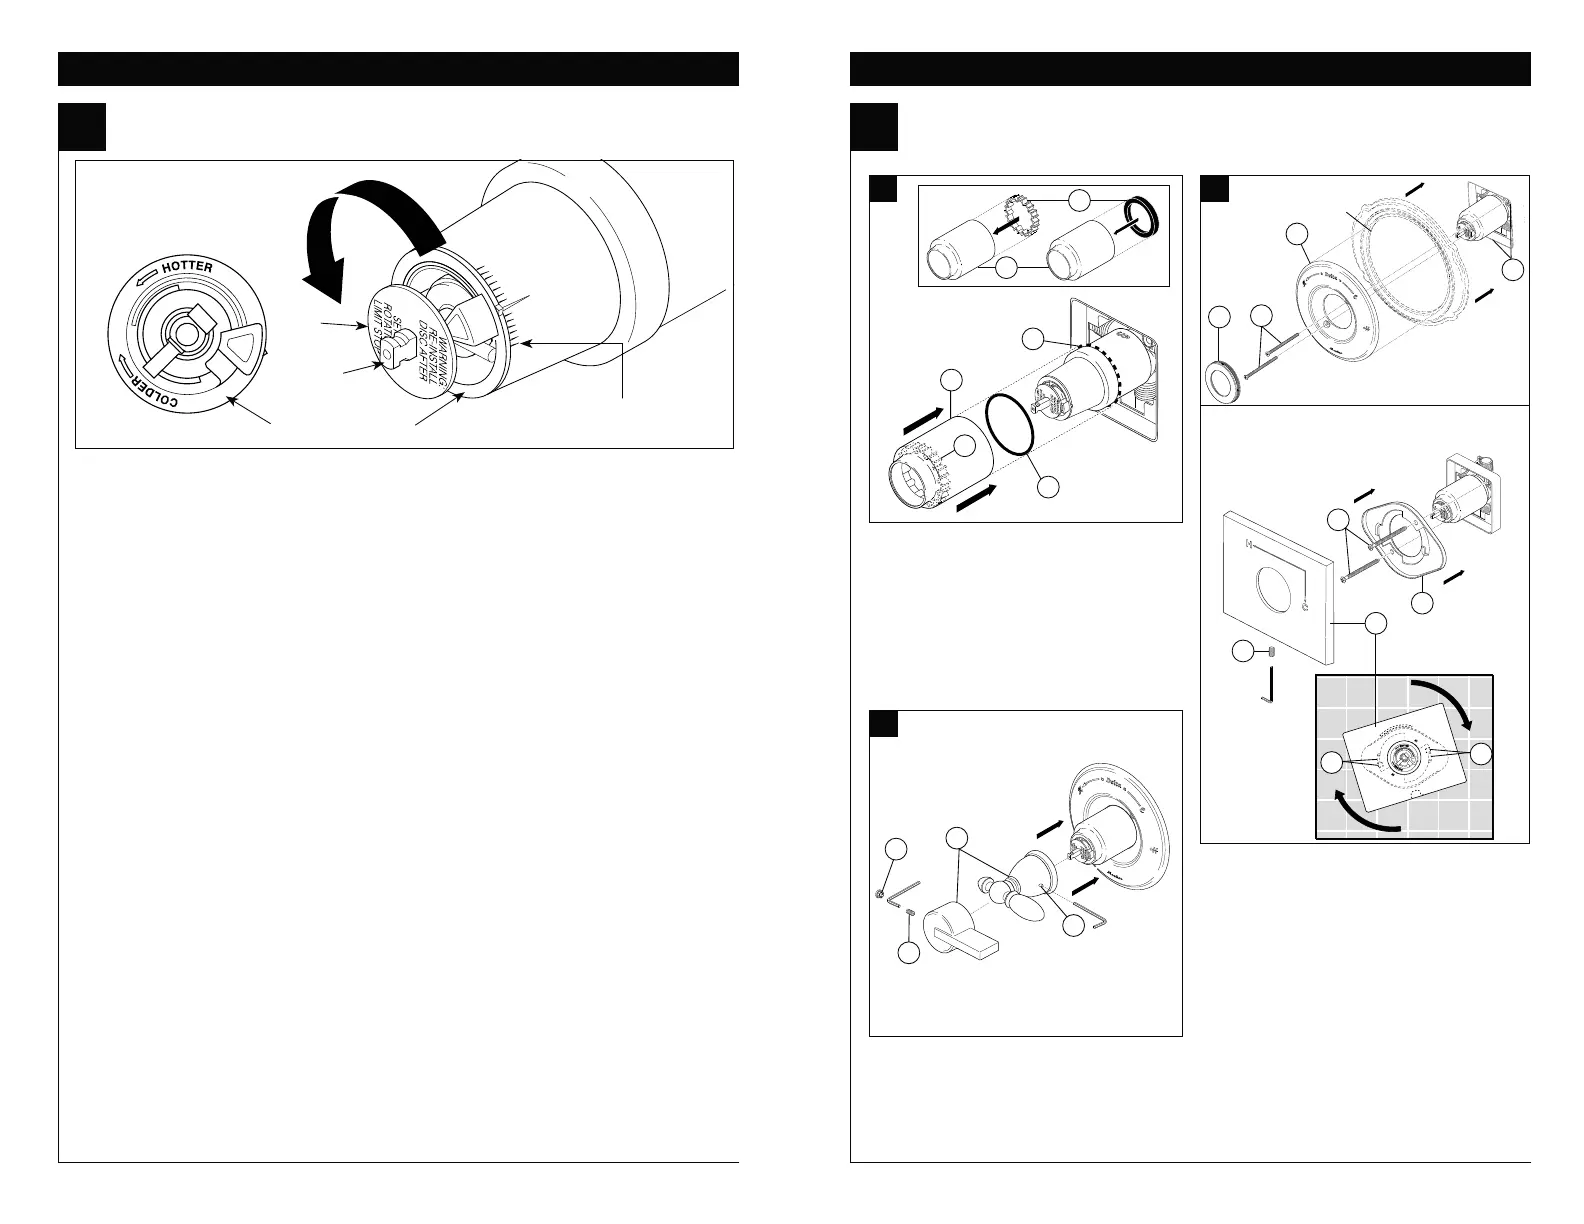
7RDGMXVWWKHWHPSHUDWXUHRIWKHZDWHU
coming out of the valve, pull the disc back to
a position where it is possible to remove the
Rotational Limit Stop and readjust the teeth
engagement position to the desired
temperature.
Clockwise will decrease the outlet
temperature, counterclockwise will increase
the outlet temperature. Temperature change
SHUWRRWKQRWFKFRXOGEH)EDVHGRQ
inlet water conditions. Repeat as necessary.
Push disc until fully seated.
WARNING: Failure to re-install Disc after
setting Rotational Limit Stop could result
in scald injury.
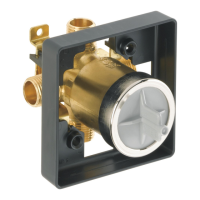
0$.(685(&2/':$7(5)/2:6
)5207+(9$/9(),5670$.(685(
:$7(5)/2:,1*)5207+(9$/9(
$77+(+277(67)/2:3266,%/(
'2(6127(;&((')257+(
0$;,080$//2:('%<<285/2&$/
3/80%,1*&2'(
6
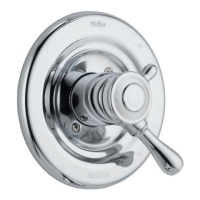
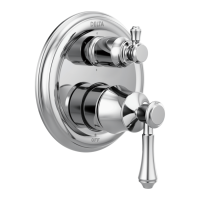
Adjusting the Rotational Limit Stop Trim Installation
+RWWHU
'LVF
Stem
Rotational Limit Stop
1st Position
A.
B.
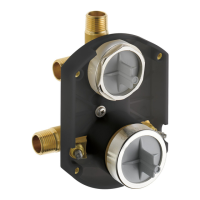
Escutcheon Installation for
Models T14053, T14253 & T14453.
Slide O-ring (1) over cartridge and the
bonnet nut (2). The O-ring, which acts as
a spacer to steady the sleeve, should rest
behind the bonnet nut.
If your model requires a spacer (3), insert
it into the sleeve (4) and push it to the
front. Slide the sleeve over the cartridge,
body and O-ring.
Using an Allen wrench to secure the set
screw (1), install the handle (2) onto the
stem. Insert plug button (3) (if your model
has one) into set screw hole.
Secure the escutcheon (1) and backplate (2)
(if your model has one) to the bracket (3) using
WKHVFUHZVSURYLGHG'RQRWRYHUWLJKWHQ
escutcheon screws.
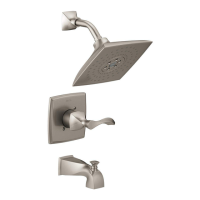
If you are installing the
Cassidy models T14097, T14297 & T14497:
Thread the cover (5) onto the escutcheon (1).
For models T14053, T14253 & T14453:
Install bracket (5) over the cartridge body using
WKHVFUHZVSURYLGHG,QVWDOOHVFXWFKHRQ
by placing it over the bracket as shown and
rotating it to lock the tabs (8). Secure the escutc-
heon to the bracket using set screw (9).
C.
3
4
2
4
3
1
5
4
1
3
6
9
7
5
8
8
1
2
1
3
 Loading...