Copy the Service Region Settings from the USB ash drive to this unit.
4.1. Creating a Service Region Settings le
(1) Click [Start button] - [Accessories] - [notepad] on the PC to launch the notepad.
(2) Enter "TEXT".
(3) Click "File", and then click "Save As...".
(4) Enter the le name and click the Save button.
NOTE : Enter the le name in double quotation marks. (The le extension is not required.)
Service Region File name
North America "denon-cong-locale-set-1"
Europe "denon-cong-locale-set-2"
Japan "denon-cong-locale-set-3"
Australia "denon-cong-locale-set-4"
Korea "denon-cong-locale-set-5"
China "denon-cong-locale-set-6"
Israel "denon-cong-locale-set-7"
(5) Copy the les created on the USB ash drive.
4.2. Starting Service Region Settings
NOTE :
• Remove the LAN cable from this unit when updating.
(Do not connect to a wired or wireless network.)
• We recommend a USB memory device that has an LED installed.
(1) Press the power button to turn on the power.
(2) Wait for this unit to start up.
(3) Set the input source to HEOS Music.
Check that the display is as shown below.
–TuneIn Internet Radio
or
No Network Connection
Content of the display is scrolled.
(4) Insert the USB ash drive into the USB port.
(5) Wait for at least 10 seconds before removing the USB ash drive.
( If the USB ash drive has an LED, this LED will be ashing. Remove the USB ash drive when the LED
stops ashing.)
copy to USB flash drive
Download firmware
in USB flash drive.
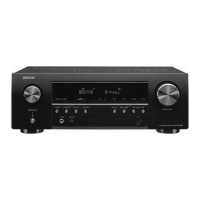
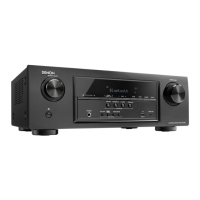
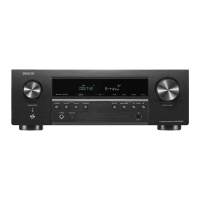
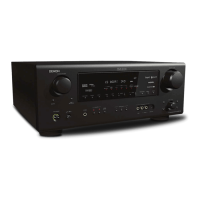
4. Update Method for Service Region Settings
s
164
Caution in
servicing
Electrical Mechanical Repair Information Updating
 Loading...