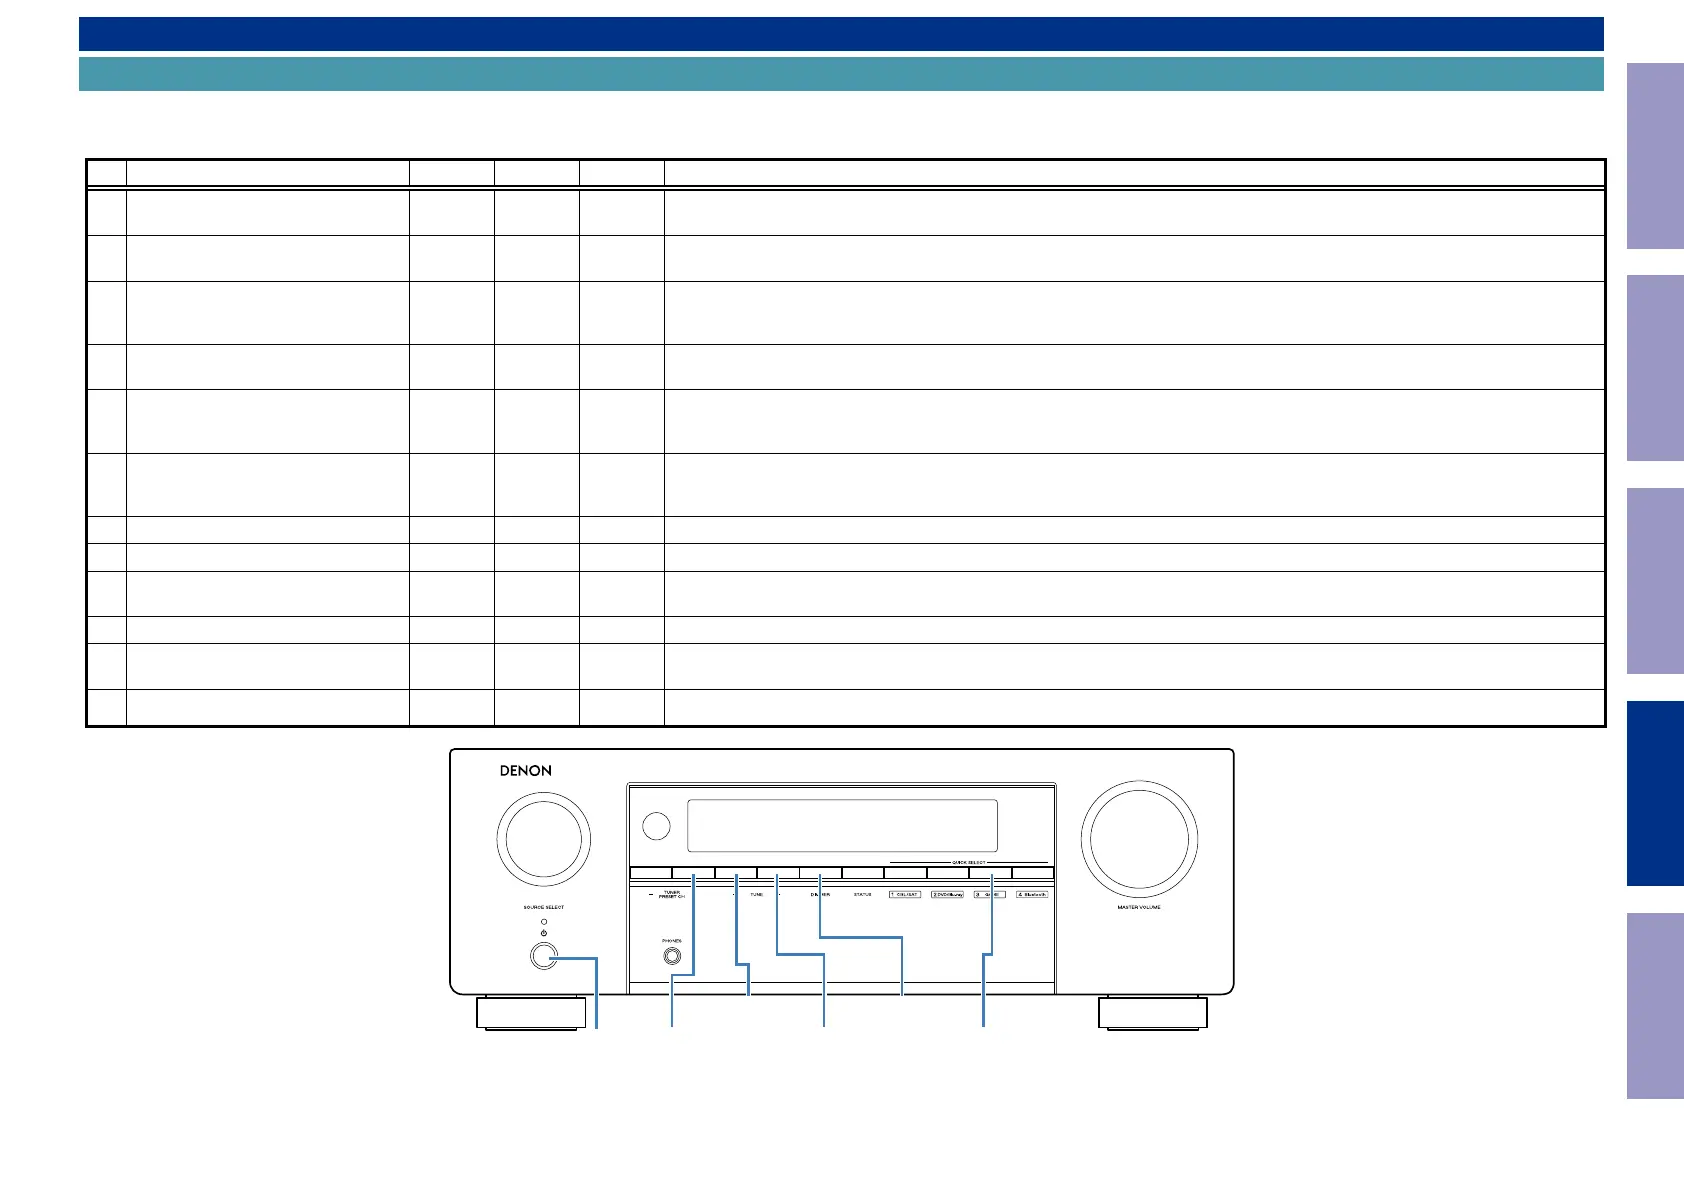
Special mode setting button
b
No. 1, 2 : While holding down buttons "
A
" and "
B
" simultaneously, press the power button to turn on the power.
b
No. 3, 4 : While the power is on, hold down buttons "
A
", "
B
", and "
C
" for at least 3 seconds .
b
No. 5 : Press "
A
" and "
B
" simultaneously while on standby.
No. Mode Button A Button B Button C Descriptions
1 Initialization Mode
TUNER
PRESET CH +
TUNE + -
Initializes backup data.
(See Initializing this Unit)
2
Version Display Mode
(u-COM / DSP Error Display)
TUNE + DIMMER -
The rmware version is shown on the display. Errors that have occurred are displayed.
(See 1. Version Display Mode)
3
Video Format and Display Language
change mode
TUNE - TUNE + DIMMER
Select the following mode.
"Video Format" and "Language".
(See 2. Video Format and Display Language change mode)
3-1 Video Format
- - -
Select or change "NTSC" or "PAL".
Default : E2 / E1C PAL
3-2 Language
- - -
Select or change the language.
"ENGLISH" or "SPANISH" or "FRENCH" or "CHINESE"
Default : E2 = ENGLISH, E1C = CHINESE
4 Product mode
TUNER
PRESET CH +
TUNE - TUNE +
Select the following mode.
"Protection History Display" and "PING".
(See 3. Product mode)
4-1 Remote Lock mode
- - -
This mode prohibits remote control operation.
4-2 Tuner Step Change Mode
- - -
Switches the tuning frequency of the tuner.
4-3 OSD Update Mode
- - -
Updates the OSD ash ROM in forced power off mode.
b
This is not used during servicing.
4-4 Protection history display mode
- - -
Displays the protection occurrence history.
4-5 PIMG Version Display Mode
- - -
This mode is used to check the serial ash writing path for the 4k GUI.
b
This is not used during servicing.
5 Front Panel Lock Mode
TUNER
PRESET CH -
Quick Select3 -
Switches the panel lock mode. (See 4. Front Panel Lock Mode)
DIMMER
TUNER
PRESET CH +
X
TUNE +
TUNE -
QUICK
SELECT 3
SPECIAL MODE
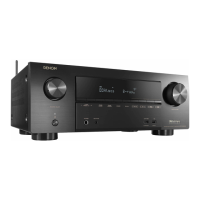
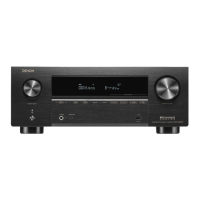
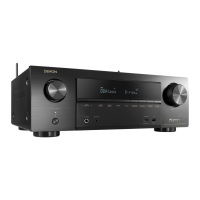
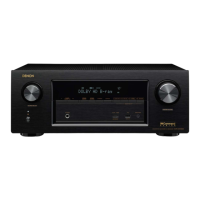
Before Servicing
This Unit
Electrical Mechanical Repair Information Updating
68
 Loading...