•
-<
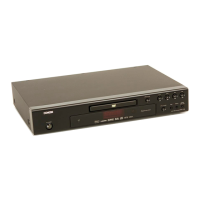
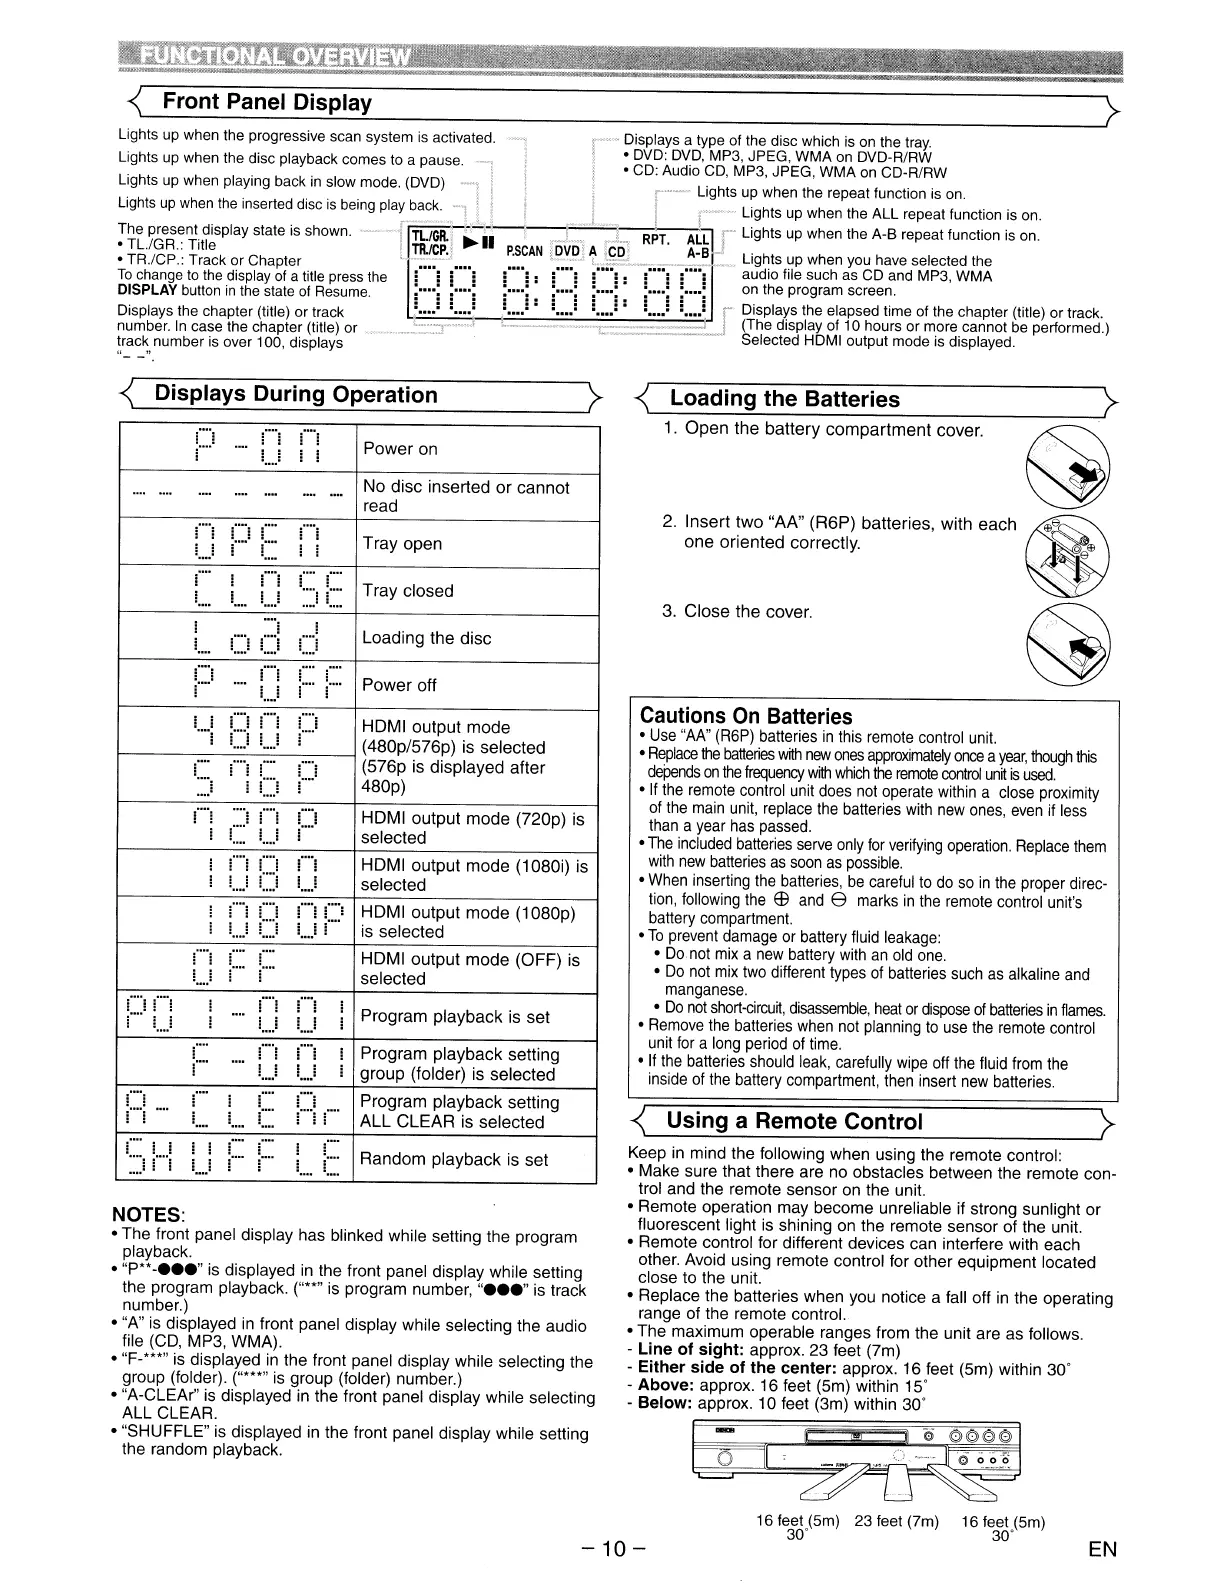
Front Panel Display
Lights
up
when the progressive scan system
is
activated.
Lights
up
when
the disc playback comes
to
a
pause.
Lights
up
when
playing back
in
slow
mode.
(DVD)
Lights
up
when
the
inserted
disc
is
being
play
back.
.., .
..
---.":
-~
~he
present display state
is
shown.
'1
TL/GR.j
;-1.
TUGR..
Title .
TR.lCP,j
• TR./CP.: Track or Chapter
'l-::;;"
....
To
change
to
the
display
of
a
title
press
the
!
!!
!
DISPLAY
button
in
the
state
of
Resume.
l····: :
•••.
:
Displays
the
chapter (title)
or
track l
....
: :
....
;
number.
In
case
the chapter (title) or _ . _ • ..::::r-
1
!,rac~,
number
is
over 100, displays
r-
Displays a type
of
the disc which
is
on
the
tray.
, •
DVD:
DVD,
MP3,
JPEG, WMA
on
DVD·R/RW
•
CD:
Audio
CD,
MP3,
JPEG, WMA
on
CD·R/RW
':
Lights
up
when
the
repeat function
is
on.
I I
r"
Lights
up
when
the
ALL
repeat function
is
on.
~~..l
..
..1,
R;T.
ALLI
".
Lights
up
when
the A·B repeat function
is
on.
P.SCAN
..
~.v.P-,
t
fCD;
~
~..
_~~
C:
....
Lights
up
when
you
have
selected
the
...... •
~
audio file such
as
CD
and
MP3
WMA
=....=l =
..
..:
=
..
..::
=
..
..:
=
..
..:
on
the
program screen. '
!
..
..!:
!
..
..!
!
..
..!:
!
..
..!
!
..
..!
f'
Displays the elapsed time
of
the
chapter (title)
or
track.
~
__
.
__
'---r,:
---.,;
(The display
of
10
hours or more cannot
be
performed.)
, Selected
HDMI
output mode
is
displayed.
-<L_D_i_s~p_la~y_s_D_u_r_in...:g~O~p_e_ra_t_io_n
....J~
NOTES:
•
The
front panel display
has
blinked while setting
the
program
playback.
•
"p
......
" is displayed in the front panel display while setting
the program playback.
("""
is program number, "
•••
" is track
number.)
• "A" is displayed in front panel display while selecting
the
audio
file (CD, MP3,
WMA).
•
"F·'*'"
is displayed
in
the front panel display while selecting the
group
(folder).
("*""
is group (folder) number.)
• "A·CLEAr" is displayed in
the
front panel display while selecting
ALL
CLEAR.
•
"SHUFFLE"
is displayed in the front panel display while setting
the random playback.
3.
Close
the
cover.
2.
Insert
two
"AA"
(R6P)
batteries,
with
each
~
..
one
oriented
correctly.
effi
.'
@
-<
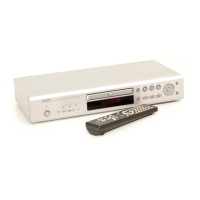
Using a Remote Control
Cautions
On
Batteries
• Use "AA" (R6P) batteries
in
this remote control unit.
•
Replace
the
batteries
with
new
ones
approximately
once
a
year,
though
this
dePends
on
the
frequency
with
which
the
remote
control
un~
is
used
.
•
If
the remote control unit does not operate within a close proximity
of
the
main
unit, replace the batteries with
new
ones,
even
if less
than a year has passed.
• The included batteries serve
only
for
verifying operation.
Replace
them
with
new
batteries
as
soon
as
possible.
• When inserting the batteries,
be
careful
to
do
so
in
the proper direc·
tion, following the
EB
and
e marks
in
the remote control unit's
battery compartment.
•
To
prevent damage or battery fluid leakage:
•
Do
not mix a
new
battery with
an
old
one.
•
Do
not mix two different types of batteries such as alkaline and
manganese.
•
Do
not
short·circu~,
disassemble,
heat
or
dispose
of
batteries
in
flames
.
• Remove the batteries when not planning
to
use the remote control
unit for a long period of time.
• If the batteries should leak, carefully wipe off the fluid from the
inside of the battery compartment, then insert new batteries.
Keep in mind
the
following
when
using
the
remote
control:
•
Make
sure that there
are
no
obstacles between
the
remote
con-
trol and
the
remote
sensor
on
the
unit.
•
Remote
operation
may
become
unreliable if strong sunlight
or
fluorescent light is shining on
the
remote
sensor
of
the
unit.
•
Remote
control for different
devices
can
interfere with
each
other. Avoid using remote control for
other
equipment
located
close
to
the unit.
• Replace
the
batteries
when
you notice a fall off in
the
operating
range of
the
remote control.
•
The
maximum
operable ranges from
the
unit are
as
follows.
•
Line
of
sight:
approx.
23
feet (7m)
·
Either
side
of
the
center:
approx. 16 feet (5m) within
30'
·
Above:
approx. 16 feet (5m) within
15'
-
Below:
approx.
10
feet (3m) within
30'
It;::===~:;:=~~='
~
-<L_L_o_a_d_in...:g~th_e_B_at_t_er_ie_s
~
1.
Open
the
batte<y
compartment
cove,.
~
Program
playback
is
set
Program
playback
setting
ALL
CLEAR
is
selected
HOMI
output
mode
(OFF)
is
selected
Random
playback
is
set
Program
playback
setting
group
(folder)
is
selected
HOMI
output
mode
(1080p)
is
selected
HOMI
output
mode
(720p)
is
selected
HOMI
output
mode
(1080i)
is
selected
Power
off
Loading
the
disc
Tray
closed
No
disc
inserted
or
cannot
read
Power
on
Tray
open
....
j
....
.
...
j
j
....
j
....
!
,
!
I
....
!
!
,
i
....
j
....
.
...
I
.... ....
! i
I
....
!
j
....
....
:
.
...
....
,
!
....
....
:
.
...
1
i
I
....
I
....
:
..
..
,
I
....
.
...
....
I
·
....
j
....
j
....
j
! i
j
....
:
!
....
j
i
.
...
,
....
:
....
,
i
....
j
i
....
I i
....
,
....
.
...
j
•
j
•
....
•
.
...
I
....
I i
....
·
i
....
I
.
...
I
....
·
•
.
...
I
....
j
....
I
j
i
....
i !
....
·
I
.
...
I
....
•
I
!
....
j
....
j
j
.
...
I
....
....
I
..
..
i
....
•
....
! i
..oo
I
oo
..
i i
oo
..
i
i
.
...
l
i
....
....
....
l
....
! !
i
....
!
.
...
j
!
I
·
I
....
,
.
...
I
!
....
:
j
..
..
!
,
I
·
!
.
·
....
.
...
:
i
....
.
...
!
....
..
..
....
.
....
!
.
...
~
! I
I
....
!
....
.
...
!
....
·
....
:
!
.
...
•
·
....
....
~
..
.J
l
I
'M'
.,
..
j
!
....
I
....
I ! I
I
j
!I
....
! !
I I
I
••••
:
i
I
....
: :
:
....
:
~
::
I....
-10
-
16 feet (5m) 23 feet (7m) 16 feet (5m)
30' 30'
EN
 Loading...