-<
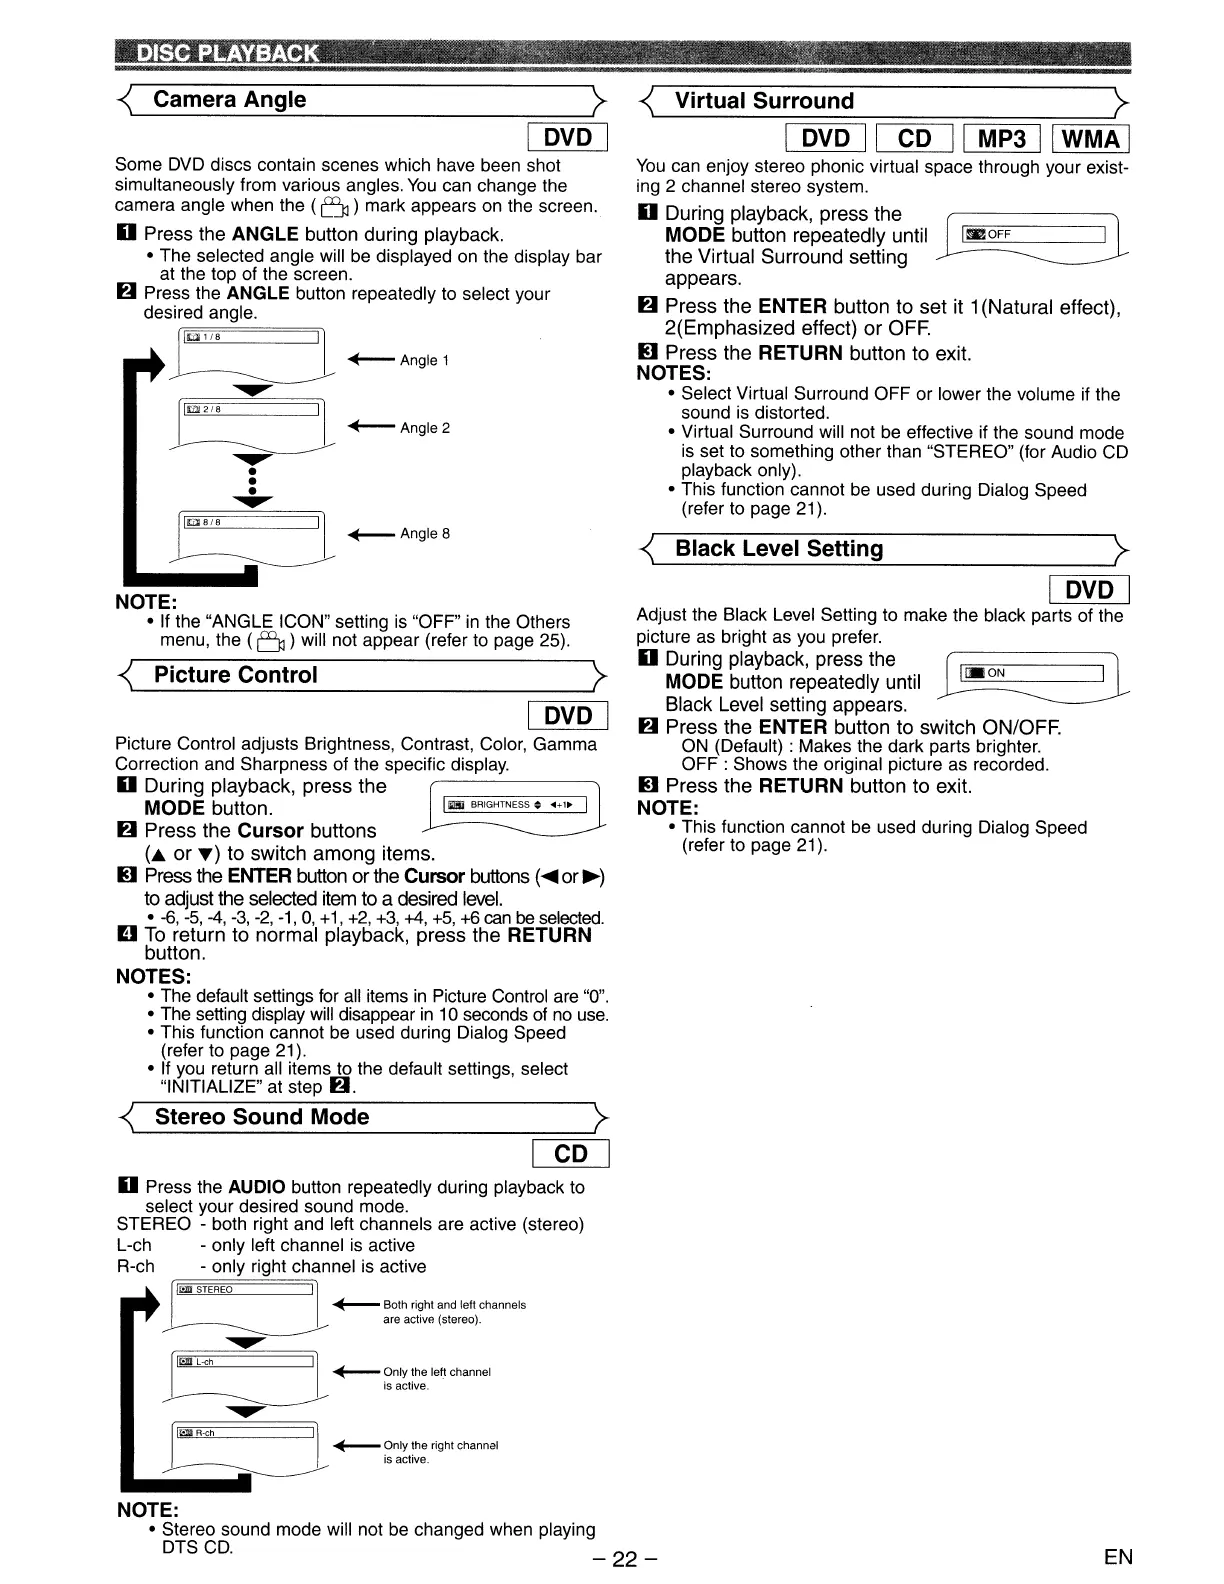
Camera Angle (
I DVD I
Some
DVD
discs contain scenes which have been shot
simultaneously from various angles.
You
can change the
camera angle when the
(5)
mark appears on the screen.
o Press
the
ANGLE button
during
playback.
• The selected angle will be displayed on the display bar
at the top of the screen.
f)
Press the ANGLE button repeatedly to select your
desired angle.
[I[;JUB I]
~
Angle 1
~
.........
IltilI"B
II
~Angle2
~
•
•
•
.........
[IIDlB/B
II
~
Angle 8
~
NOTE:
• If the "ANGLE ICON" setting
is
"OFF"
in
the Others
menu, the
(0)
will not appear (refer to page 25).
~
Picture Control
I DVD I
Picture Control adjusts Brightness, Contrast, Color, Gamma
Correction and Sharpness of the specific display.
o
During
playback,
press
the
,----------
MODE
button.
la
BRIGHTNESS
~
<.,.
f)
Press
the
Cursor
buttons
(.0\.
or
T)
to
switch
among
items.
~
Press the ENTER button
or
the Cursor buttons (
.....
or.-)
to
adjust the selected item
to
a desired level.
•
-6, -5, -4, -3, -2, -1,
0,
+1,
+2,
+3, +4,
+5,
+6
can
be
selected.
o To
return
to
normal
playback,
press
the
RETURN
button.
NOTES:
• The default settings for all items
in
Picture Control are "0".
• The setting display will disappear
in
10 seconds of
no
use.
• This function cannot be used during Dialog Speed
(refer to page 21).
• If you return all items to the default settings, select
"INITIALIZE" at step
f).
~
Virtual Surround (
I DVD
II
CD
II
MP3
II
WMA
I
You
can enjoy stereo phonic virtual space through your exist-
ing
2 channel stereo system.
o
During
playback,
press
the
~
MODE
button
repeatedly
until
~
the
Virtual
Surround
setting
appears.
f)
Press
the
ENTER
button
to
set
it 1
(Natural
effect),
2(Emphasized
effect)
or
OFF.
~
Press
the
RETURN
button
to
exit.
NOTES:
• Select Virtual Surround OFF or lower the volume if the
sound
is
distorted.
• Virtual Surround will not be effective if the sound mode
is
set to something other than "STEREO" (for Audio CD
playback only).
• This function cannot be used during Dialog Speed
(refer to page 21).
~
Black Level Setting (
I DVD I
Adjust the Black Level Setting to make the black parts of the
picture as bright as you prefer.
o During playback,
press
the
r
~
I
MODE button
repeatedly
until
~
Black
Level setting appears.
f)
Press
the
ENTER
button
to
switch
ON/OFF.
ON (Default) : Makes the dark parts brighter.
OFF:
Shows the original picture as recorded.
~
Press
the
RETURN
button
to
exit.
NOTE:
• This function cannot be used during Dialog Speed
(refer to page 21).
~
Stereo Sound Mode
(
I CD I
o Press the AUDIO button repeatedly during playback to
select your desired sound mode.
STEREO - both right and left channels are active (stereo)
L-ch - only left channel
is
active
R-ch - only right channel is active
r
I~
STEREO
I]
+---
Both right and lett channels
~
areaclive(siereo)
.
.........
II~L<h
11
+---
Only the lett channel
IS
actIve.
~
II~UCh
II
~
Only the right channel
~
Isacllve.
NOTE:
• Stereo sound mode will not be changed when playing
DTS
CD.
_
22-
EN
 Loading...