14
EN
Pre-Installation Value Air Distribution Box (ADB), Mechanical
q
w
e
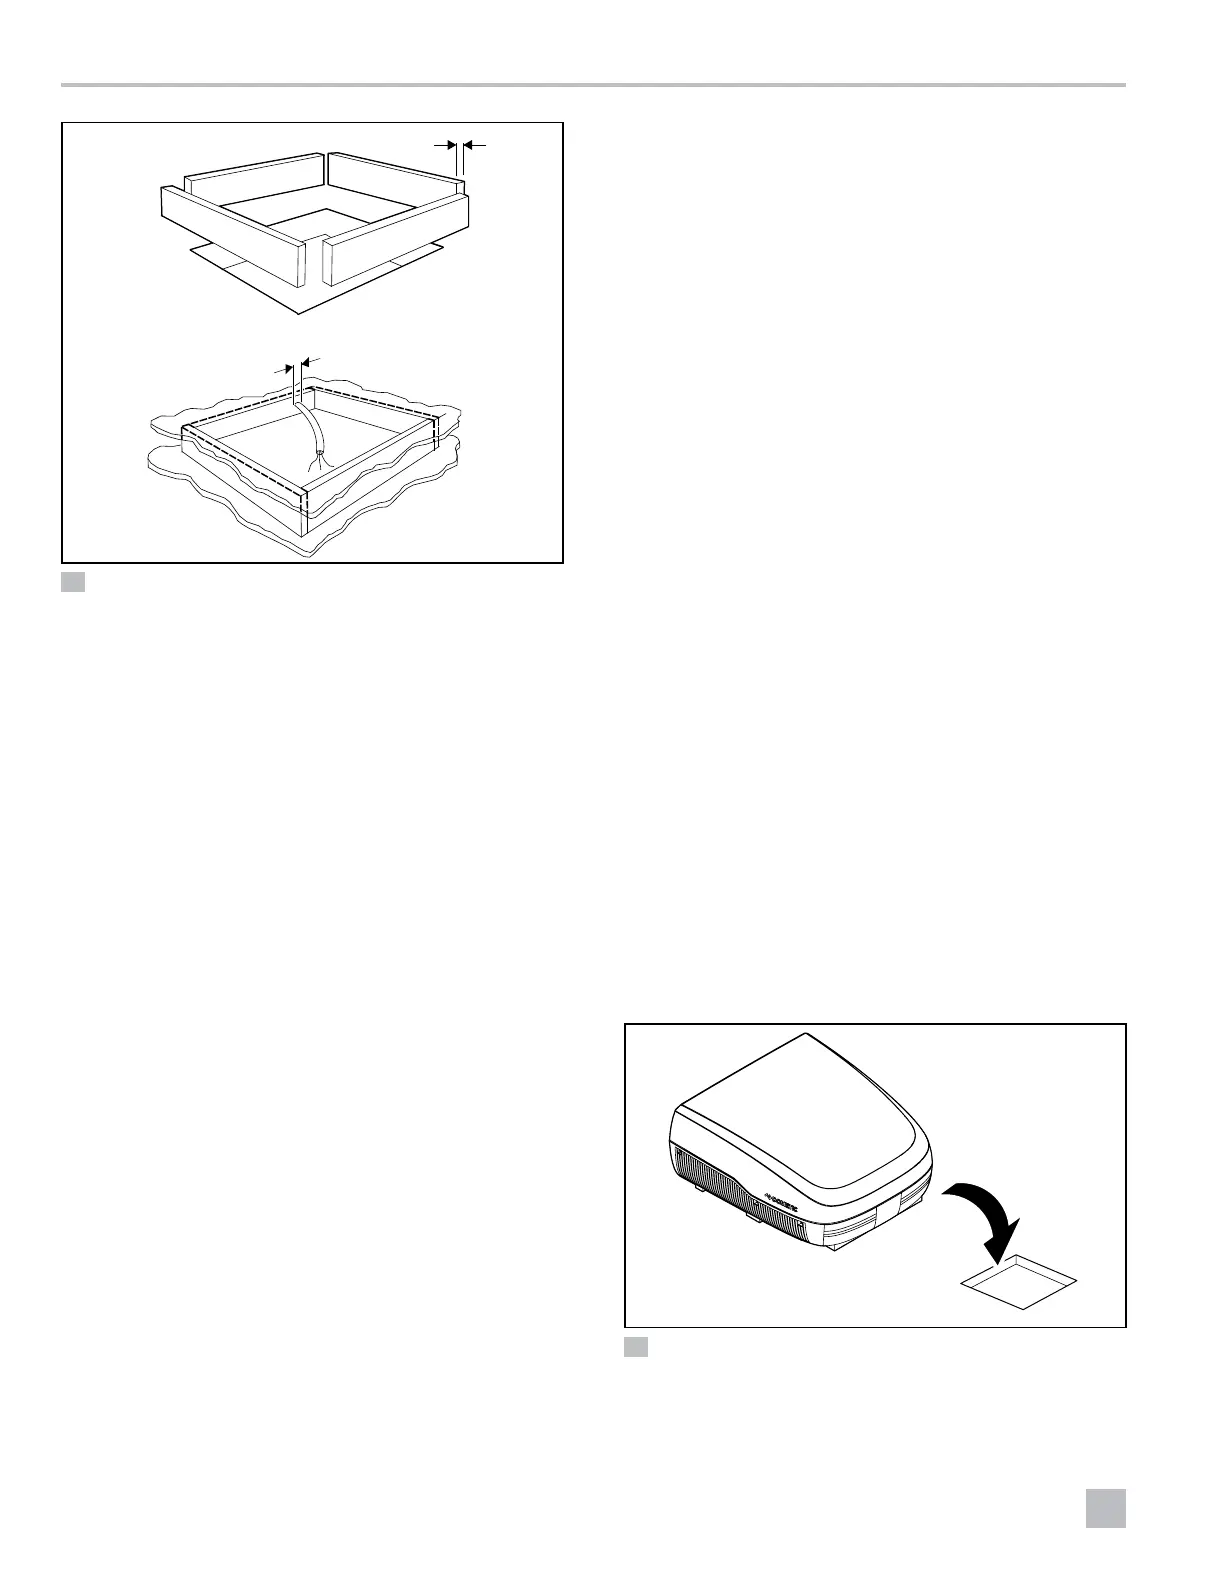
16 Structural Framing for a New Roof Opening
q
0.8 in. (20 mm)
Minimum Width for
the Framing Stock
e
15.0 in. (381 mm)
Exposed Length
of 115 VAC Power
Supply Wire
w
0.3 in. (8 mm)
Minimum Width for
Access Hole
5. Frame the opening so it will not collapse when
bolting the rooop component down.
6. At the front of the frame opening, leave or create
an access hole to allow for the length of exposed
115VAC power supply wiring required to complete
the installation.
7. Using the roof opening as a guide, cut a matching
hole in the ceiling of the RV interior.
6.3 Routing the Wiring
I
The power must be on an appropriately-sized
separate time-delay fuse or circuit breaker. See
“Specifications” on page10.
This section describes how to route the wiring for the
rooop component.
1. Position the copper 115 VAC power supply wire, with
ground, in the front portion of the roof opening.
2. Route the 115 VAC power supply wire from the
time-delay fuse or circuit breaker box to the roof
opening. Use a listed/certified non-metallic sheathed
single strand cable. See “Specifications” on
page10.
I
If an AC or a vent fan were removed, the existing
power supply wire may be used provided it is of the
proper type, size, and location, and if it is correctly
fused.
3. Make sure that at least 15.0 in. (381 mm) of the
115 VAC power supply wire extends into the roof
opening to ensure an easy connection at the junction
box.
4. Protect the 115 VAC power supply wire where it
passes into the opening according to local and
national standards.
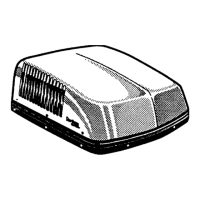
6.4 Positioning the Rooop
Component
NOTICE: Do not slide the rooop component along a
surface. Otherwise, damage to the gasket on the bottom
of the rooop component could occur and cause a leak.
1. Remove all the contents from the carton and discard
the carton.
2. Place all the ADB kit contents in the RV. The ADB kit
contains mounting hardware for the ADB that will be
installed inside the RV.
3. Move the rooop component to the roof.
q
w
17 Placing the Rooop Model Unit
q
Front of the Rooop
Component
w
Roof Opening

 Loading...