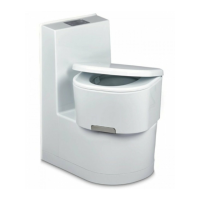
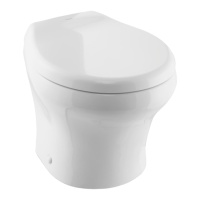
Saneo B, Saneo C Installing the toilet
23
5 Installing the toilet
5.1 Installing the service door
You can find the description for installing the service door in the enclosed document
(
Dometic Seitz SK 5, optional and model-dependent).
5.2 Making wall cutouts
Service door wall cutout
➤ Make a rectangular opening in the outer wall with the following dimensions
(fig. 2, page 3):
• A: For service door SK5 vertical:
–y
min
= 12.5 mm, y
max
= 22 mm
– w = 310 mm ± 1 mm
– h = 360 mm ± 1 mm
• B: for service door SK5 horizontal:
–y
min
= 12.5 mm, y
max
= 26 mm
– w = 360 mm ± 1 mm
– h = 310 mm ± 1 mm
The dimension x results from the placement of the toilet. Please note the position of
the service door (template (3) and (4) on the packaging).
Wall cutout for the tank flap
For the Saneo BW and Saneo CW models, mount a tank flap for the integrated water
tank.
➤ Using the template (fig. 3 1, page 4) create an opening in the outer wall. The
template is greatly reduced in size in the instructions. For the original, see the
packaging.
You can find the installation description of the tank flap in chapter “Installation of the
tank flap” on page 27.
Saneo-B-Saneo-C--I-EN-DE-FR-IT-NL.book Seite 23 Montag, 20. Februar 2017 10:08 10
 Loading...