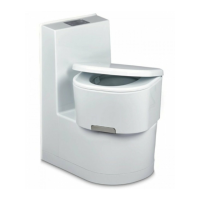
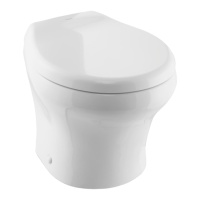
Electrical connection Saneo B, Saneo C
28
➤ Put the tank flap on the tank.
➤ Tightly fasten the tank flap with four C4x25 countersunk screws (not included).
➤ Slide the O-ring onto the inner tube of the tank flap (fig. k, page 16):
– A: Position of the O-ring with a wall thickness of 30 mm – 50 mm
– B: Position of the O-ring with a wall thickness of 20.5 mm – 30 mm
➤ Grease the O-ring. This makes it easier for the filler neck to be connected with the
upper part of the tank.
6 Electrical connection
!
A
I
Key for fig. l, page 17:
WARNING!
The electrical system must be wired by qualified personnel.
NOTICE!
• Do not connect the toilet to the voltage supply directly in parallel
with other power-consuming devices.
• Do not connect the control of the toilet to a pressurised water pump.
• The rated capacity of an external water pump must not exceed
100 W.
NOTE
• The external water pump is not included in the scope of delivery.
• A pre-fuse is not necessary, because the toilet is internally fused.
Item Label
1Toilet
2 Water pump
3 Switch
4 Fuse/main terminal box
512 V supply
Saneo-B-Saneo-C--I-EN-DE-FR-IT-NL.book Seite 28 Montag, 20. Februar 2017 10:08 10
 Loading...