10 11
EN EN
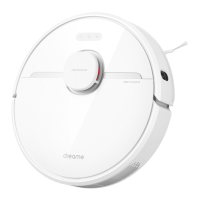
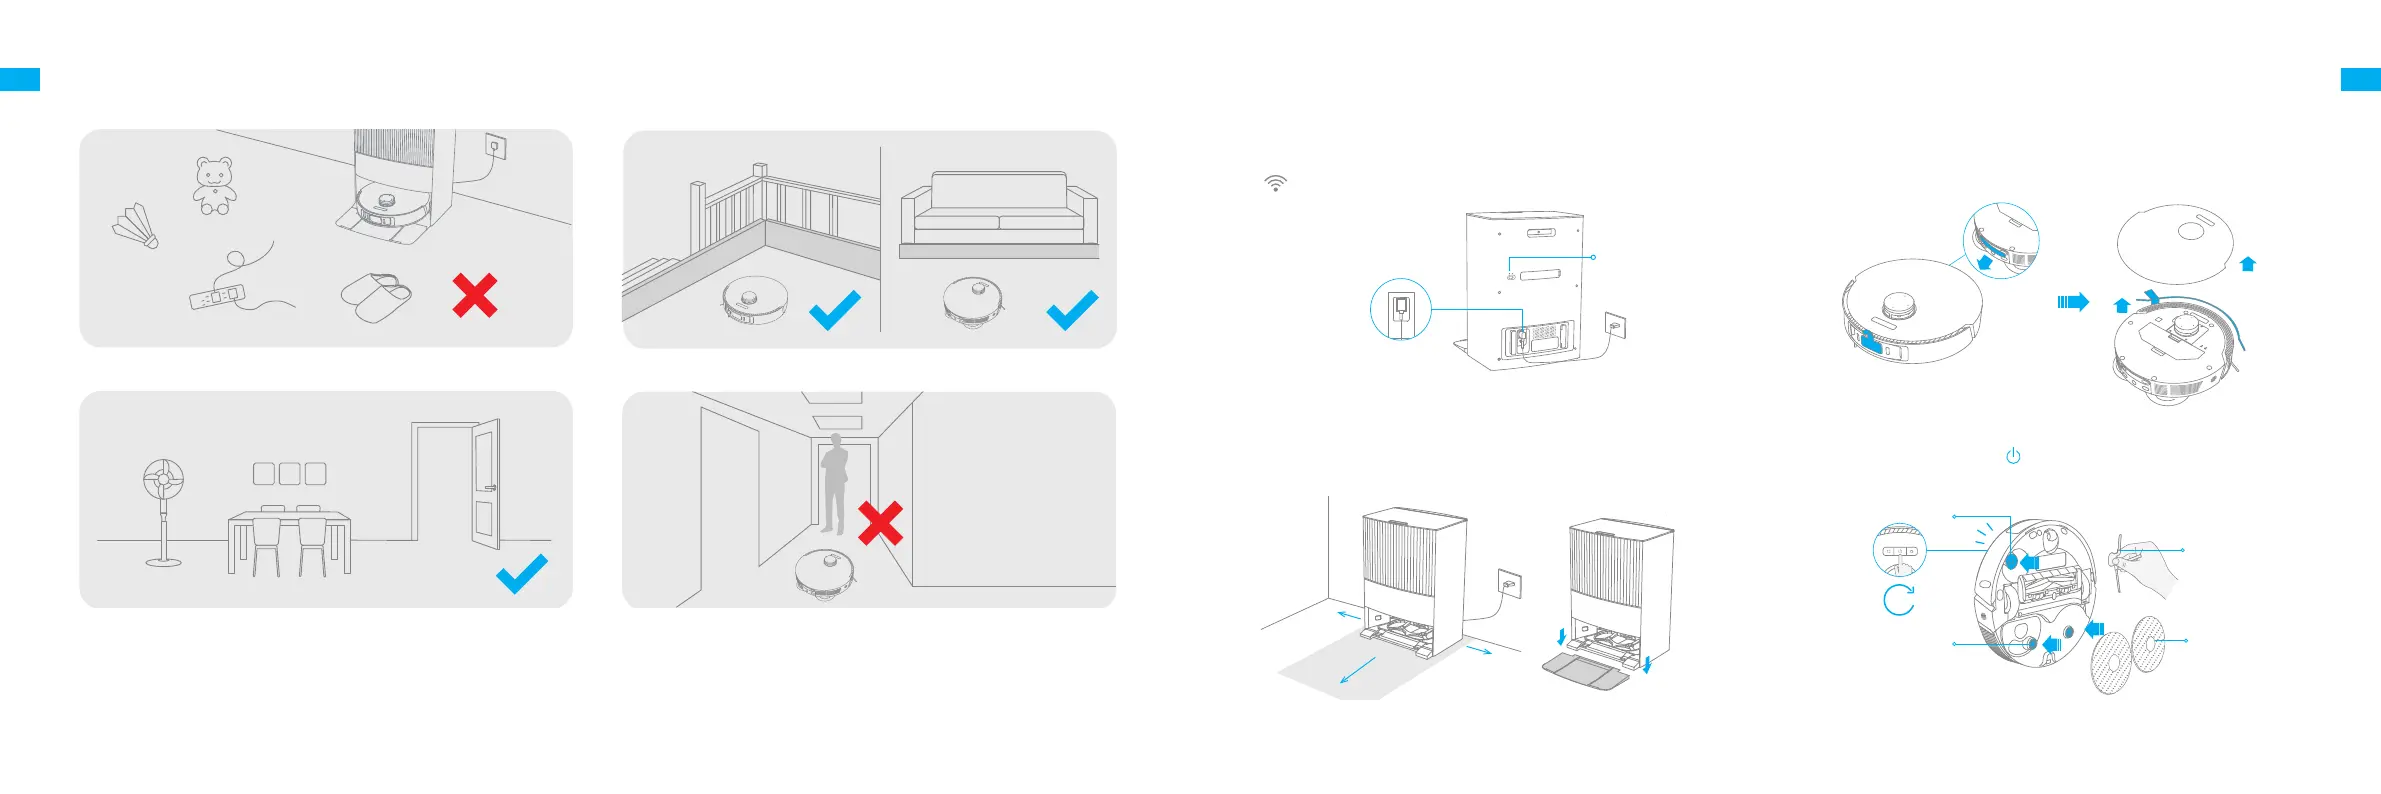
Preparing Your Home
Tidy up items such as power cords, cloths, slippers, and toys to improve the
eciency of the robot.
Open the door of the room to be cleaned, and put the furniture in its proper
place to leave more space.
To prevent the robot from not recognizing areas that need to be cleaned,
do not stand in front of the robot, or in a threshold, hallway, or narrow
places.
Before cleaning, place a physical barrier at the edge of the stairs and
sofa to ensure the secure and smooth operations of the robot.
Note:
·
When operating the robot for the first time, follow it around while cleaning to remove any potential obstacles in time.
·
LED fill lights will provide auxiliary lighting in dimly lit environments.
Before Use
Note:
To prevent water stains from wetting wood floors or carpets, placing the
base station on tile floors or marble floors is recommended.
1. Connect to an Electrical Outlet
Insert the power cord into the base station and plug it into the socket.
Place the base station in a location that is as open as possible with
a good Wi-Fi signal.
2. Place the Base Station and Install the Base Station Ramp
Extension Plate
Remove any objects that are closer than 1.5 m from the front and 5 cm
from either side of the base station. Then install the base station ramp
extension plate down to the base station.
Firmly insert the power cord
until the base station's status
indicator is solid white
>5 cm
>5 cm
>1.5 m
Note:
Install the side brush until it clicks into place.
3. Remove the Protections
4. Turn on the Robot and Install the Side Brush and Mop Assembly
Press and hold the button on the robot for 3 seconds to turn it on.
Install the side brush and mop assembly into place.
Remove the two stickers on front and back of the robot, then take down
the robot cover to remove the protective strip.
②
③
④
①
3s
Side Brush Clip
Mop Pad Holder
Mounting Holes
Mop Assembly
Side Brush
O: OFF
Click
I: ON
 Loading...