13
Siren and Keypad Display Test
This test activates all display pixels and indicator lights on the keypad and does a 4-second
check of the siren.
1. Press [Master Code] .
The following will occur:
- The system activates the siren output on medium volume for 2 seconds followed by full vol-
ume alarm for 2 seconds. All display lights and LCD pixels will turn on.
- The Ready, Armed, Trouble and Power LED’s will flash for the duration of the test.
2. To exit the function menu, press .
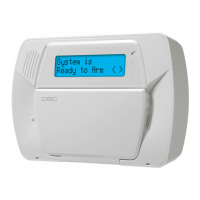
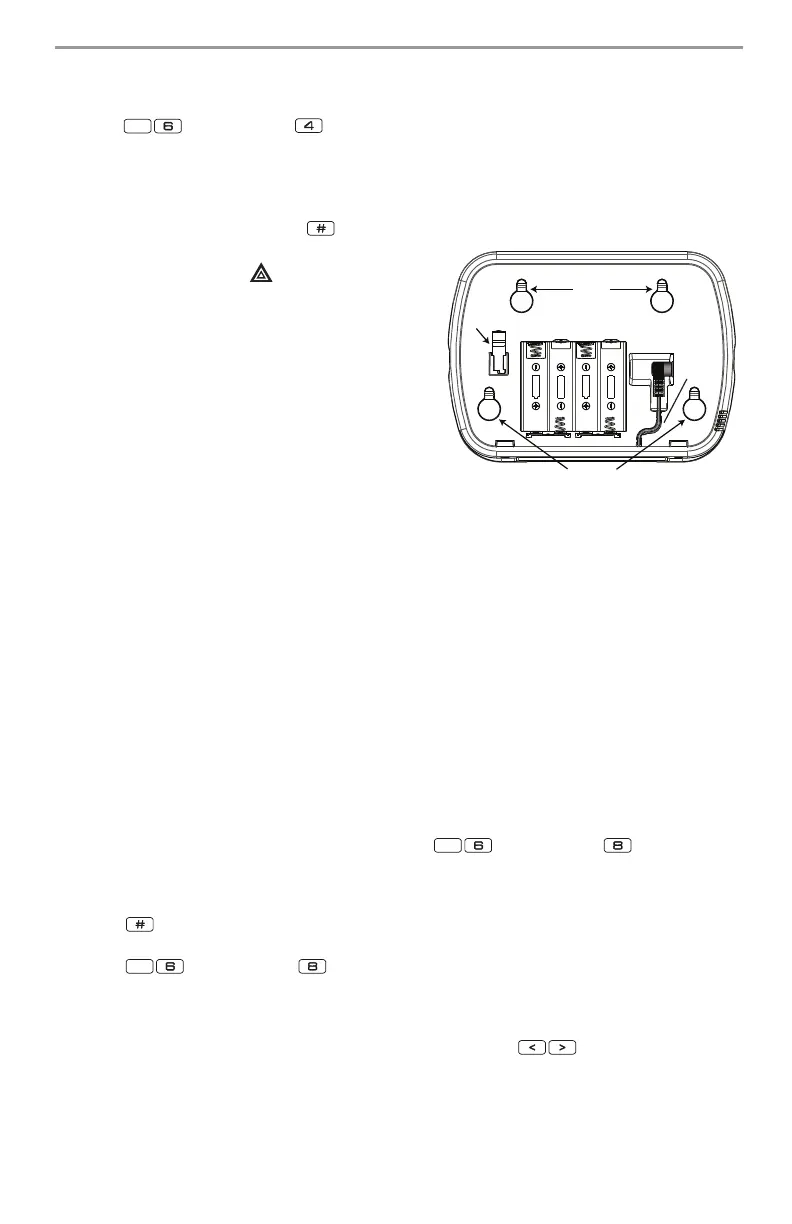
Keypad Low Battery
The flashing trouble icon on a keypad will indi-
cate that keypad has a low battery.
Keypad Battery Replacement
1. Slide the keypad up and out from the mounting
plate/desk stand (removing the screws first if
required). The bay for the four AA batteries is
open and visible at the back of the keypad.
2. Insert the batteries as directed on the back of the
keypad. Ensure the correct polarity is observed.
3. Slide the keypad back onto the mounting plate /
desk stand.
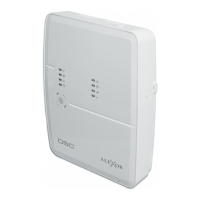
WT4901/WT8901 Siren Battery Test
To determine which siren has a low battery press and hold the test button, located at the front of
the siren, for 5 seconds.
• If the siren sounds for 4 seconds, the batteries are good.
• If the siren doesn’t sound, the batteries are low.
WT4901/WT8901 Siren Battery Replacement
• Open the front cover and remove old batteries. Once the old batteries are removed, wait 30
seconds before inserting the replacement batteries.
Note: Only use Energizer 1.5V AA alkaline batteries.
•I
nstall new batteries as shown in the polarity indicated by the engraving. If the batteries are
installed incorrectly, in the reverse polarity, the indoor siren will not work. With typical use, the
WT4901/WT8901 batteries should be replaced every two years.
DO NOT TRY TO RECHARGE THESE BATTERIES. DISPOSAL OF USED BATTERIES MUST BE MADE
IN ACCORDANCE WITH THE WASTE RECOVERY AND RECYCLING REGULATIONS IN YOUR AREA.
Walk Test
Walk Test mode allows you to test the operation of each detector in the system. While in Walk Test
mode, the Ready, Armed, and Trouble LED's will flash to indicate that the Walk Test is active. The
Walk Test can be terminated at anytime by re-entering [Master Code] on the keypad.
The system will also automatically terminate the Walk Test on completion; it will sound an audible
warning (5 beeps every 10 seconds), beginning 5 minutes before the termination of the test.
1. Before testing, ensure that the system is disarmed and the Ready light is on.
2. Press and close all zones to return the system to the Ready state.
3. Perform a System Test by following the steps in the previous section.
4. Press [Master Code] to initiate the Walk Test.
5. To test the zones, activate each detector in turn (e.g., open each door/window or walk in
motion detector areas).
The System will display the following message when each zone (detector) is activated: ‘Secure
System Before Arming < >", or ‘Secure or Arm System". Use the buttons to view which
zones are open. The message will disappear when the zones are closed.
$$
$$
$$
$$
DG009048
Mounting
Holes
Mounting
Holes
Batteries
Plug
Wire
Channel
Tamper
Switch
 Loading...