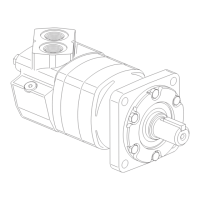
14. Position the motor on its
mounting flange as shown.
15. Using a 1-3/8 in hex wrench,
remove the low pressure relief
valve.
Note: Retain the shims, they
are used to adjust the relief
setting.
16. Using a 1 in. hex wrench,
remove the shuttle valve
plugs.
17. Remove shuttle valves and
shuttle spool.
18. Remove the gauge port plugs.
End Cover
Disassembly
The procedure is the
same for either end cover.
19. Remove eight hex bolts from
end cover.
Caution: Internal parts are
spring loaded. To avoid
internal part damage, remove
six bolts leaving two bolts
opposite each other tight.
Gradually and evenly remove
the two remaining bolts.
20. Carefully remove end cover,
gasket and the two end cover
dowel pins.
Caution: Remove any parts
(valve plate, bearing cup, or
shims) that may have stuck to
the end cover. Be careful not
to drop any.
21. Remove rear bearing cup
from end cover, using a slight
twisting motion. Bearing cup
is slip-fit into end cover.
22. Remove and retain rear
bearing shims from end cover.
Shims are used to adjust shaft
bearing end play of motor
output shaft.
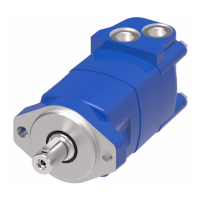
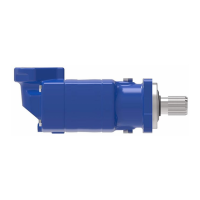
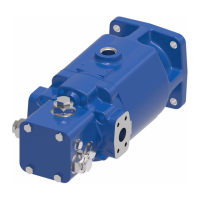
Motor with Integral
Shuttle and Low Pressure
Relief Valve
End Cover
End Cover
Gasket
Bearing Shim
Bearing Race
Valve Plate
Bearing Plate
Housing S/A
 Loading...