3EATON Series 1 heavy Duty Hydrostatic Fixed Displacement Motors Repair E-MOPI-TS002-E September 2004
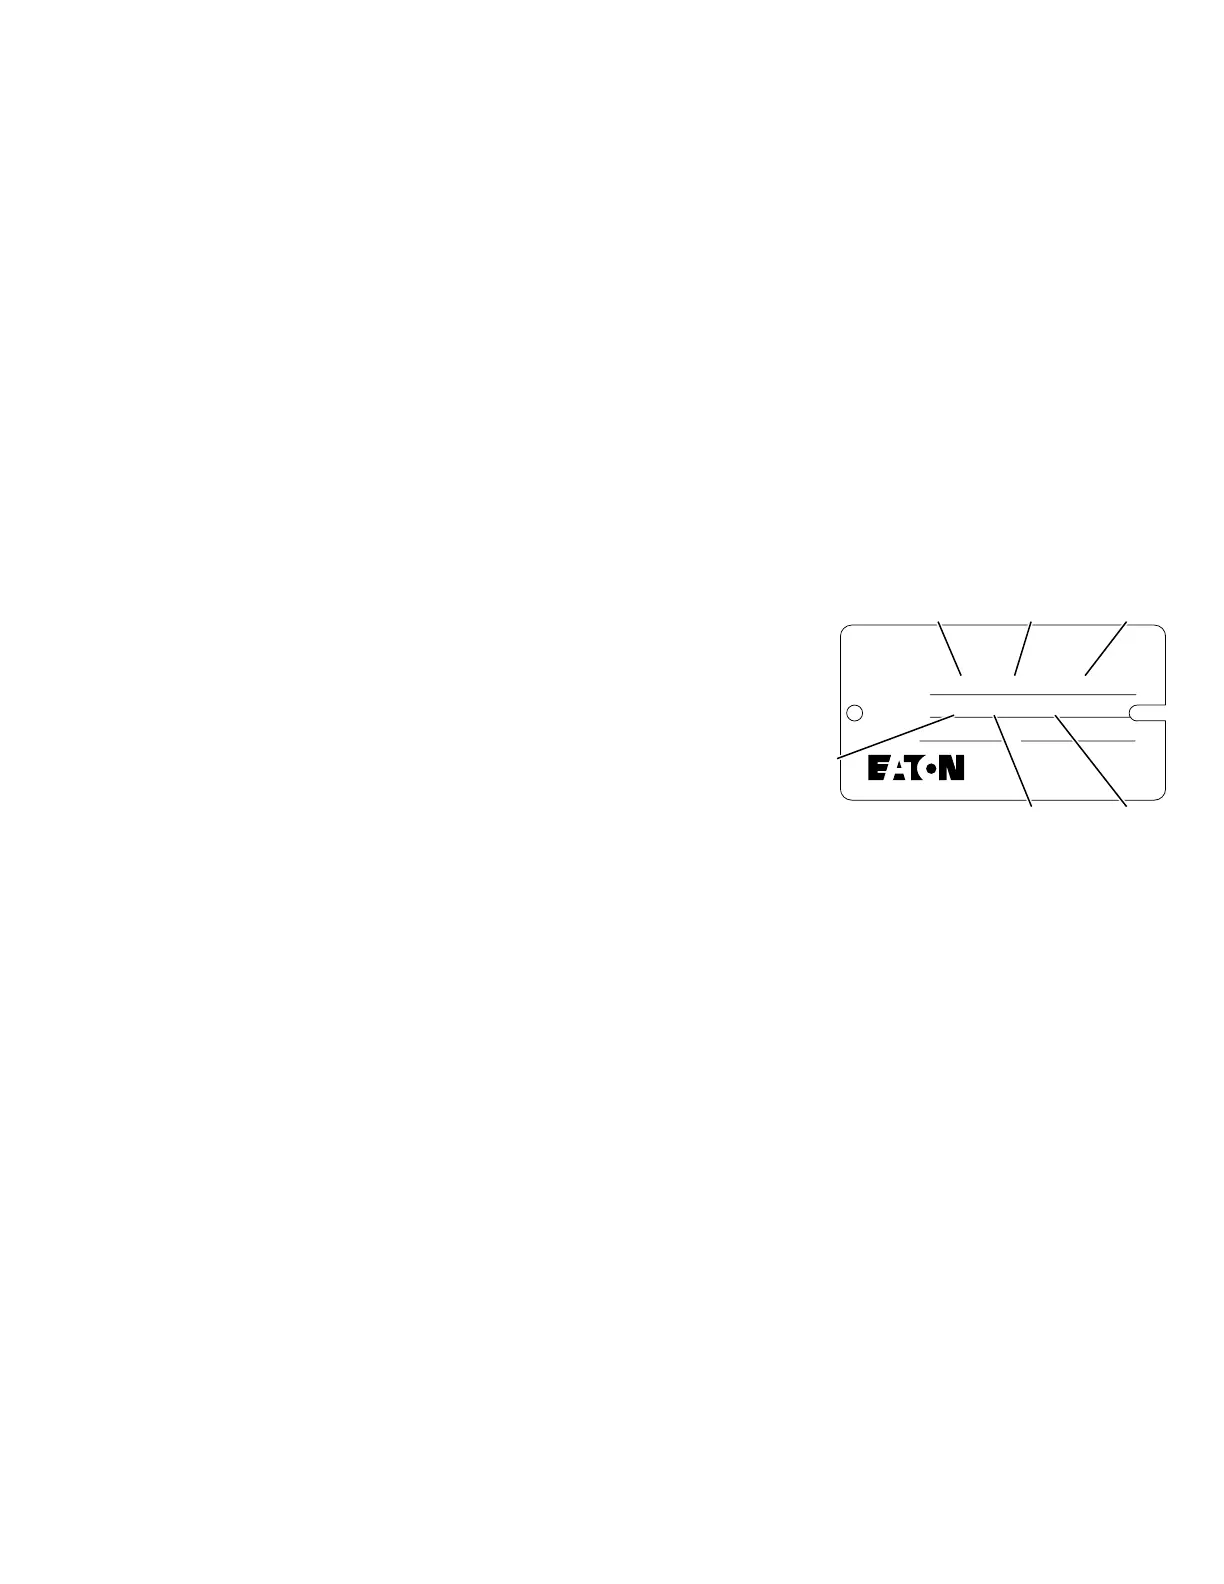
ID Tag
A - Displacement (cu.in./rev.)
0033 = 3.3
0039 = 3.9
0046 = 4.6
0054 = 5.4
0064 = 6.4
B
- Identifies Type of Product
31 = Fixed Displacement Motor with Face Seal
33 = Fixed Displacement Motor with Lip Seal
C - Identifies Specific Unit Configuration
D - Month of Manufacture
E - Year of Manufacture
F - Specific Serial Number of Unit
•Stationary Seal Puller (1/4
in. x 20 UNC capscrew,
3 to 4 in. long)
• Retaining Ring Pliers,
No. 5 or 7
•Breaker Bar or Ratchet
Wrench
• 1-3/8 in. Hex Wrench
•1 in. Hex Wrench
• 9/16 in. Socket
• 5/8 in. Socket
•Torque Wrench
(200 lb-ft capacity)
• 1/4 in. Hex Bit Socket
• 1/4 in. Hex Key
• Loctite® No. 271
• Pliers
• Punch
• Magnetic Base Indicator
• Hammer
• Bearing Press or Driver
•Light Petroleum Jelly
• Cleaning Solvent
• Micrometer or Vernier
Calipers
• Small Screwdriver
(1/8 in. blade)
• Clean Lint Free Rags
Special Tools needed
(shown on pages 26 and 27).
• Bearing Cone Driver
• Rotating Seal Puller
• Limit Stop for Bearing
Cone Installation
• Headless 5/16 in. Cap
Screws, 5 to 6 in. Long (2)
• Low Clearance Bearing
Puller
Tools Required
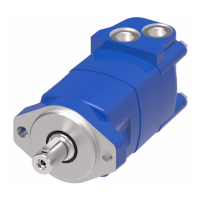
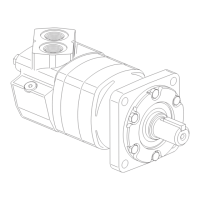
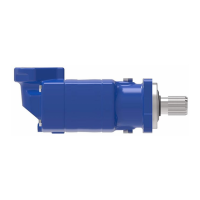
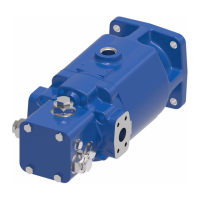
This manual will provide you with service information and procedures for disassembly and reassembly of Eaton
®
Series 1 Heavy Duty Hydrostatic Fixed
Displacement Motors – Models 33, 39, 46, 54, and 64. Procedures outlined in this manual will allow you to better service your motors and obtain the best
results possible. To ensure accuracy of repair and prevent part loss or damage, certain components or subassemblies are disassembled, inspected, and
reassembled when removed from the motor.
Note: All requests or inquiries must be accompanied by the complete model and serial number.
Introduction
Important: Cleanliness is extremely important when repairing a hydrostatic pump or motor. Before disconnecting the lines, clean foreign material
from exterior of unit. Work in a clean area. Clean all metal parts in clean solvent. Blow parts dry with air. Don’t wipe parts with cloth or paper towel,
because lint or other matter could cause damage. Check all mating surfaces. Replace any parts that have scratches or burrs that could cause leakage.
Don’t use coarse grit paper, files or grinders on parts.
Note: All torque specifications are for lubricated threads. Bolts for gasketed surfaces should be checked for proper torque.
A good service policy is to replace all old seals with new seals whenever unit is disassembled. Lubricate seals (except metal sealing surfaces of shaft
seal assembly) with petroleum jelly. Use only clean, recommended oil when assembling unit. See Hydrostatic Fluid Recommendations on page 28-29 or
publication 03-401 and 03-405.
Refer to specific motor assembly
part listings for your Eaton motor
when ordering replacement parts.
Parts Lists are available from Eaton.
Sample tag shows motor
identification.
When ordering replacement parts,
you must include the
following information:
 Loading...