Do you have a question about the ECS A780GM-A and is the answer not in the manual?
| Internal memory | 32 GB |
|---|---|
| Number of memory slots | 4 |
| Processor socket | Socket AM2 |
| Processor manufacturer | AMD |
| Compatible processor series | AMD Sempron |
| USB 2.0 connectors | 3 |
| S/PDIF out connector | Yes |
| Number of COM connectors | 1 |
| Number of SATA connectors | 5 |
| USB 2.0 ports quantity | 6 |
| Firewire (IEEE 1394) ports | 0 |
| Motherboard chipset | AMD 780G |
| Motherboard form factor | ATX |
| BIOS type | AMI |
| PCI Express x1 slots | 2 |
| Maximum graphics card memory | 1920 MB |
| Controller interface type | AMD SB700 |
| RAID levels | 0, 1 |
Legal notice regarding copyright and reproduction rights for the publication.
Statement about document content changes and disclaimers of warranties.
Acknowledgement of registered trademarks used in the manual.
FCC rules compliance for Class B digital devices and interference.
Statement of compliance with FCC rules and Canadian regulations.
Compliance with Canadian Interference-causing Equipment Regulations.
Overview of the manual's structure and chapter contents.
Welcome and overview of the motherboard's purpose and target market.
Key features and specifications of the motherboard.
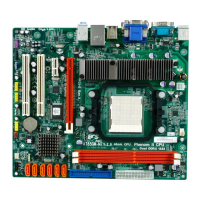
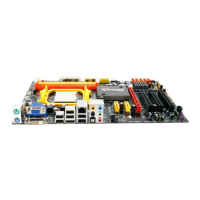
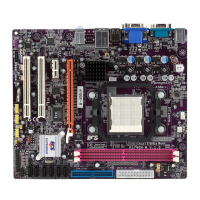
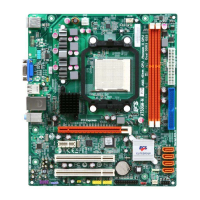
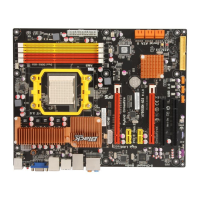
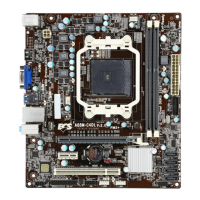
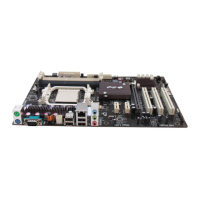
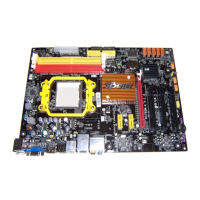
Detailed listing and identification of motherboard components.
Essential safety guidelines to follow before and during motherboard installation.
Guidance on selecting a compatible computer case for the motherboard.
Step-by-step instructions for physically mounting the motherboard inside a computer case.
Explanation of how to configure motherboard functions using jumpers.
Instructions for correctly positioning jumper caps for desired configurations.
Procedures for installing essential hardware onto the motherboard.
Detailed steps for seating the CPU into its socket and securing the heatsink.
Guide for inserting RAM modules into the DIMM slots.
Step-by-step guide for installing DDR2 memory modules.
Recommendations for best performance and compatibility when installing memory.
List of tested memory modules qualified for use with this motherboard.
Description of available expansion slots and their specifications.
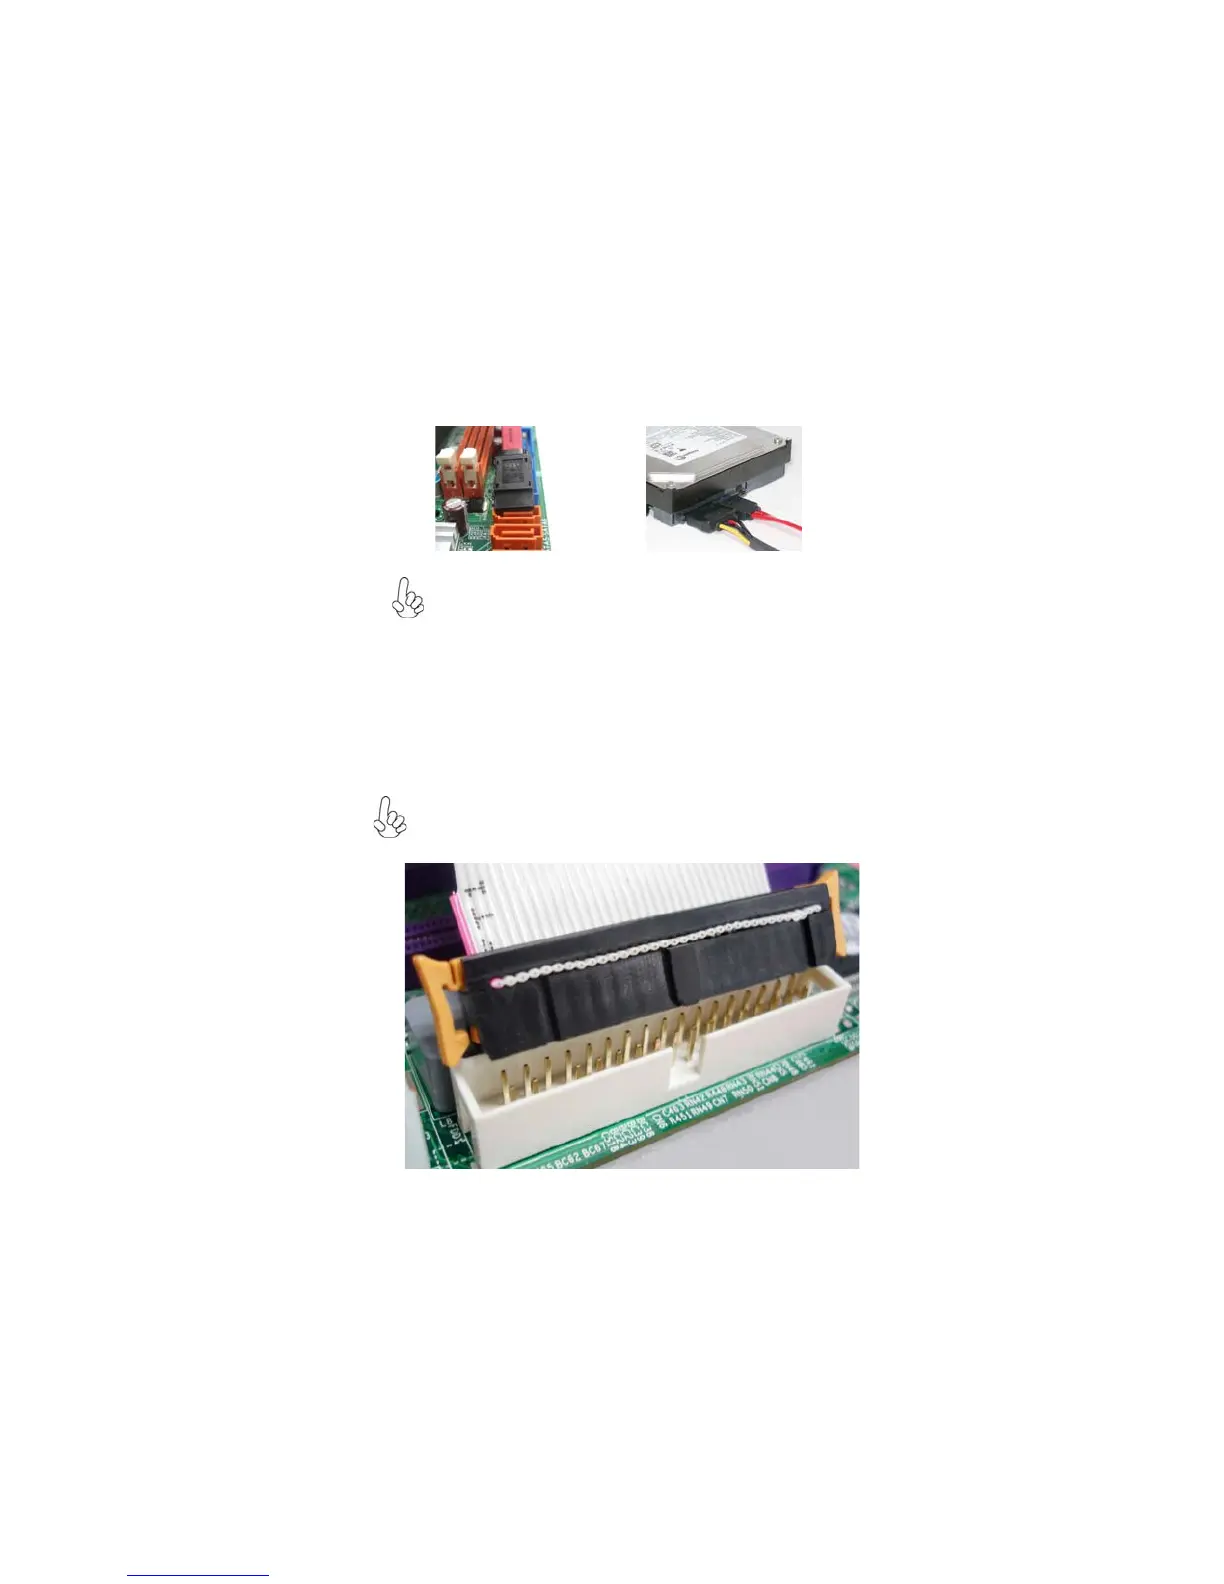
Instructions for inserting expansion cards into PCI and PCI Express slots.
Information on connecting various internal and external optional devices.
Details for connecting a serial port extension bracket.
Information on connecting Serial ATA hard drives and devices.
Connection details for the digital audio output.
Guide for connecting front panel microphone and headphone jacks.
Details for connecting analog audio sources via CD-IN.
Instructions for connecting front-mounted USB ports to the motherboard.
Procedures for connecting hard drives, CD-ROMs, and floppy drives.
Information on setting up and connecting IDE devices.
Steps for connecting SATA hard drives using SATA cables.
Guide for connecting the floppy disk drive.
Pinout and connection information for the FDD connector.
Guide for connecting external peripherals to the motherboard's rear I/O panel.
Instructions for connecting PS/2 mouse and keyboard.
Connecting monitors to the VGA and HDMI outputs.
Connecting USB devices and external SATA storage.
Connecting the network cable to the RJ-45 LAN port.
Details on connecting audio devices to the various audio jacks.
Steps for connecting internal case components to motherboard headers.
Procedure for connecting the main ATX power supply connector.
Procedure for connecting the auxiliary 4-pin 12V power connector.
Connecting fan power cables to motherboard headers.
Connecting the PC speaker and secondary 12V power.
Connecting front panel buttons, LEDs, and switches.
Wiring for the hard drive activity indicator LED.
Wiring for power, sleep, and message waiting LEDs.
How to connect and use the system reset and power buttons.
Introduction to the BIOS setup utility and its purpose.
Configuration settings for basic system components like date, time, and storage.
Setting the system's current date and time.
Optimizing storage device performance through various modes.
Advanced system configuration settings beyond basic CMOS.
Configuring processor and system performance features.
Enabling or disabling the eJIFFY fast boot feature.
Detailed configuration options related to the motherboard chipset.
Adjusting memory clock speed and timing parameters.
Configuring chipset-related features like Surround View and HDMI audio.
Enabling or disabling onboard peripheral devices.
Managing the IDE, SATA, onboard audio, and LAN interfaces.
Enabling serial ports and USB support.
Configuring system power saving features and wake-up options.
Defining system sleep states and wake-up events.
Configuring PCI bus, Plug and Play, and system resume settings.
Monitoring system voltages, temperatures, and fan speeds.
Adjusting fan speed based on temperature for optimal cooling.
Displaying critical system component temperatures and voltages.
Fine-tuning system clock speeds and voltages.
Modifying CPU and memory voltage levels and clock speeds.
Enabling and configuring CPU over-clocking with associated risks.
Implementing password protection for BIOS access.
Restoring BIOS to factory default optimized settings.
Setting or changing the supervisor and user passwords.
Procedures for saving changes and exiting the BIOS utility.
Information about the included support software disc and its contents.
Guide for installing drivers via the disc's autorun feature.
Description of the Drivers, Utilities, and Information sections within the installer.
Step-by-step guide for initiating the software installation process.
Alternative procedure for installing drivers via file manager.
Details on the included utility software and their licenses.
Overview of the eJIFFY fast boot program and its capabilities.
Procedures for installing and activating the eJIFFY feature.
Steps to install eJIFFY from the support DVD.
Enabling the eJIFFY function within the BIOS setup.
Explanation of the icons displayed in the eJIFFY interface.
Frequently asked questions and customization options for eJIFFY.
Instructions for changing the keyboard language within eJIFFY.
Steps to modify the display language for the eJIFFY interface.
Common issues encountered when first assembling the PC.
Troubleshooting steps for a system that does not power on.
Diagnosing issues where the system powers on but shows no display.
Addressing problems where the PC shuts down unexpectedly during startup.
Troubleshooting common issues that appear after extended system operation.
Recommendations for proper care to prolong motherboard life.
A visual guide to diagnosing and resolving common PC issues.