24
Chapter 4 Troubleshooting
Chapter 4 Troubleshooting
If a problem still remains after applying the suggested remedies, contact your local dealer.
• No-pictureproblems→SeeNo.1-No.2.
• Imagingproblems(digitalinput)→SeeNo.3-No.9.
• Imagingproblems(analoginput)→SeeNo.3-No.12.
• Otherproblems→SeeNo.13-No.15.
• USBproblems→SeeNo.16.
Problems Possible cause and remedy
1. No picture
• Power indicator does not light.
• Check whether the power cord is connected correctly. If
the problem persists, turn off the monitor, and then turn it
on again a few minutes later.
• Press
.
• Power indicator is lighting blue. • Set each RGB adjusting value in [Gain] to higher level.
(see page 16)
• Power indicator is lighting orange. • Switch the input signal with
.
• Operate the mouse or keyboard.
• Check whether the PC is turned on.
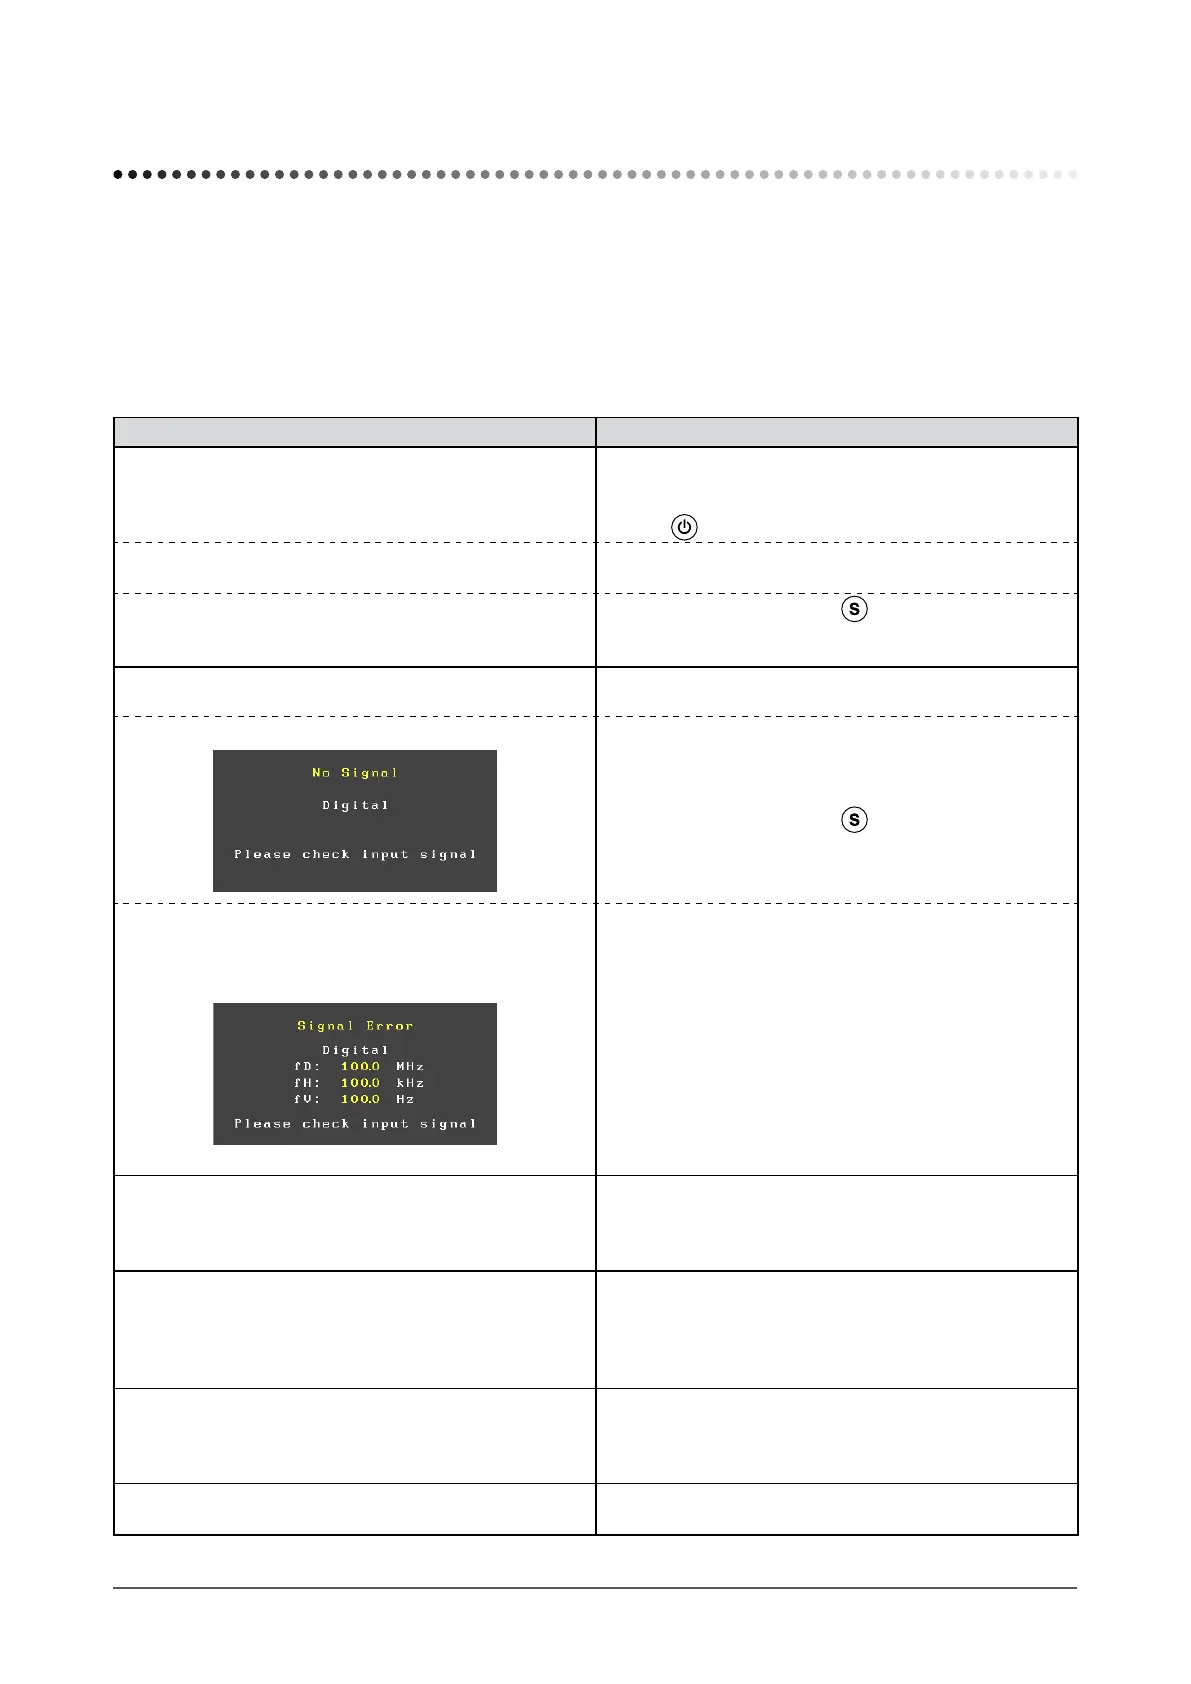
2. The message below appears.
This message appears when the signal is not input
correctly even when the monitor functions properly.
• This message appears when no signal is input.
• The message shown left may appear, because some
PCs do not output the signal soon after power-on.
• Check whether the PC is turned on.
• Check whether the signal cable is connected properly.
• Switch the input signal with
.
• The message shows that the input signal is out of the
specied frequency range. (Such signal frequency is
displayed in yellow.)
Example:
• Check whether the signal setting of your PC matches
the resolution and the vertical frequency settings for the
monitor. (See “Compatible Resolutions/Frequencies” on
the cover back of the Setup Manual.)
• Reboot the PC.
• Select an appropriate display mode using the graphics
board’s utility. Refer to the manual of the graphics board
for details.
fD : Dot Clock
(Displayed only when the digital signal inputs)
fH : Horizontal Frequency
fV : Vertical Frequency
3. The screen is too bright or too dark. • Adjust using [Brightness] or [Contrast]. (The LCD
monitor backlight has a xed life span. When the screen
becomes dark or begins to icker, contact your local
dealer.)
4. Characters are blurred. • Check whether the signal setting of your PC matches
the resolution and the vertical frequency settings for the
monitor. (See “Compatible Resolutions/Frequencies” on
the cover back of the Setup Manual.)
• Adjust using [Sharpness]. (see
page 18)
5. Afterimages appear. • Use a screen saver or off timer function for a long-time
image display.
• Afterimages are particular to LCD monitors. Avoid
displaying the same image for a long time.
6. Green/red/blue/white dots or defective dots remain
on the screen.
• This is due to LCD panel characteristics and is not a
failure.
 Loading...