 Loading...
Do you have a question about the Electrolux EW30IS65JSA and is the answer not in the manual?
| Oven Capacity | 4.6 cu. ft. |
|---|---|
| Number of Burners | 5 |
| Convection Oven | Yes |
| Self-Cleaning | Yes |
| Control Type | Touch |
| Wi-Fi Connectivity | No |
| Fuel Type | Electric |
| Width | 30 in |
| Product Type | Range |
| Color | Stainless Steel |
| Convection Cooking | Yes |
| Warming Zone | Yes |
| Height | 36 in |
| Depth | 28.5 in |
Record essential appliance details like brand, model, serial number, and purchase date for future reference.
Locate the appliance's model and serial number plate, typically found inside the oven door.
Contact information for toll-free telephone support and online resources for Electrolux appliances.
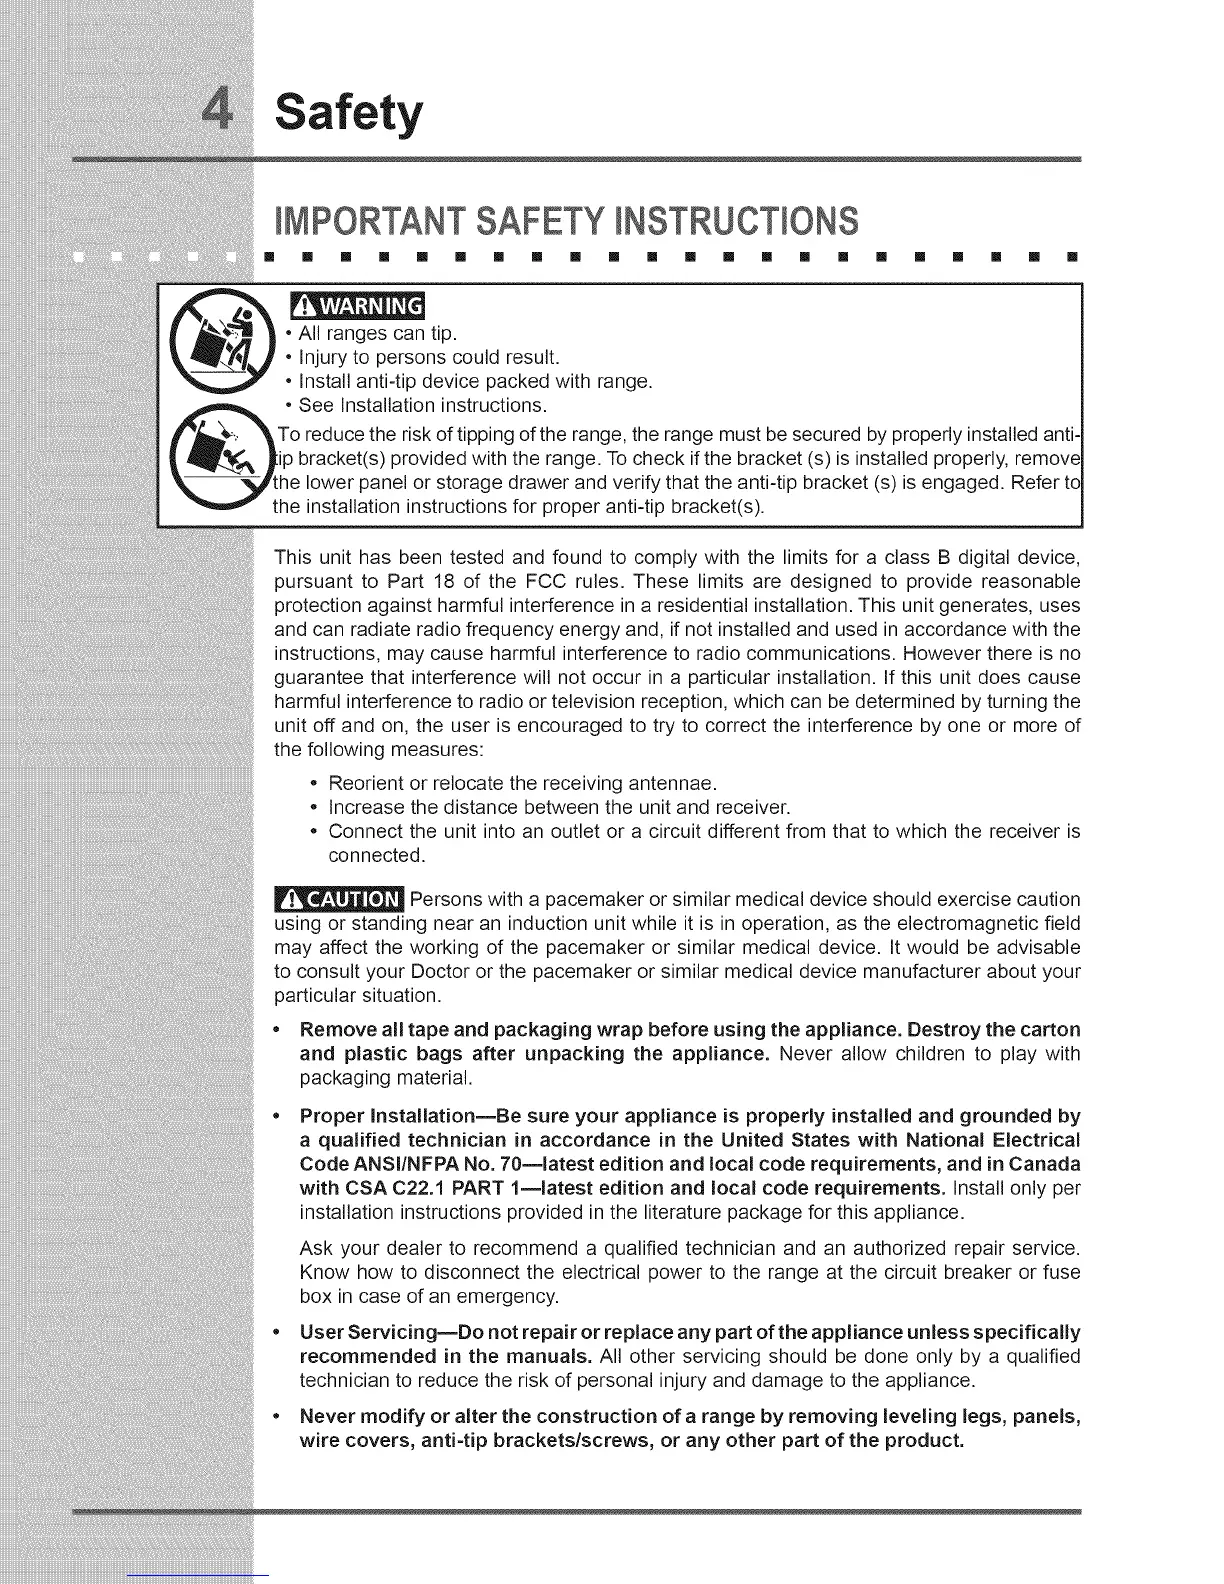
Crucial safety warnings and precautions for operating the appliance, including anti-tip device installation.
Guidance on safe usage of the cooktop, oven, and related components to prevent burns or damage.
Recommendations for safe and effective cleaning of the range, including self-cleaning oven precautions.
General safety warnings regarding appliance operation, including potential hazards and health considerations.
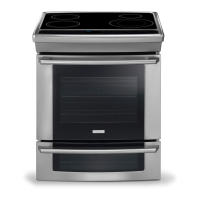
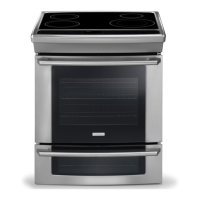
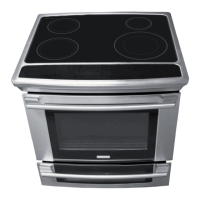
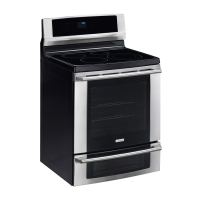
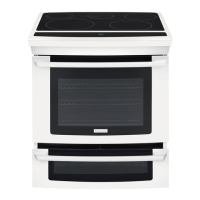
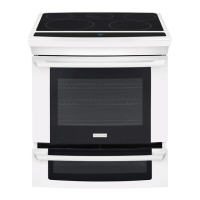
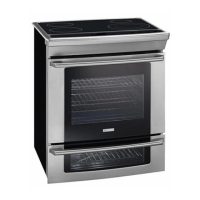
Identifies the main external components of the Electrolux slide-in electric range.
Details the unique features of the induction cooktop, including magnetic detector and pan size detection.
Explains the installation and location of oven rack supports and oven vents for proper air circulation.
Step-by-step instructions for safely removing and reinstalling both sliding and non-sliding oven racks.
An overview of the various buttons and their functions on the oven's electronic control panel.
Details the buttons and displays for controlling the induction cooktop's heating zones.
Instructions for setting the clock after initial power connection or interruption.
Explanation of the appliance's display modes, including Sleep and Wake modes.
Describes the oven's temperature display feature that indicates real-time heating progress.
How to turn the oven interior lights on and off using the control panel.
Instructions on how to activate and deactivate the control lock feature to prevent unintended operation.
Guide on setting and cancelling the built-in kitchen timer feature.
Information on the ceramic glass cooktop surface, including heat transfer and pan matching.
Guidance on selecting magnetic cookware suitable for induction cooktops to ensure proper heating.
Details on the minimum pan sizes required for each cooking zone on the induction cooktop.
Visual examples of correct and incorrect cookware placement and pan types for optimal cooktop performance.
Advice on using flat-bottomed, heavy-duty cookware to prevent scratching and ensure even heating.
Explanation of how to set power levels for each cooktop zone using the digital controls.
Information on the 'HE' indicator that signals a hot cooktop surface after use.
A chart providing recommended power settings for various types of cooking on the cooktop.
Details on using the Power Boost feature for rapid heating and its limitations.
Explanation of how cooking zones share power from a single inverter, affecting performance.
Information about normal background noises associated with induction cooking, especially at Power Boost.
Guidance on operating the lower oven for baking, slow cooking, and warming, including safety tips.
Instructions for using the standard baking mode, including tips for upper and lower oven use.
How to set the oven to cook for a specific duration and automatically shut off.
Setting the oven to automatically shut off at a predetermined time of day.
Guidance on using the broiling mode for tender cuts of meat, fish, and poultry.
Instructions for convection baking, which uses fan circulation for faster, more even cooking.
Feature to automatically convert standard baking recipes to convection temperatures.
How to use the rapid preheat function to quickly bring the oven to the desired temperature.
Using convection roasting for tender meats, browning the exterior and sealing in juices.
Mode for thicker cuts of meat, browning exterior and sealing juices using broil element and fan.
Mode to maintain cooked food's temperature for serving after cooking is finished.
Using slow cook mode for cooking foods at lower temperatures, similar to a slow cooker.
Mode for drying and preserving foods like fruits and vegetables using low heat and convection.
Using the defrost feature to gently thaw delicate items using circulating room temperature air.
Mode for proofing or rising bread dough by activating yeast at a low, controlled temperature.
Mode using the temperature probe for precise cooking of a perfect turkey, ensuring browning and juiciness.
Information on using the temperature probe for accurate internal food temperature testing.
Feature allowing sequential programming of up to three cooking modes with individual settings.
Accessing and managing user-defined settings like clock, display, and audio preferences.
Instructions for setting the 12-hour or 24-hour clock display.
Enabling or disabling the clock display on the oven control panel.
Choosing between 12-hour and 24-hour time formats for the clock display.
How to calibrate and adjust the oven's temperature for more accurate baking results.
Switching the temperature display between Fahrenheit and Celsius units.
Managing audible alerts, including setting volume levels or disabling beeps.
Configuring the oven for continuous operation or activating the 12-hour energy-saving auto shut-off.
Restoring all electronic control settings to their original factory defaults.
Saving and recalling frequently used cooking sequences for quick access.
Instructions for activating the Sabbath feature for use during Jewish holidays.
Precautions and steps for initiating the self-cleaning cycle for the oven interior.
Steps to take before starting self-cleaning, such as removing racks and cleaning spills.
Setting the controls for a self-cleaning cycle, including options for duration and delayed start.
Procedures for safely stopping or interrupting a self-cleaning cycle if necessary.
Guidelines for maintaining the appearance of stainless steel parts on the appliance.
Detailed instructions with illustrations for safely removing and reinstalling the oven door.
Recommendations for preventing damage to the oven door glass and structure.
Information on the oven light, including how to replace the bulb and glass shield.
Tips for easier cleaning of the broiler pan and grid to prevent grease buildup.
Essential steps for maintaining the ceramic glass cooktop's appearance and function.
Specific methods and recommended cleaners for removing light and heavy soil from the cooktop.
Warnings against using aluminum foil and precautions for aluminum cookware on the glass cooktop.
Common issues encountered during baking and their corresponding solutions and causes.
Troubleshooting steps for 'F' error codes detected by the electronic control system.
Troubleshooting common installation problems related to leveling and cabinet alignment.
Steps to diagnose and resolve issues where the entire range fails to power on or operate.
Troubleshooting steps for issues with the oven interior light not functioning.
Solutions for problems preventing the self-cleaning cycle from starting or completing properly.
Identifying causes for excessive smoke during broiling and how to prevent it.
Addressing issues where soil remains in the oven after the self-cleaning cycle.
Factors affecting cooking results, including temperature, cookware, and oven overcrowding.
Normal causes for flames or smoke, such as minor spills, and recommended actions.
Troubleshooting steps for surface elements that fail to heat, checking power and controls.
Diagnosing and correcting issues with surface elements that are too hot or not hot enough.
Causes and solutions for food not heating evenly, related to cookware and control settings.
Preventing and addressing scratches and abrasions on the ceramic glass cooktop surface.
Removing brown streaks and specks caused by cooked-on spills or improper cleaning.
Addressing discoloration on the cooktop surface caused by mineral deposits or cleaning agents.
Removing metal marks caused by sliding utensils or cookware on the ceramic glass surface.
List of conditions and circumstances not covered by the appliance's limited warranty.
Legal information regarding implied warranties and limitations on remedies for defects.
Instructions on how to obtain warranty service, including contact information and required documentation.