30
EMC Connectrix B Series DS-300B Hardware Reference Manual
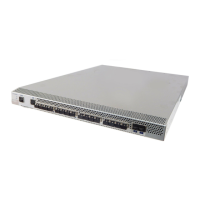
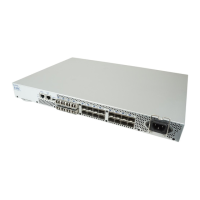
Installing and Configuring the DS-300B
Using DHCP
When using DHCP, the DS-300B obtains its IP address, subnet mask,
and default gateway address from the DHCP server. The DHCP
client can only connect to the a DHCP server that is on the same
subnet as the switch. If your DHCP server is not on the same subnet
as the DS-300B, use a static IP address.
Setting a static IP address
1. Log into the switch using the default password, which is
password.
2. Use the ipaddrset command to set the Ethernet IP address.
If you are going to use an IPv4 IP address, enter the IP address in
dotted decimal notation as prompted.
Ethernet IP Address: [192.168.74.102]
If you are going to use an IPv6 address, enter the network
information in semicolon-separated notation as prompted.
switch:admin> ipaddrset -ipv6 --add
1080::8:800:200C:417A/64
IP address is being changed...Done.
3. Complete the rest of the network information as prompted.
Ethernet Subnetmask: [255.255.255.0]
Ethernet IP Address: [192.168.74.102]
Ethernet Subnetmask: [255.255.255.0]
4. Enter off to Disable DHCP when prompted.
DHCP [OFF]: off
Setting the date and time
The DS-300B maintains the current date and time inside a
battery-backed real-time clock (RTC) circuit. Date and time are used
for logging events. Switch operation does not depend on the date and
time; a DS-300B with an incorrect date and time value still functions
properly. However, because the date and time are used for logging,
error detection, and troubleshooting, you should set them correctly.
Setting the date
1. If you are not already logged into the switch; do so now using the
default password, which is password.
 Loading...