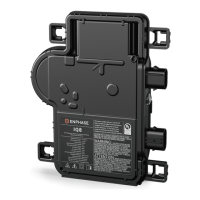
Enphase IQ8P Microinverters
20 © 2024 Enphase Energy Inc. All rights reserved. January 2024
IOM-00002-1.0
E. Hold the terminator body stationary with the screwdriver and turn only the hex nut to
prevent the conductors from twisting out of the separator.
NOTE: Turn only the hex nut to prevent conductors from twisting out of the separator.
F. Attach the terminated cable end to the PV racking with a
cable clip or tie wrap so that the cable and terminator do not
touch the roof.
WARNING: The terminator cannot be re-used. If you
unscrew the nut, you must discard the terminator.
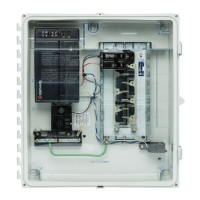
Step 8: Complete the installation of the junction box
A. Connect the IQ Cable to the junction box.
B. Refer to the Sample single-phase wiring diagram for more information. Wire colors are listed
in the following table.
Wire colors
L1-black L2-red
Step 9: Connect the PV modules
WARNING: Electrical shock hazard. The DC conductors of this photovoltaic system are
ungrounded and may be energized.
A. If required, attach the DC bulkhead adaptors to the microinverters. Ensure they are fully
seated. Do not reverse the adaptor connections.
B. Connect the DC leads of each PV module to the DC input connectors of the corresponding
microinverter.
C. Check the LED on the connector side of the microinverter. The LED flashes six times when
DC power is applied.
D. Mount the PV modules above the microinverters.
 Loading...
