15
SECTION 2 INSTALLATION
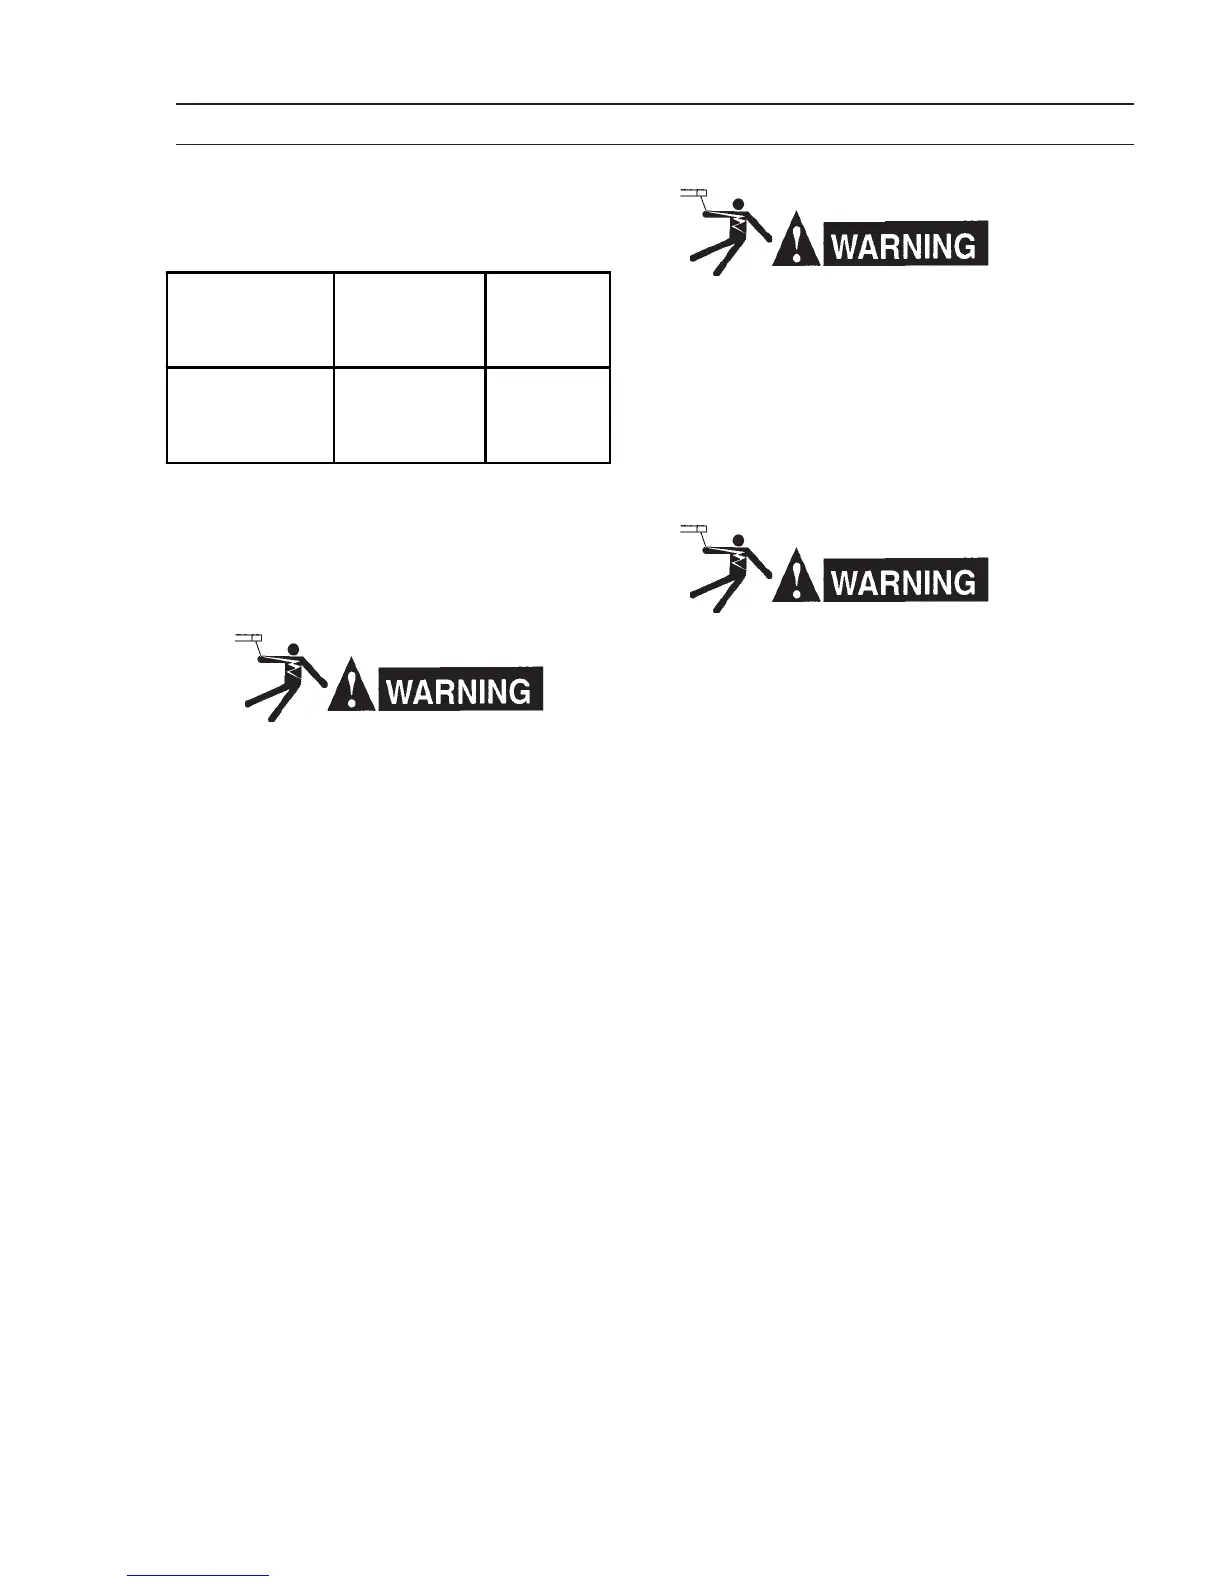
Rated Load
(3-phase input)
Volts Amps
Input &
Ground
Conductor*
CU/AWG (mm )
Time-Delay
Fuse Size
Amps
208 40
230 38
460 21
575 17
8 (10)
8 (10)
10 (6)
10 (6)
60
60
30
30
Table 2-1. Recommended Input Conductors and
Fuse Sizes
* Sizes per National Electric Code for 90 °C rated copper conductors
@ 30 °C ambient. Not more than three conductors in raceway or
cable. Local codes should be followed if they specify larger sizes
other than those listed above.
Use the following procedure to disconnect the factory-installed
cable and connect your own input power leads/cable.
ELECTRIC SHOCK CAN KILL! Make sure the ground
lead is at least twice as long as the input power
leads on the inside of the power source (see Figure
2-3). Ensure the strain relief and ground connec-
tion are securely tightened.
If these conditions are not met, the power source
chassis may become electrically "hot" if excessive
stress is placed on the input power cable.
If it is necessary to move the power source after it
has been connected to primary power, ensure that
the power source is turned OFF, and that an ad-
equate amount of "slack" is maintained in the input
power cable.
If you have single-phase input power and are using the
factory-installed power cable, you must change the
ON-OFF switch cable connections from three-phase to
single-phase configuration as follows:
1. Remove the 1/4" screws securing the top cover
and place them in a safe place.
2. Remove the top cover and set aside.
3. Loosen the ON-OFF switch cable connection
T3 located inside the power source.
4. Remove the red wire from cable connection T3.
ELECTRIC SHOCK CAN KILL! After the red wire
has been removed from L2, its center conductor is
exposed. This conductor must be covered with an
insulating material. Failure to do so properly could
cause a serious electrical shock hazard.
5. Re-attach the top cover with hardware re-
moved in step 1.
2.5 OUTPUT CONNECTIONS
ELECTRIC SHOCK CAN KILL! Before making any
connections to the power source output terminals,
make sure that all primary power input power is
deenergized (OFF) at the line (wall) disconnect
switch or circuit breaker.
Two male plug connectors (P/N 13792513) are sup-
plied with the ESAB 350mpi (see Figure 2-3). To
assemble the connectors onto each of your welding
cables, refer to the following instructions:
1. Slip the insulating boot over the end of the
cable.
2. Strip the wire approximately 1-1/2" (37 mm)
from the end.
3. Place the ferrule over the stripped wire end.
4. Place the male connector over the ferrule and
tighten the two Allen screws until they are flush
with the connector.
5. Slide the insulating boot over the assembly.
Refer to Tables 2-2 and 2-3 and Figures 2-4, 2-5, 2-6,
and 2-7 when attaching welding cables and optional
equipment to the ESAB 350mpi.
Particular attention should be paid to the electrical
resistance in the welding circuit; especially, the work
and work cable and when using a water-cooled torch.
High resistance in the welding circuit can cause perfor-
mance deterioration (loss of "heat" input, popping of
weld puddle, bushy arcs, etc.). It is recommended that
the power source/wire feeder and workpiece be placed
 Loading...