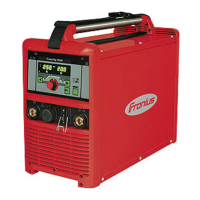
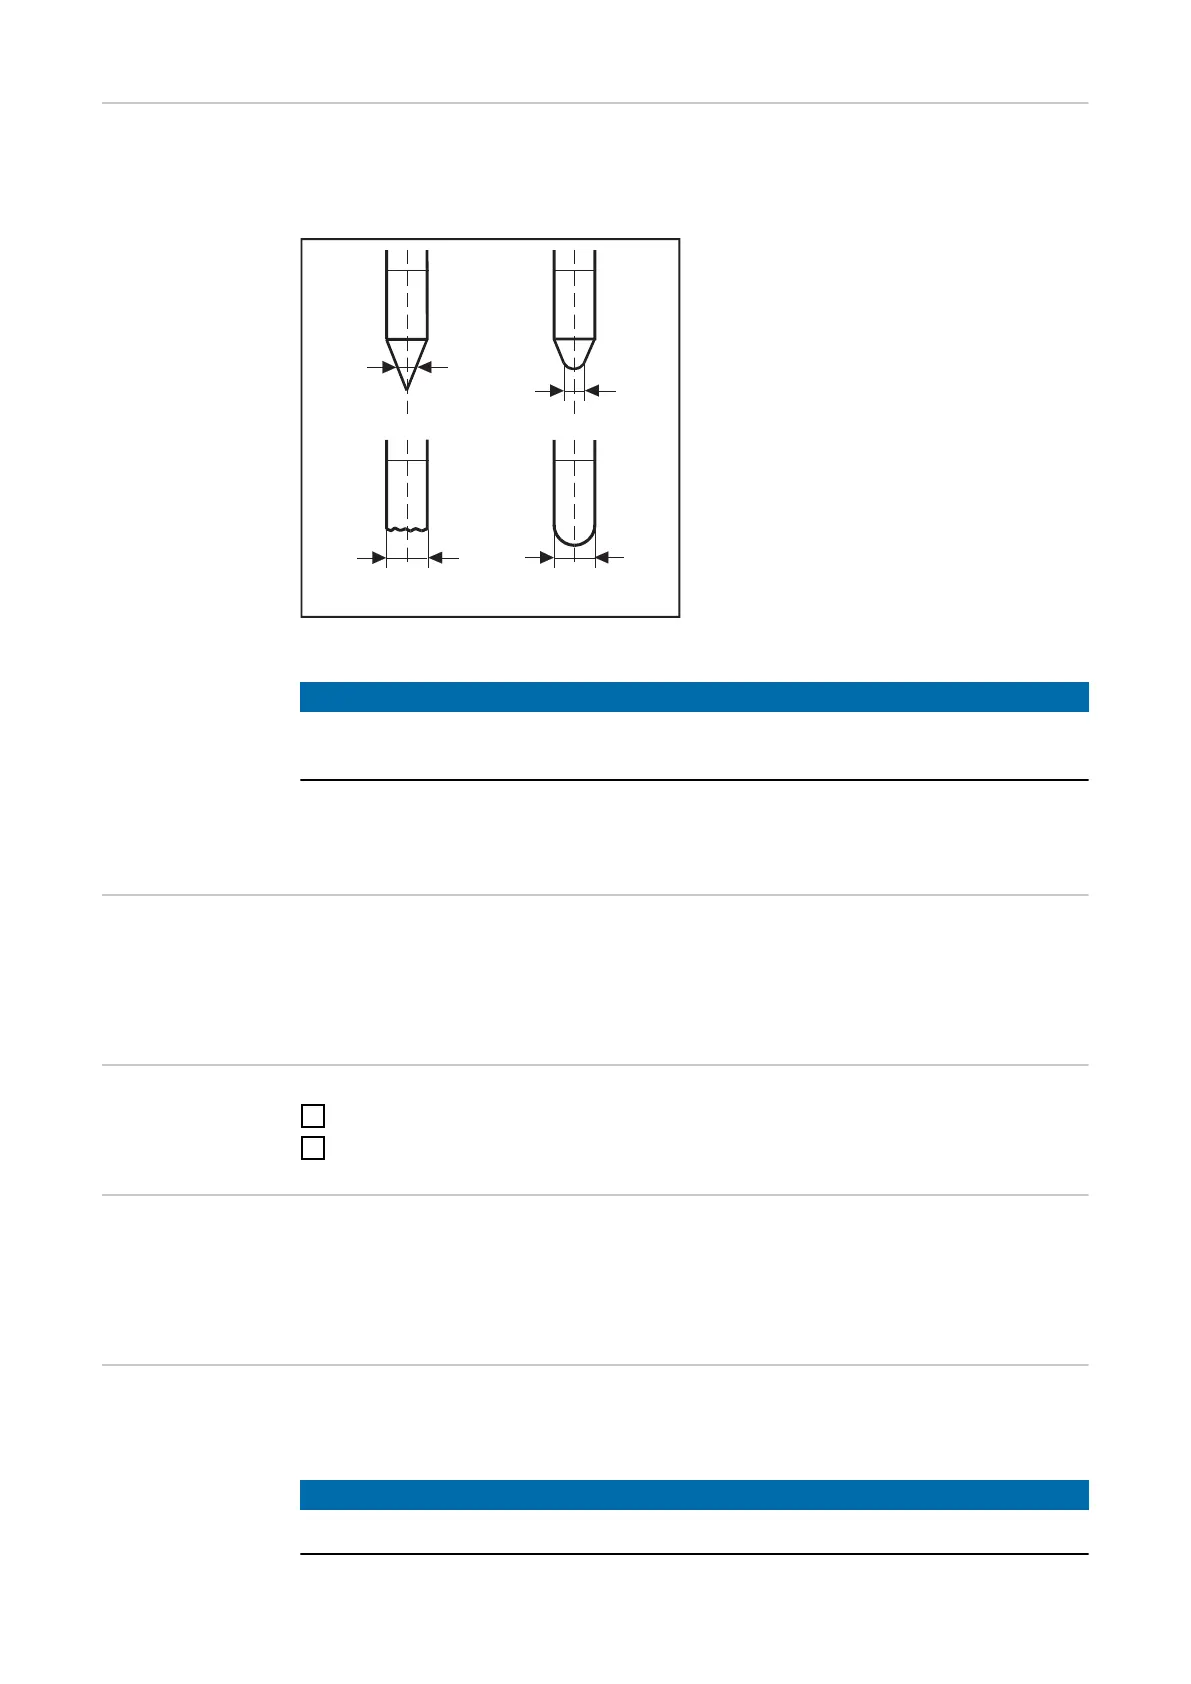
Cap-shaping
(MagicWave)
When the AC welding process is selected, automatic cap-shaping is available for the
MagicWave power sources. For optimum results, this takes into account the set elec-
trode diameter.
Cap-shaping
The automatic cap-shaping ensures the
formation of the optimum cap during the
welding start. Separate cap-shaping on a
test workpiece is not necessary.
NOTE!
The AC welding process with activated cap-shaping is not necessary if a suffi-
ciently large cap is formed on the tungsten electrode.
Set the electrode diameter on the tungsten electrode adjuster. Activate cap-shaping by
briefly pressing the welding torch trigger forward.
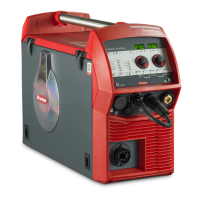
Welding para-
meter setting
Use the potentiometers on the control panel to set the desired welding parameters.
A list of the welding parameters available in the program levels can be found in the sec-
tion "Program level preferences”.
Adjust the shield-
ing gas quantity
1
Press the gas-test button
2
Set desired gas quantity
Ignition of the arc
- general
For an optimal ignition sequence, when TIG AC welding is selected, the MagicWave
power sources take into account the electrode diameter. In addition, the current elec-
trode temperature is also calculated on the basis of the previous welding time and weld-
ing pause.
TIG synchronous
welding AC
(MagicWave)
Used for mains synchronization of two power sources, for simultaneous AC welding on
both sides.
NOTE!
The phase sequence must be the same for both devices.
42
 Loading...