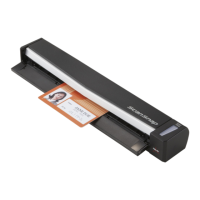
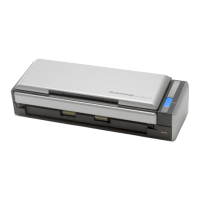
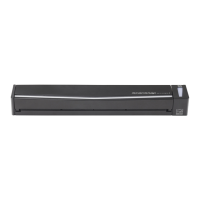
8. Close the ADF paper chute (cover)/feed guide, and restart your computer.
If the problem persists, refer to "Removing the ScanSnap's connection information" (page 28).
Removing the ScanSnap's connection information
The ScanSnap might have been connected to the computer before you installed the
software. In that case, you need to remove the connection information of the ScanSnap.
Remove the ScanSnap's connection information in the following procedure.
1. Connect the ScanSnap to the computer, and open the ADF paper chute
(cover)/feed guide.
2. Open Device Manager.
● For Windows 7
Select [Start] menu → [Control Panel] → [Hardware and Sound] → [Device
Manager].
● For Windows Vista
Select [Start] menu → [Control Panel] → [System and Maintenance] → [Device
Manager].
● For Windows XP
Select [start] menu → [Control Panel] → [Performance and Maintenance] → [System]
→ [Hardware] tab → [Device Manager] button.
3. Select [Imaging devices] and right-click on [ScanSnap XXXX] (or [Other
devices] → [ScanSnap XXXX]), and then select [Uninstall] from the
displayed menu.
"XXXX" indicates the ScanSnap model that is connected.
4. If other USB ports have also been used to connect the ScanSnap, perform
steps 1. to 3. for each port.
5. Close the ADF paper chute (cover)/feed guide to turn off the ScanSnap.
6. Unplug the USB cable from your computer.
7. Restart your computer.
8. Connect the USB cable to the computer.
When ScanSnap Manager does not operate normally
28
 Loading...


