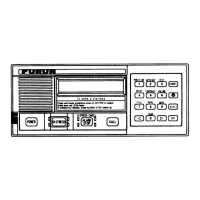
3. ADJUSTMENTS
3-22
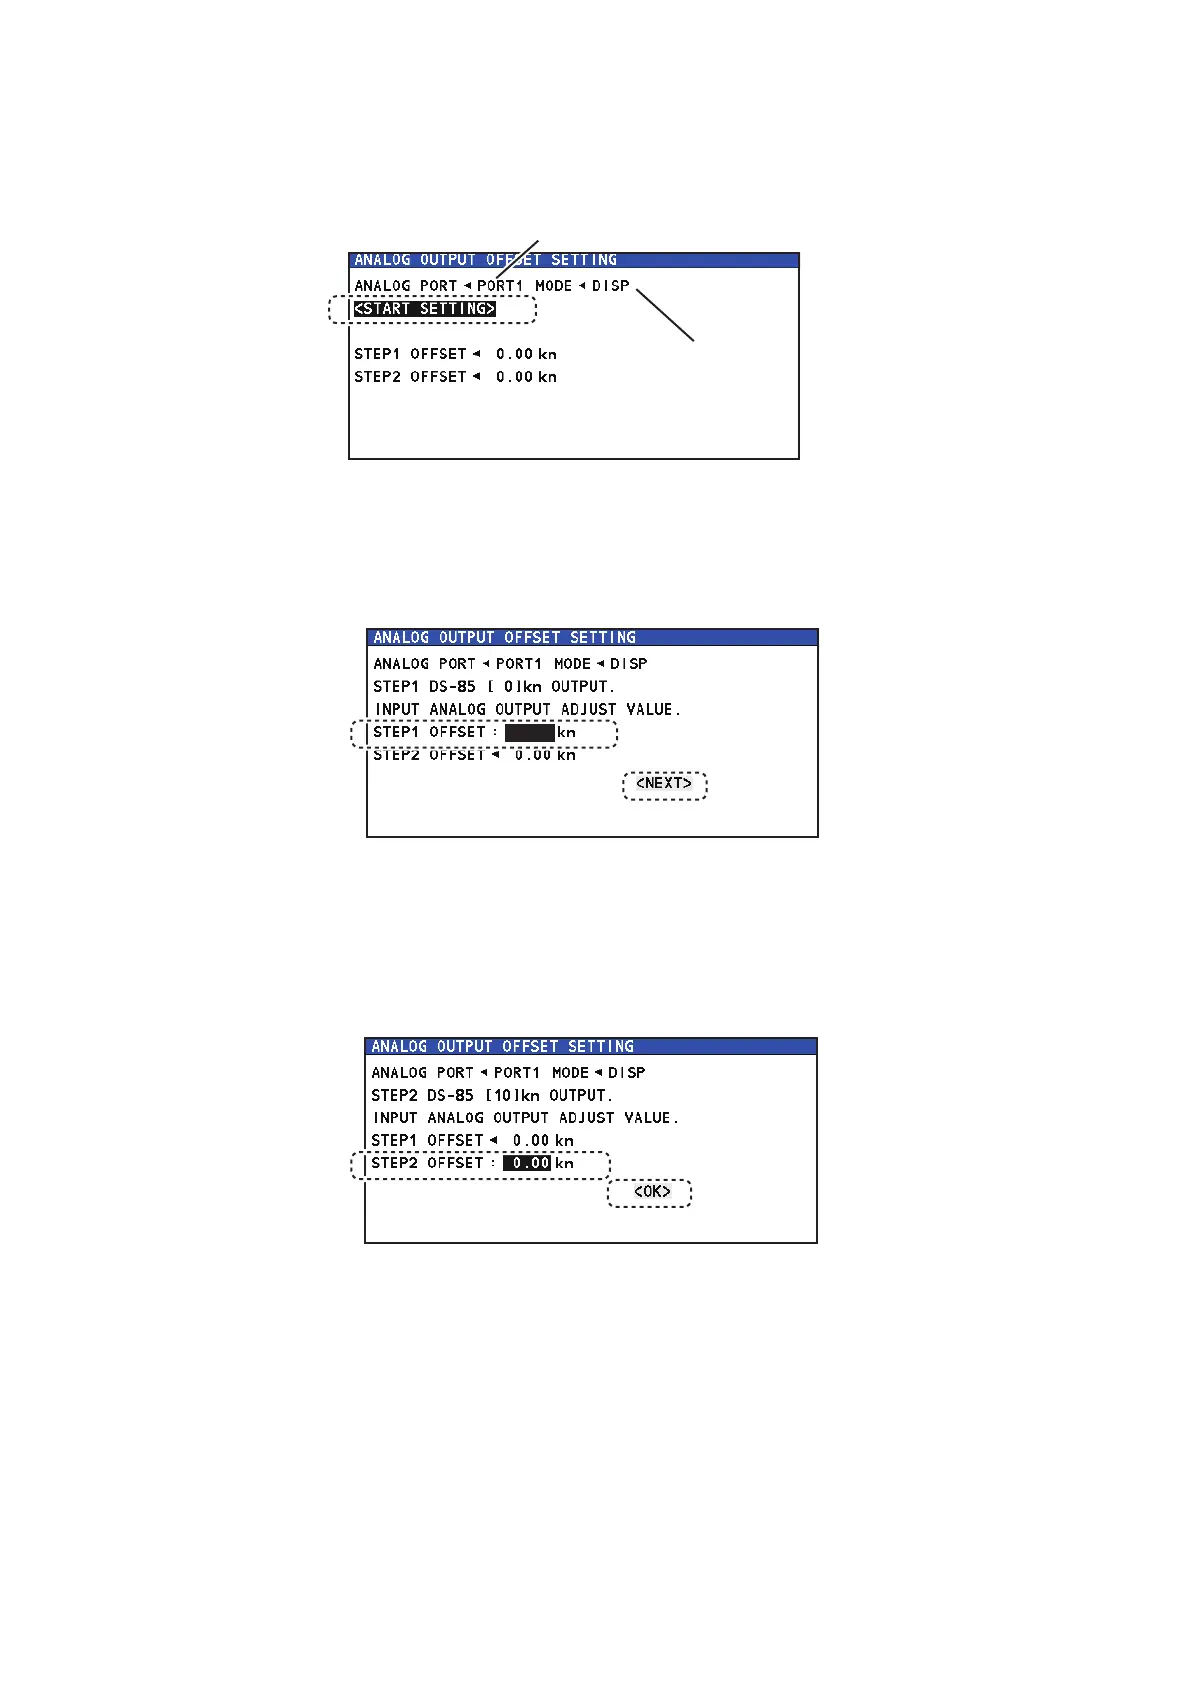
5. Select [START SETTING] to show the confirmation message "START SETTING
OK?". Then select [YES] to start setting. To stop setting, press the MENU key to
go back to the [SERVICE] menu.
6. Set the offset value in the [STEP1 OFFSET] field so that the needle of the analog
display unit will be “0 kn”, and click [NEXT]. The setting range is -4.9 to 4.9 kn. To
stop setting, press the MENU key to go back to the [SERVICE] menu.
For example, when the analog display unit indicates 2 kn, set “2” (kn) on this win-
dow so that the analog display unit indicates 0 kn.
7. Set the offset value in the [STEP2 OFFSET] field so that the needle of the analog
display unit will be “10 kn”, and click [OK] to complete setting. The setting range
is -4.9 to 4.9 kn. To stop setting, press the MENU key to go back to the [SERVICE]
menu.
For example, when the analog display unit indicates 9 kn, set “-1” (kn) on this win-
dow so that the analog display unit indicates 10 kn.
Selected analog portSelected analog port
Selected modeSelected mode
 Loading...