GARDENA R40Li
Operation, A = max. hours 12
Charging/Standby, B = min. hours 12
4.6.4 Example 2
The times used in this example are applicable to
GARDENA R40Li, but the principle is the same for the
other models.
Timer setting
Period 1
(A): 06:00 - 16:00
Timer setting
Period 2
(C): 20:00 - 23:00
Active period (A): 06:00 - 16:00
Active period (C): 20:00 - 22:00
The robotic lawnmower will operate between 06:00 and
16:00. It will begin again at 20:00 but stops running at
23:00 due to standby mode until it starts again at 06:00.
GARDENA R40Li
Operation, A + C = max. hours 12
Charging/Standby, B + D = min. hours 12
4.7 Charge a flat battery
When the GARDENA robotic lawnmower is new or has
been stored for a long period, the battery will be flat and
needs to be charged before starting.
WARNING: Only charge the robotic lawnmower
using a charging station which is intended for it.
Incorrect use may result in electric shock,
overheating or leakage of corrosive liquid from
the battery.
In the event of leakage of electrolyte flush with
water and seek medical help if it comes in
contact with the eyes etc.
1. Set the main switch to position
1
.
2. Place the robotic lawnmower in the charging station.
Open the hatch and slide the robotic lawnmower in
as far as possible to ensure proper contact between
the robotic lawnmower and the charging station. See
contact and charging strips in
Product overview on
page 5
3. The display shows a message that charging is in
progress.
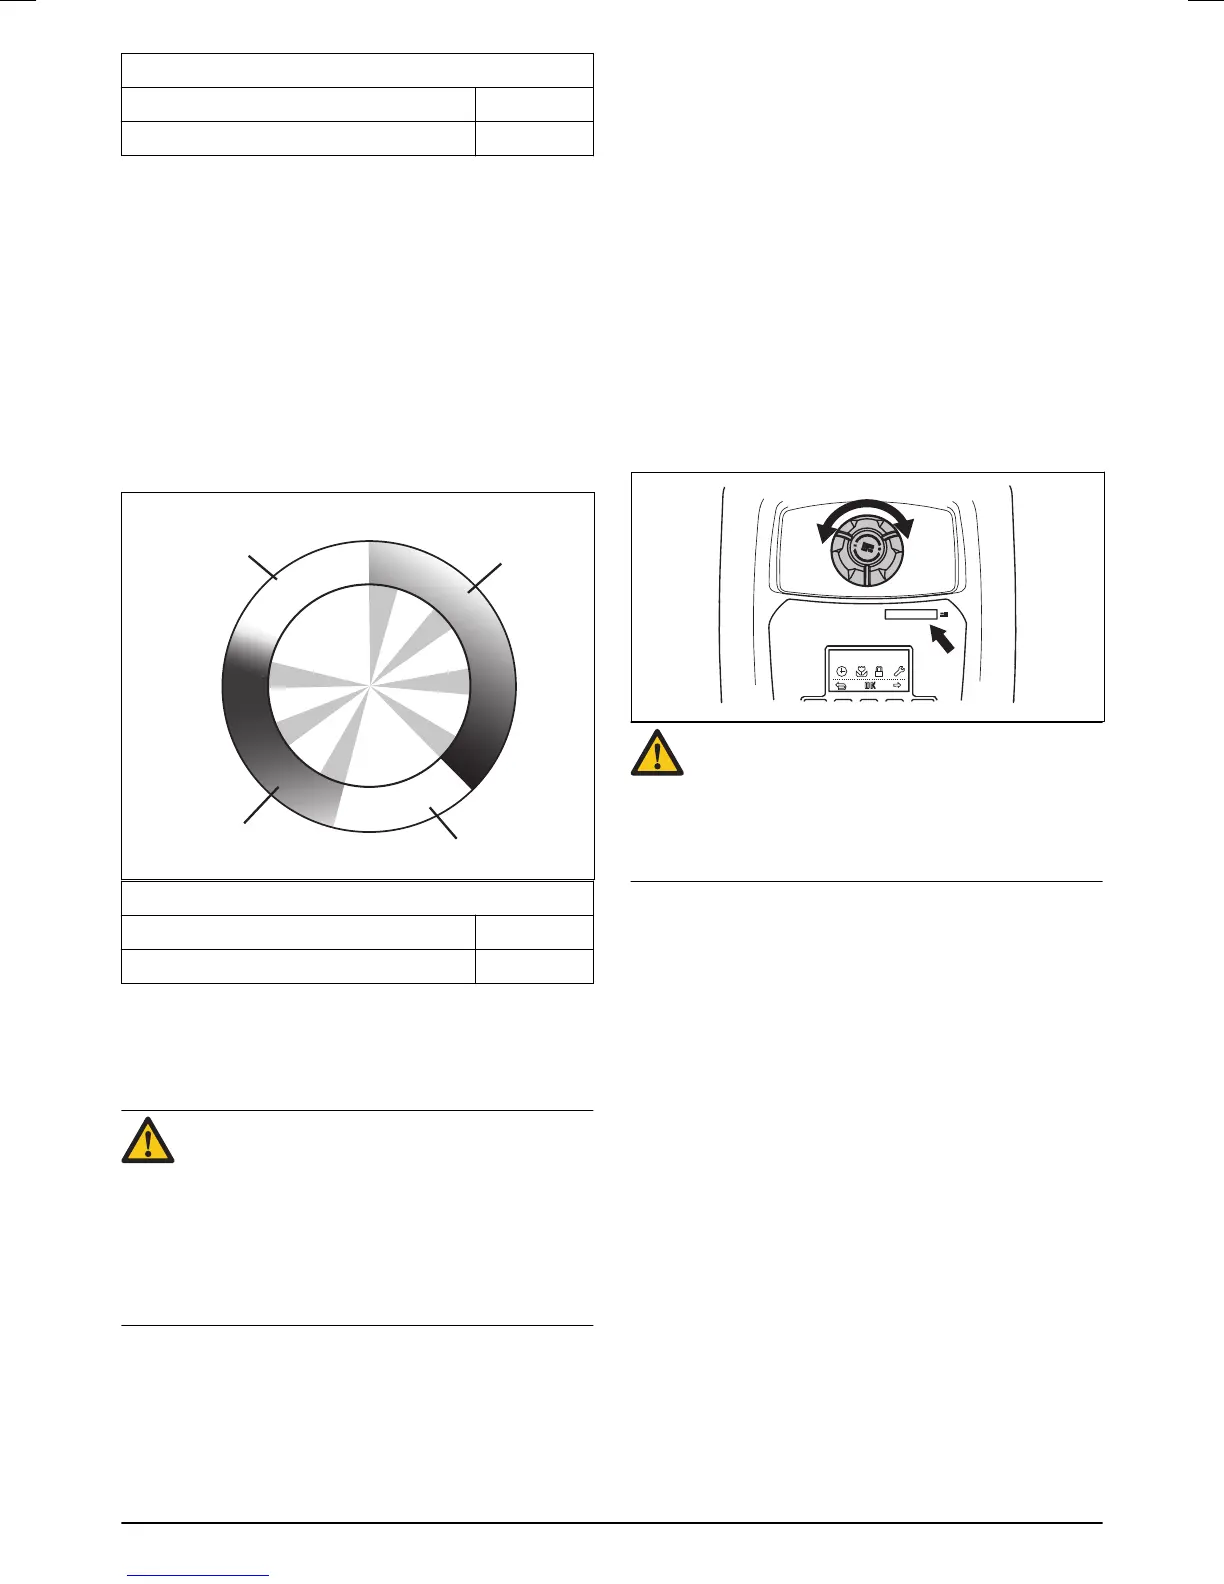
4.8 Adjust the cutting height
The cutting height can be varied from MIN (2 cm) to
MAX (5 cm).
To adjust the cutting height:
1. Press the STOP button to stop the robotic
lawnmower and open the hatch.
2. Turn the height adjustment knob to the required
position. The selected position is indicated by the
orange column on the height adjustment indicator.
• Turn anti-clockwise to raise the cutting height.
• Turn clockwise to lower the cutting height.
CAUTION: During the first week after a new
installation, the cutting height must be set to
MAX to avoid damaging the loop wire. After this,
the cutting height can be lowered step by step
every second week until the desired cutting
height has been reached.
36 - Operation 303 - 001 - 21.09.2017
 Loading...