Part # 4519069 (07/24/09) Page 13
Safety
If you smell gas
1. Turn o the appliance at the gas inlet cock and open all
doors and windows.
2. Do not operate any electrical switches and extinguish all
naked ames.
3. Contact the local gas authority immediately.
WARNING: do not store ammable materials in or near this
appliance.
Do not store or use gasoline or other ammable vapors and
liquids in the vicinity of this or any other appliance.
Do not spray aerosols in the vicinity of this appliance while it
is in operation.
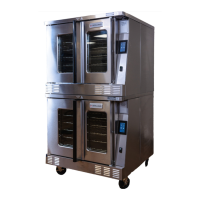
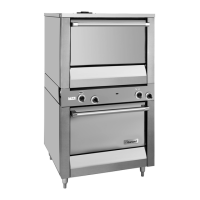
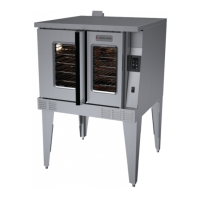
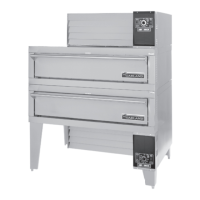
Optional Extras
• Potrack
• Spreaderplate
• Commonfrontrail&backguard
• Endunit
• Casters
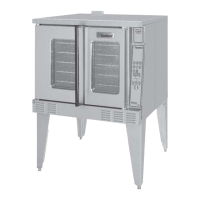
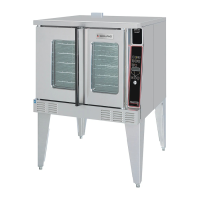
INTRODUCTION continued
INSTALLATION
1. Carefully remove unit from carton. The wires or ties
retaining the burners and other packing material must be
removed from the unit. Any protective material covering
stainless steel parts must also be removed.
2. All equipment is shipped from the factory with legs
tted, unless otherwise specied. Where the range is to
be mounted on a dais or cove base, it is shipped without
legs. Legs must be tted to the oven where it is installed
on a combustible oor.
3. The back splash or optional pot rack is packed separately.
4. The type of gas and supply pressure that the equipment
was set up for at the factory is noted the data plate and
on the packaging. This type of gas supply must be used.
5. Do not remove permanently axed labels, warning or
data plates from the appliance, for this may void the
manufacturer’s warranty.
Gas Supply
The gas pipe connection is made at the left hand side or
right hand side of the equipment. The size of the pipe work
supplying the appliance must not be less than the inlet
connection, which is 1 1/4” NPT.
NOTE: a 3/4” NPT single unit optional connection must be
specied.
An isolating valve is recommended to be close to the
appliance to allow shutdown during an emergency or
routine servicing. After installation, be certain to check the
complete pipe work for leakage.
Electrical Supply
If 240V, the supply must be connected to the terminal block
termination located at the rear of the range for models with
suxes R, RC, or the front for models with suxes S or T.
For ease in attaching the supply line, there is a removable
cover. A qualied electrician should make the connection to
the mains in accordance with the applicable local codes
 Loading...