Part # 4519069 (07/24/09)Page 16
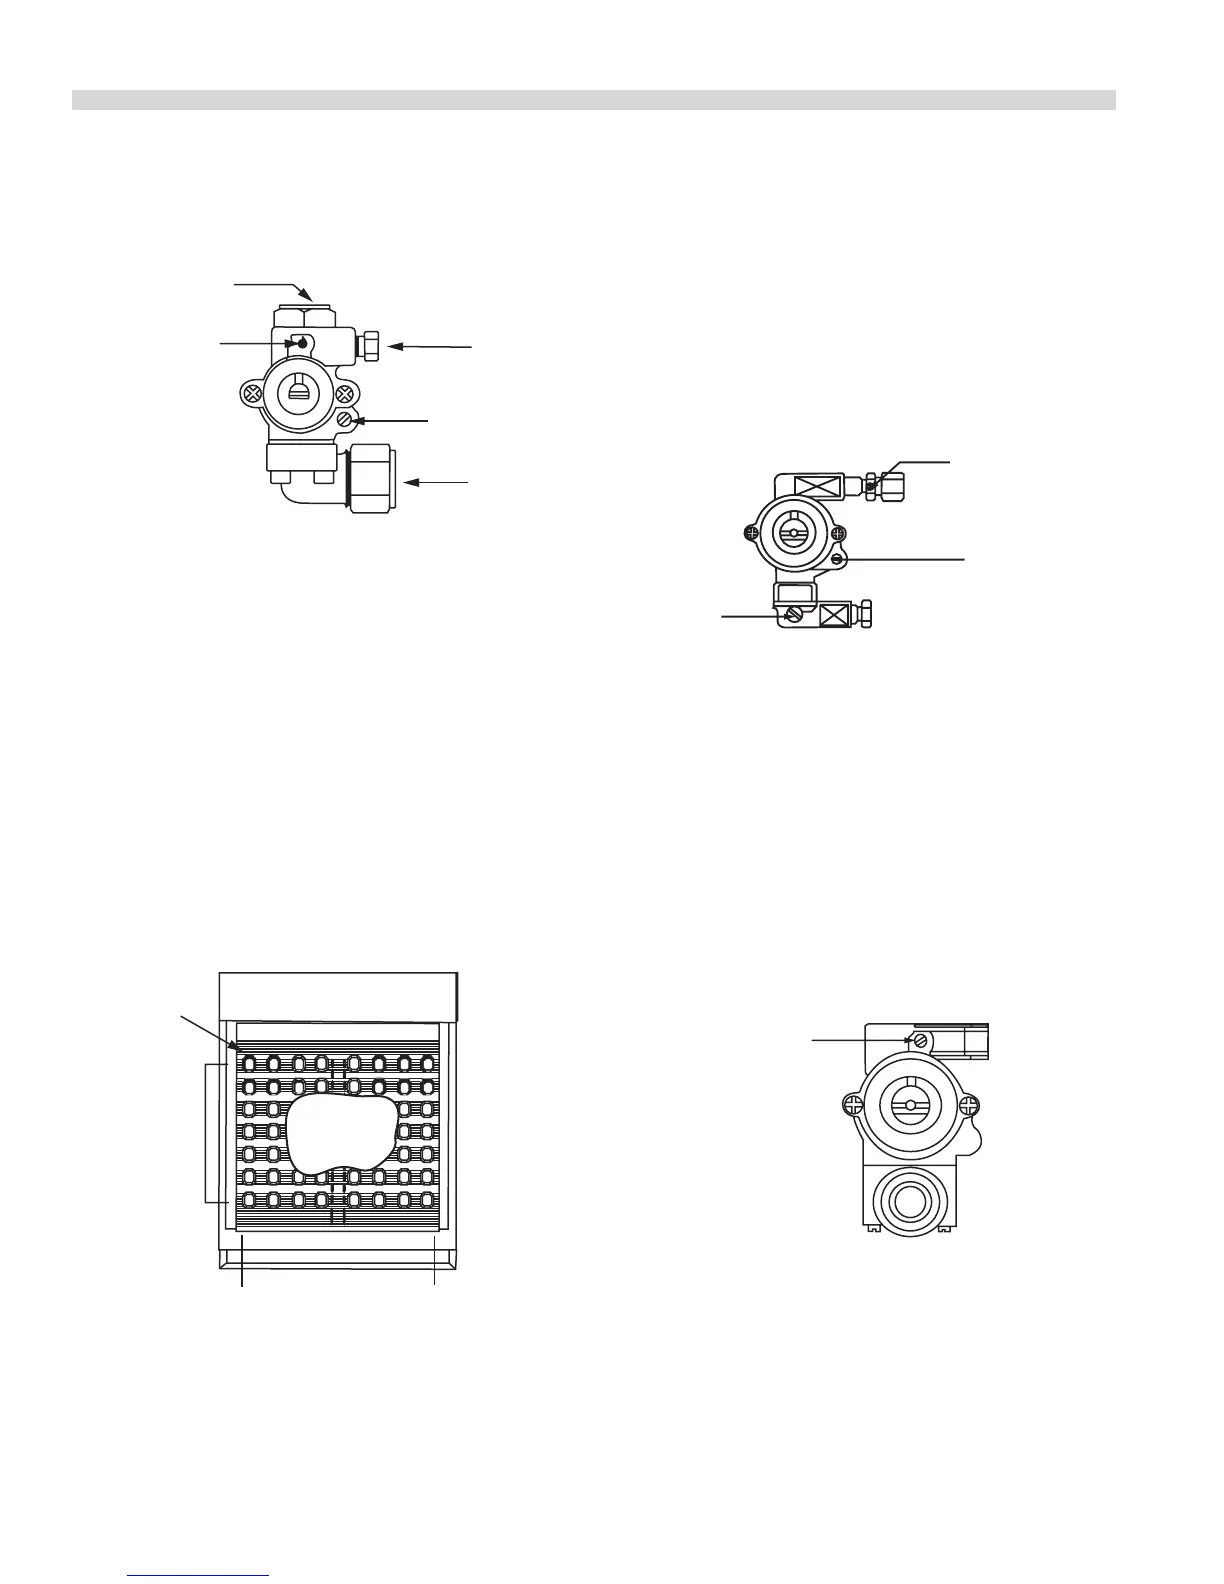
Figure 5 – Minimum Flame Setting
Gas Inlet
Pilot Adjuster Screw
Pilot Gas
Outlet
Min. Flame
Adjusting Screw
Gas Outlet
For MST models only
Broiler Burner
To obtain the minimum ame setting:
1. Set the gas tap to the low ON position.
2. Using a screwdriver, turn the adjuster on the tap body
clockwise to reduce pressure and counter-clockwise to
increase it.
3. Adjust to achieve the minimum stable ame on burner.
The correct briquette arrangement is shown in Figure 6
following.
Figure 6 – Briquette Pattern
Arrangement
of briquettes
as illustrated
Top view (less main top)
Steel bars
7 Rows
Front
COMMISSIONING continued
Open Burners
1. Light the pilot light in accordance with the User’s
Instructions.
2. Check that the length of the ame is correctly at 7-12mm
and adjust as necessary.
Figure 7 – Minimum Flame Setting
Pilot
Adjuster
Low Flame
Adjuster
Test Point
For the MST models only
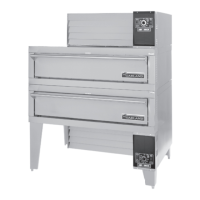
Oven
1. Open the lower kick panel.
2. Remove the oven base plate (on R models).
3. Light the pilot light in accordance with the User’s
Instructions.
4. Check that the length of the pilot light is 12mm.
Figure 8 – Minimum Flame Setting
Pilot Adjuster
For pilot light only
 Loading...