3
Wait while the device connects to your VIRB camera.
4
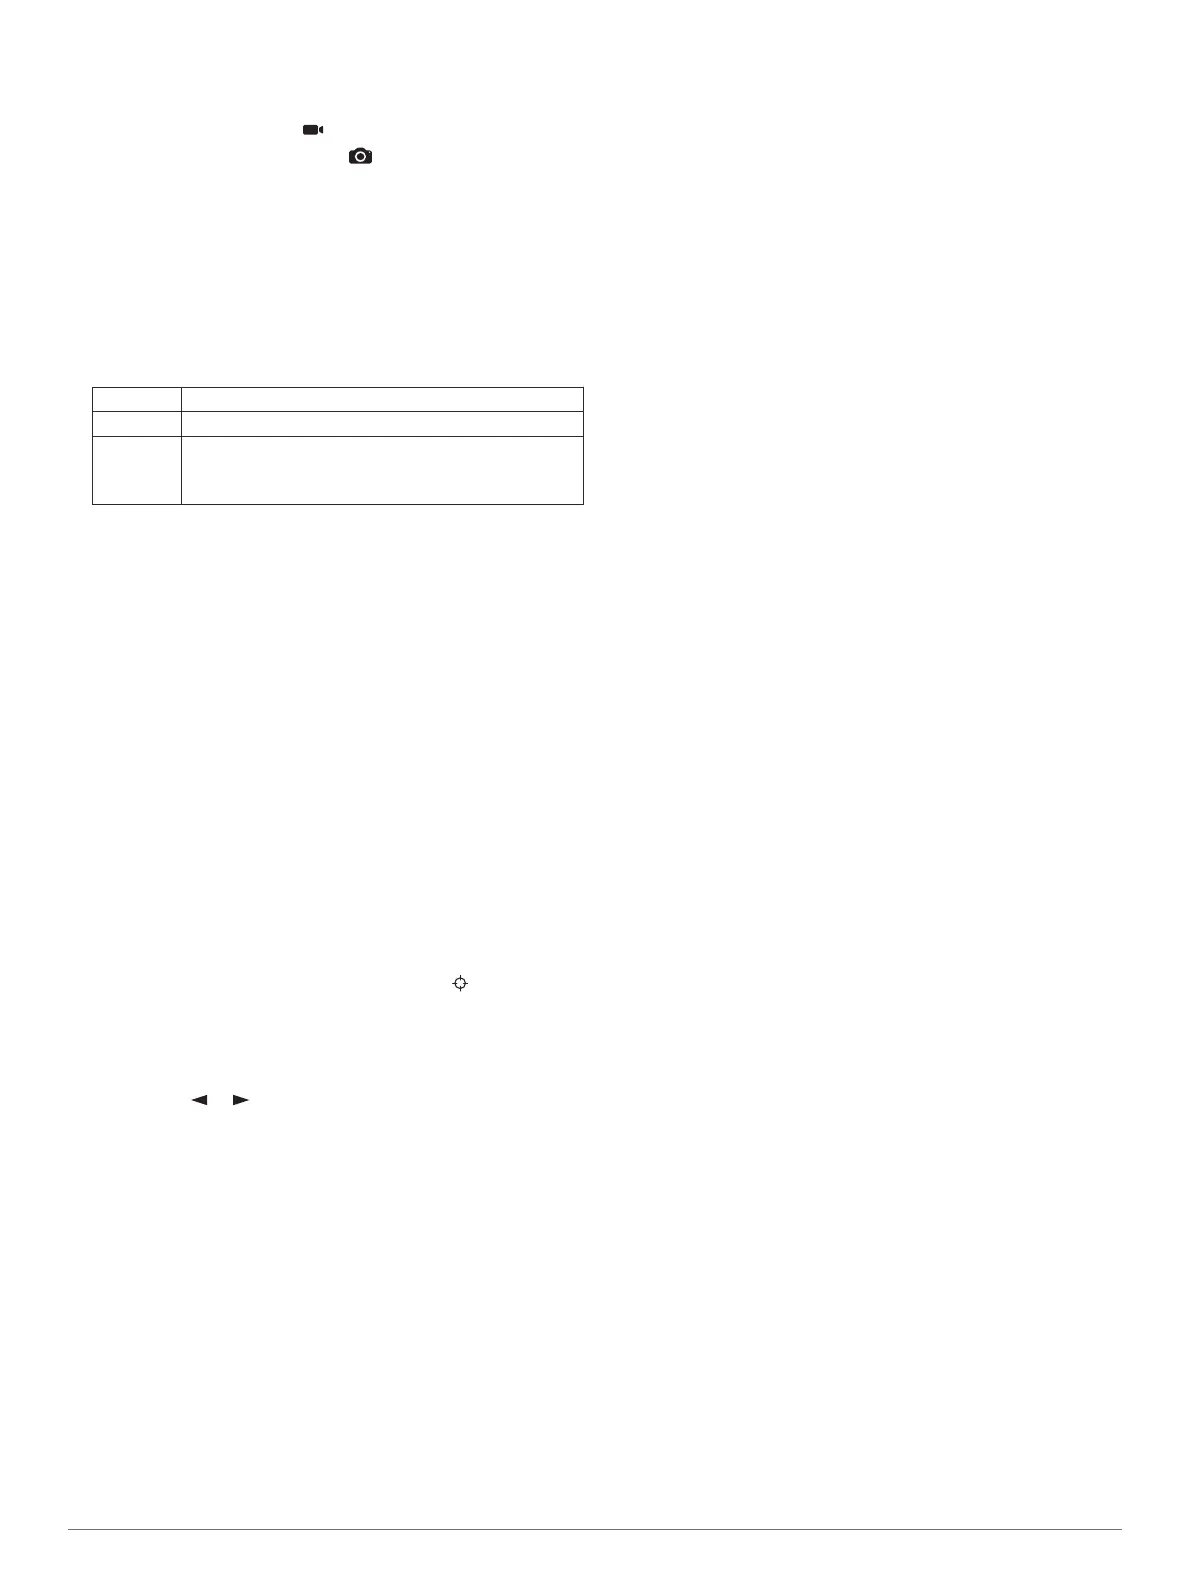
Select an option:
• To record video, select .
• To take a photograph, select .
Using the Flashlight
NOTE: Using the flashlight can reduce battery life. You can
reduce the brightness or flash frequency to extend the life of the
batteries.
1
Select Flashlight > ENTER.
2
If necessary, use the brightness slider to adjust the
brightness.
3
If necessary, select a different flash type.
0 No strobe, constant beam.
1 through 9 Number of strobes per second.
SOS Emergency strobe.
NOTE: Wi‑Fi, Bluetooth, and ANT+ connections are
disabled in SOS mode.
Using the inReach Remote
The inReach remote function allows you to control your inReach
device using your GPSMAP 66 series device.
1
Turn on the inReach device.
2
On your GPSMAP 66 series device, select inReach Remote.
3
If necessary, select Pair New inReach.
4
Wait while the GPSMAP 66 series device connects to your
inReach device.
5
Select an option:
• To send a preset message, select Send Preset, and
select a message from the list.
• To send a text message, select New Message, select the
message contacts, and enter the message text or select a
quick text option.
• To send an SOS message, use the arrow keys to scroll
through the tabs, and select SOS > Yes.
NOTE: You should only use the SOS function in a real
emergency situation.
• To view the timer and distance traveled, use the arrow
keys to scroll through the tabs, and select .
Satellite Page
The satellite page shows your current location, GPS accuracy,
satellite locations, and signal strength.
You can select or to view additional satellite constellations,
for example, when the GPS + GLONASS or GPS + GALILEO
satellite system is enabled.
GPS Satellite Settings
Select Satellite > MENU.
NOTE: Some settings are only available when Use With GPS
Off is enabled.
Use With GPS Off: Allows you to turn the GPS off.
Use With GPS On: Allows you to turn the GPS on.
Track Up: Indicates whether satellites are shown with rings
oriented with north toward the top of the screen or oriented
with your current track toward the top of the screen.
Single Color: Allows you to select whether the satellite page is
displayed in multicolor or single color.
Set Location On Map: Allows you to mark your current location
on the map. You can use this location to create routes or
search for saved locations.
AutoLocate Position: Calculates your GPS position using the
Garmin AutoLocate
®
feature.
Satellite Setup: Sets the satellite system options (Satellite
Settings, page 12).
Customizing the Device
Customizing the Data Fields
You can customize the data fields displayed on each main page.
1
Open the page for which you will change the data fields.
2
Select MENU.
3
Select Change Data Fields.
4
Select the new data field.
5
Follow the on-screen instructions.
Setup Menu
Select MENU twice, and select Setup.
System: Allows you to customize system settings (System
Settings, page 12).
Display: Adjusts the backlight and display settings (Display
Settings, page 12).
Bluetooth: Pairs your device to a smartphone, and allows you
to customize the Bluetooth settings (Bluetooth Settings,
page 12).
Wi-Fi: Allows you to connect to wireless networks (Wi
‑
Fi
Settings, page 12).
Map: Sets the map appearance (Map Settings, page 3).
Recording: Allows you to customize activity recording settings
(Recording Settings, page 6).
Routing: Allows you to customize how the device calculates
routes for each activity (Routing Settings, page 12).
Expedition Mode: Allows you to customize settings for turning
on expedition mode (Turning On Expedition Mode, page 1).
Tones: Sets the device sounds, such as key tones and alerts
(Setting the Device Tones, page 12).
Heading: Allows you to customize the compass heading
settings (Heading Settings, page 3).
Altimeter: Allows you to customize the altimeter settings
(Altimeter Settings, page 4).
Geocaching: Allows you to customize your geocache settings
(Geocaching Settings, page 12).
Sensors: Pairs wireless sensors with your device (Wireless
Sensors, page 13).
Fitness: Allows you to customize settings for recording fitness
activities (Fitness Settings, page 13).
Marine: Sets the appearance of marine data on the map
(Marine Settings, page 13).
Menus: Allows you to customize the page sequence and main
menu (Menu Settings, page 13).
Position Format: Sets the geographical position format and
datum options (Position Format Settings, page 13).
Units: Sets the units of measure used on the device (Changing
the Units of Measure, page 14).
Time: Adjusts the time settings (Time Settings, page 14).
Profiles: Allows you to customize and create new activity
profiles (Profiles, page 14).
Reset: Allows you to reset user data and settings (Resetting
Data and Settings, page 14).
About: Displays device information, such as the unit ID,
software version, regulatory information, and license
Customizing the Device 11
 Loading...