14
Step-by-step installation instructions.
Faucet Installation
Be sure there is room underneath the sink to make the
needed connections. Select one of the following places to
install the faucet:
—IN an existing sink spray attachment or soap dispenser
hole.
—IN a hole to be drilled in the sink top.
—IN a hole to be drilled in the countertop, next to the sink.
NOTE:
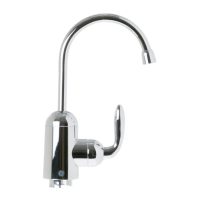
Looking at Fig. 4B, be sure the faucet base will fit
flat against the surface at the selected location so the gasket
will seal.
If drilling is needed, make a 1-1⁄4² dia. hole.
Be sure to use the proper procedure for drilling
porcelain or stainless steel.
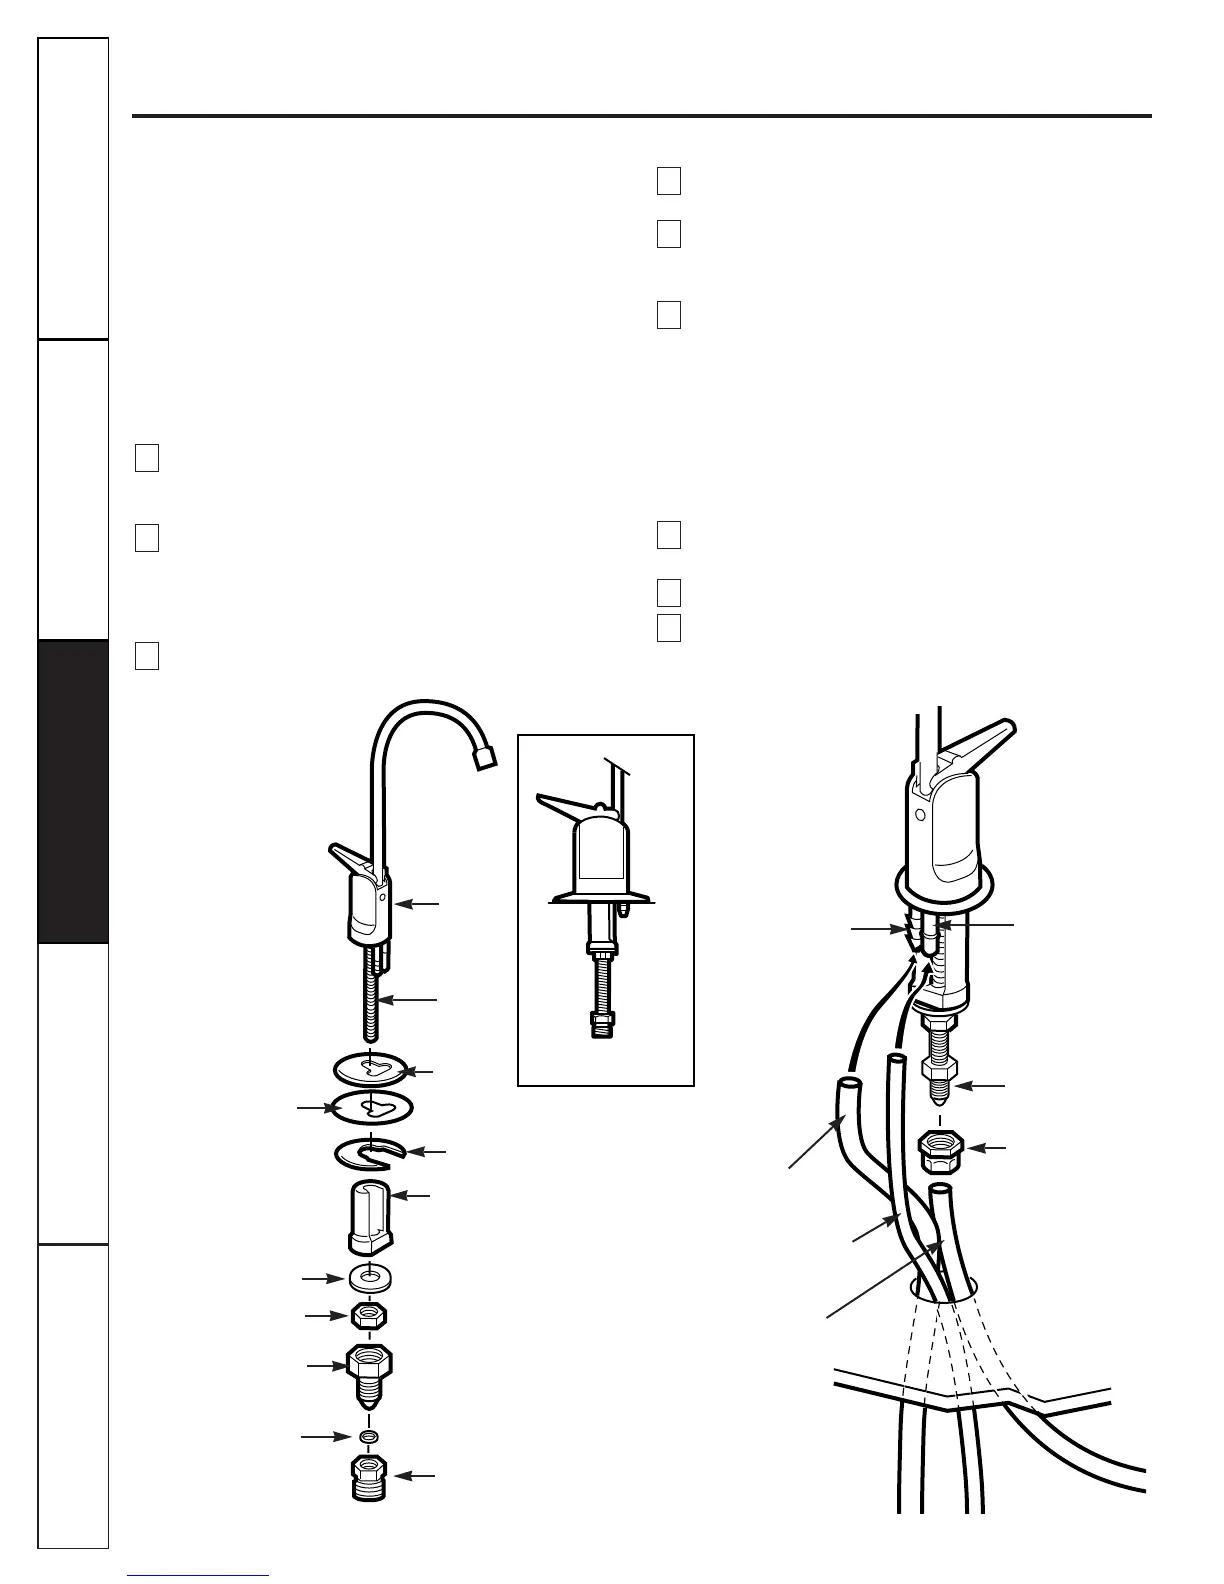
Place base on threaded stem (flange facing down).
Next, place large gasket on threaded stem, making sure
the stem and two barbed studs fit through the gasket.
Place spacer on stud (open end up) followed by metal
washer and hex nut (Fig. 4A).
Insert washer into tubing adapter. Securely tighten to
faucet stud.
Take the 27² length of 3⁄8²tubing and push one end
completely onto the 3⁄8²faucet barb fitting (Fig. 4B).
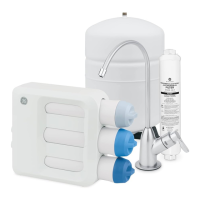
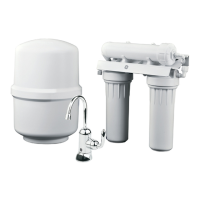
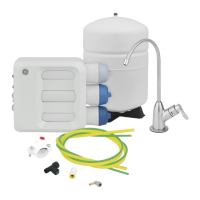
Position the Reverse Osmosis system under the sink.
Referring to Fig. 5, on the next page, hang the system on
cabinet wall.
Route the 1⁄4²tubing (marked “1⁄4²BARB
ON FAUCET”) and the 3⁄8²tubing (marked
“FAUCET”) up through the mounting hole:
a. Push one end of the 1⁄4²tubing onto the 1⁄4²barb
on the faucet.
b. Using the compression nut, fasten the 3⁄8²tubing to
the tubing adapter and tighten the nut. Make sure the
tubing is completely seated in the adapter.
Remove the short shipping tube and insert the spout
into the faucet body.
Lower the faucet assembly through the sink.
Under the counter,
place the mounting plate above spacer
and securely tighten the hex nut.
9
8
7
6
5
4
3
2
1
Customer Service Troubleshooting Tips
Operating Instructions
Safety Instructions
Installation Instructions
Customer Service Troubleshooting Tips
Installation Instructions
Safety Instructions
Operating Instructions
Customer Service Troubleshooting Tips
Installation Instructions
Safety Instructions
Operating Instructions
Fig. 4A.
Fig. 4B.
Spacer
Mounting plate
Base
Hex nut
Faucet
Lever
Spout
NOTE: For ease of service and
maintenance, keep tubing lengths
long enough so removal of the
Reverse Osmosis system from
under the sink is possible.
Faucet
stud
Large gasket
Compression nut
Metal washer
Tubing adapter
Tubing adapter
Plastic washer
3/8² barb fitting
1/4² tubing
marked 1/4² barb
1/4² barb fitting
3/8² tubing
marked FAUCET
3/8² tubing,
27² long
Compression nut
ASSEMBLED
From RO
To drain
From RO
 Loading...